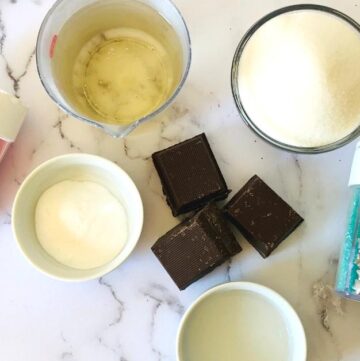
Christmas Angel Candy is a classic favorite holiday treat.
I like how tasty this holiday candy treat is too!
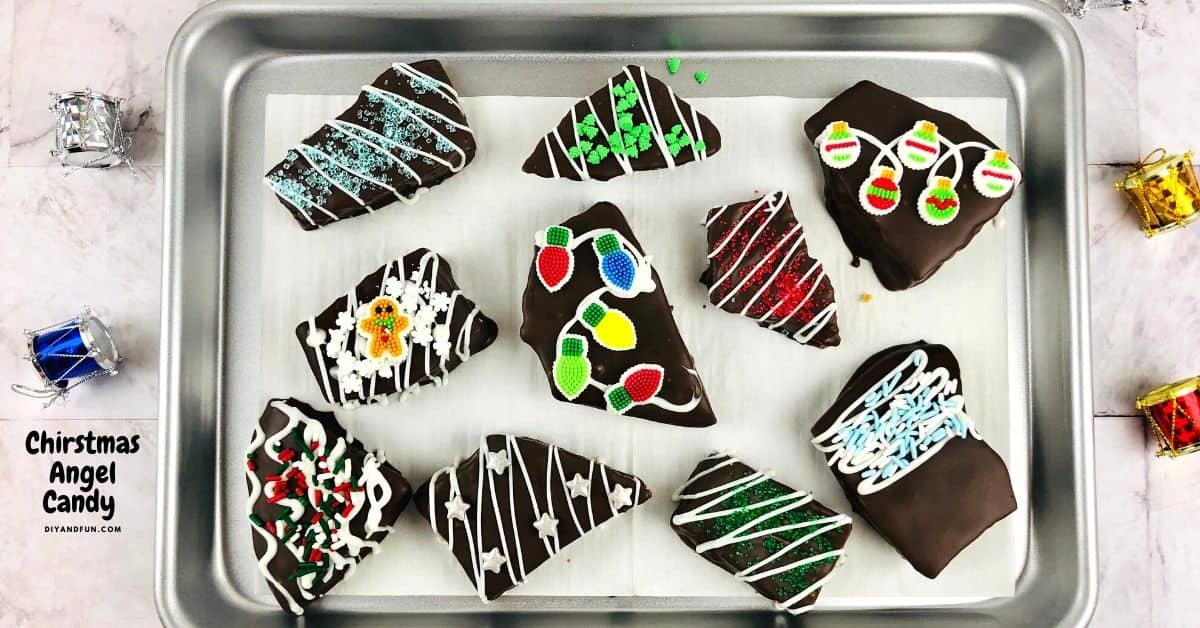
Christmas Angel Candy
This is a classic favorite crunchy candy that is surrounded in chocolate.
It is the sugar and corn syrup that creates that favorite crunchy center!
Have you tried my Easy Cathedral Window Cookies?
That recipe is another holiday favorite treat idea.
Both this recipe for candy and that recipe for cookies would go nicely together on most any holiday or Christmas dessert table!
My Christmas Angel Candy is topped with edible holiday decorations. You can find edible holiday dessert decorations here.
Just what is Angel Food Candy anyway?
The quick answer is to say that is is kind of like a Butterfinger candy bar.
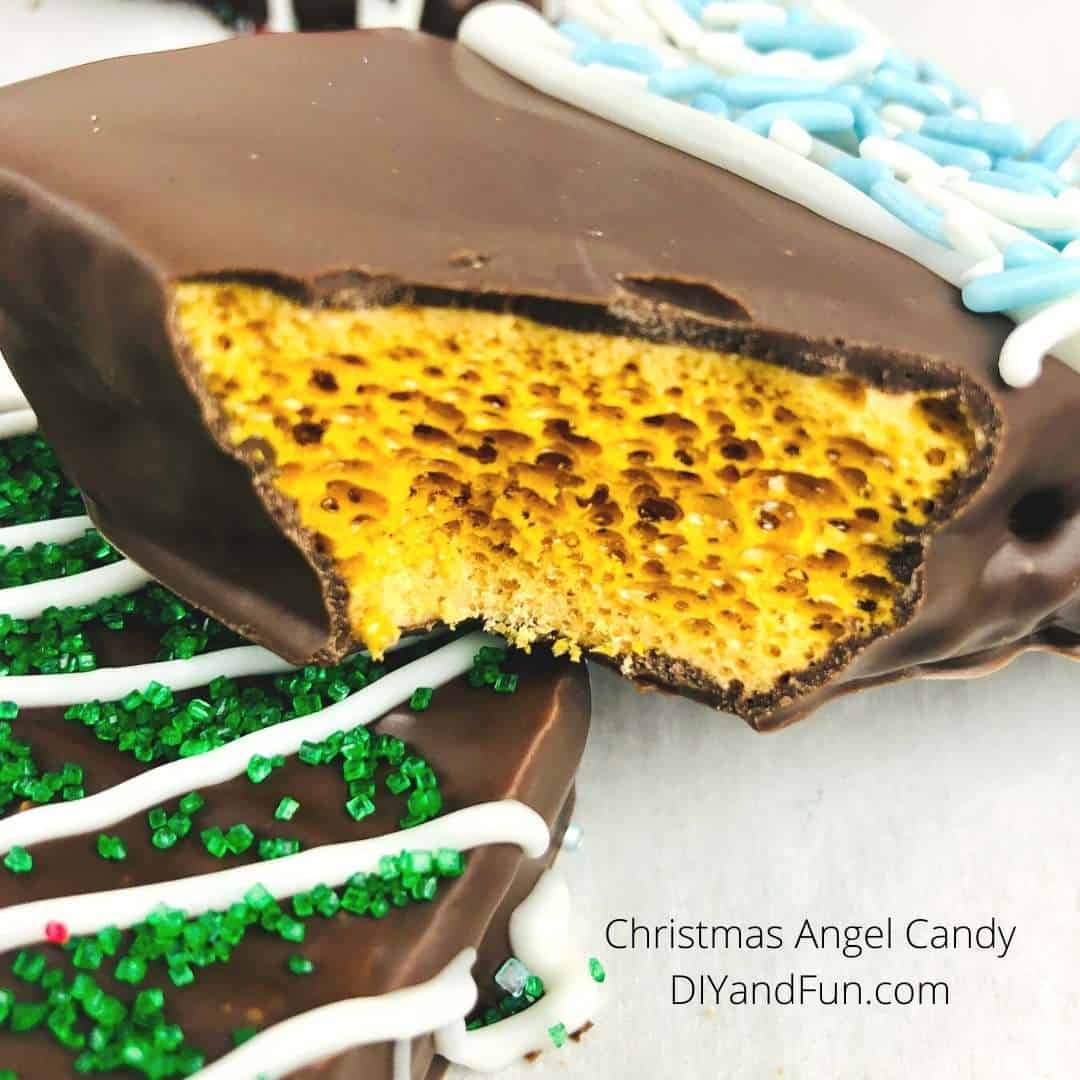
That is, Angel Candy is traditionally a homemade chocolate covered candy that has a crunchy and sugary center.
Some people refer to Angel Food Candy as Sponge Candy.
No matter what you call it, the candy is famous for its crunchy center.
That center crunch is made with dark corn syrup and vinegar that is tempered with baking soda.
People like to ask what is angel food candy made of.
There are not a lot of ingredients in angel food candy.
That is, this classic recipe, in some ways, is actually quite simple.
This candy is really more about how it is made rather than what it is made with.
There are four basic ingredients in a sponge or honeycomb candy.
It is how they are combined together that really matters.
Tips for making Angel Food Candy,
Using a candy thermometer is essential to the success of this recipe!
You can find candy thermometers here.
More tips for you
- When you pour the combined ingredients into the prepped baking sheet, it is important that you do not spread the the mixture. The mixture may not cover the entire baking sheet and that is okay!
- You can test when the mixture is done cooking by doing a simply test. Place a drop of the mixture on to cold water. If it forms brittle threads, it is ready to transfer.
- Using a candy thermometer can be intimidating. It is not unusual for folks to try this recipe more than once to get that perfect batch.
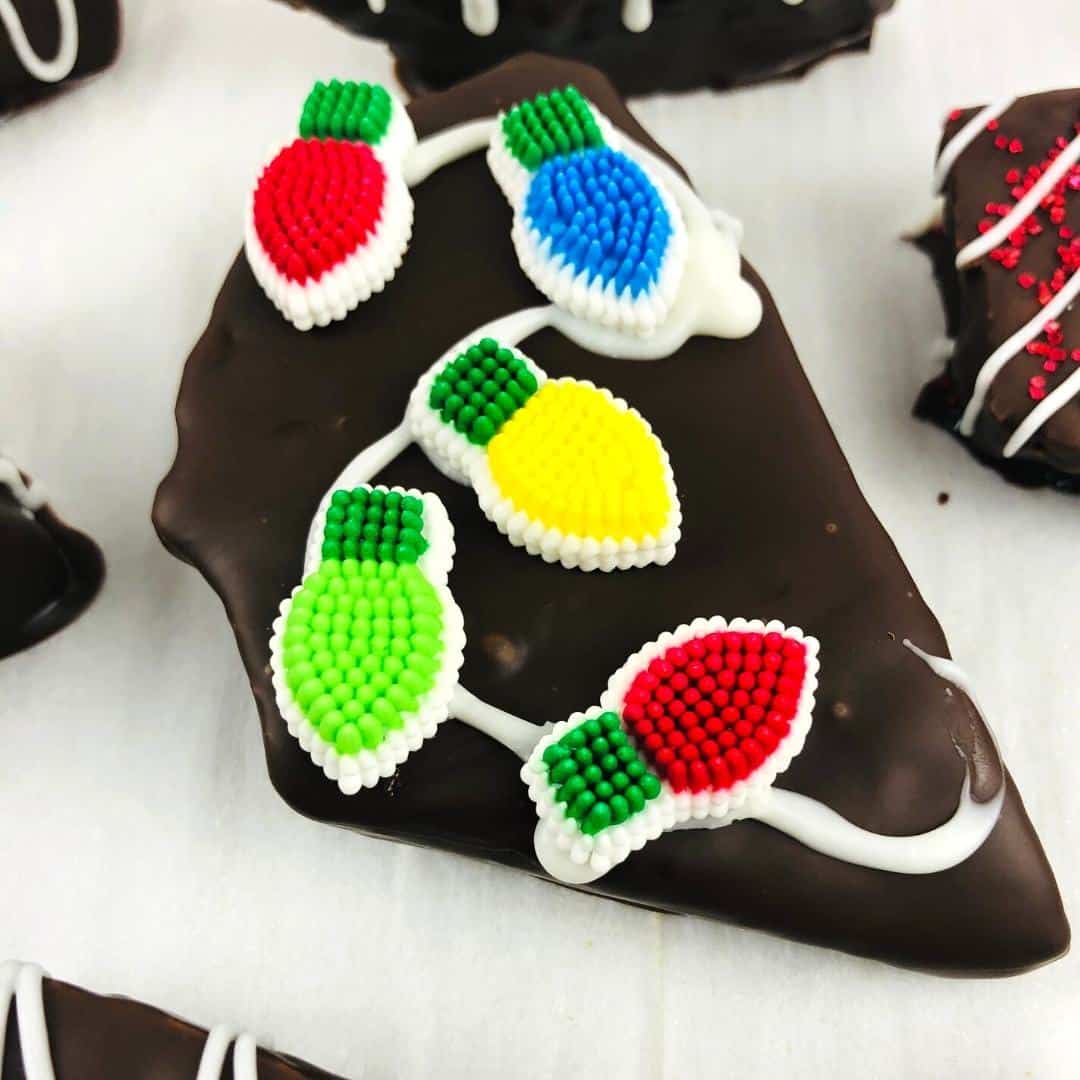
Personalize your homemade Angel Candy.
Yes, this candy recipe is great just the way it is.
However, you can make it even better.
Try one of these ideas.
- Instead of using regular chocolate, try white chocolate instead.
- If you choose to use white chocolate, add a few drops of food coloring to get a more colorful candy.
- While my Angel Food Candy is decorated with cute decorations, you can choose to leave yours plain. Or you can drizzle additional melted chocolate over it.
👉Be sure to follow us on Facebook, Pinterest, and Instagram.
Subscribe to our Weekly Newsletter.
You may also be interested in these ideas.
About this recipe for Sponge or Angel Candy.
This is a traditional holiday season candy recipe that is made with few ingredients.
It features a crunchy center that is the result of a reaction between ingredients when they are heated and mixed together.
Because the success of this recipe is dependent on the heating process, there are a few things to keep in mind.
Use a candy thermometer for best results.
Also, follow the steps as they are presented in the recipe directions.
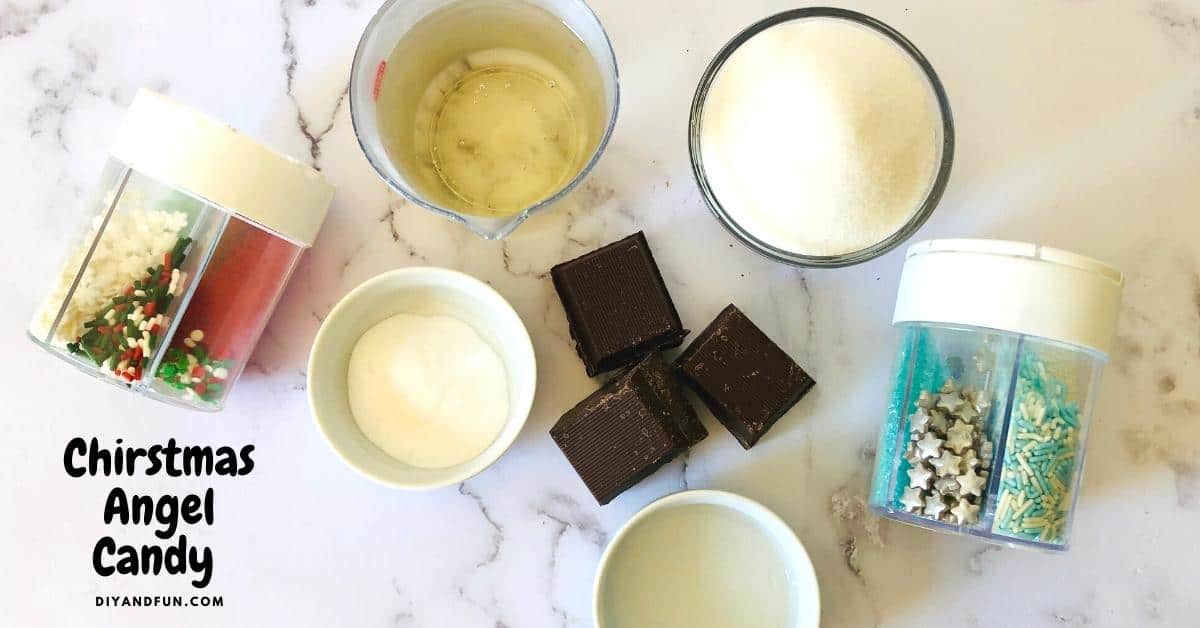
Ingredients needed to make this Christmas candy.
- Sugar- 1 cup.
- Dark Corn Syrup- 1 cup.
- White Vinegar- 1 tablespoon.
- Baking Soda- 1 tablespoon.
- Chocolate Chips- 1 pound, melted when ready to use.
- White Chocolate- 2 ounces.
- Edible holiday dessert decorations.
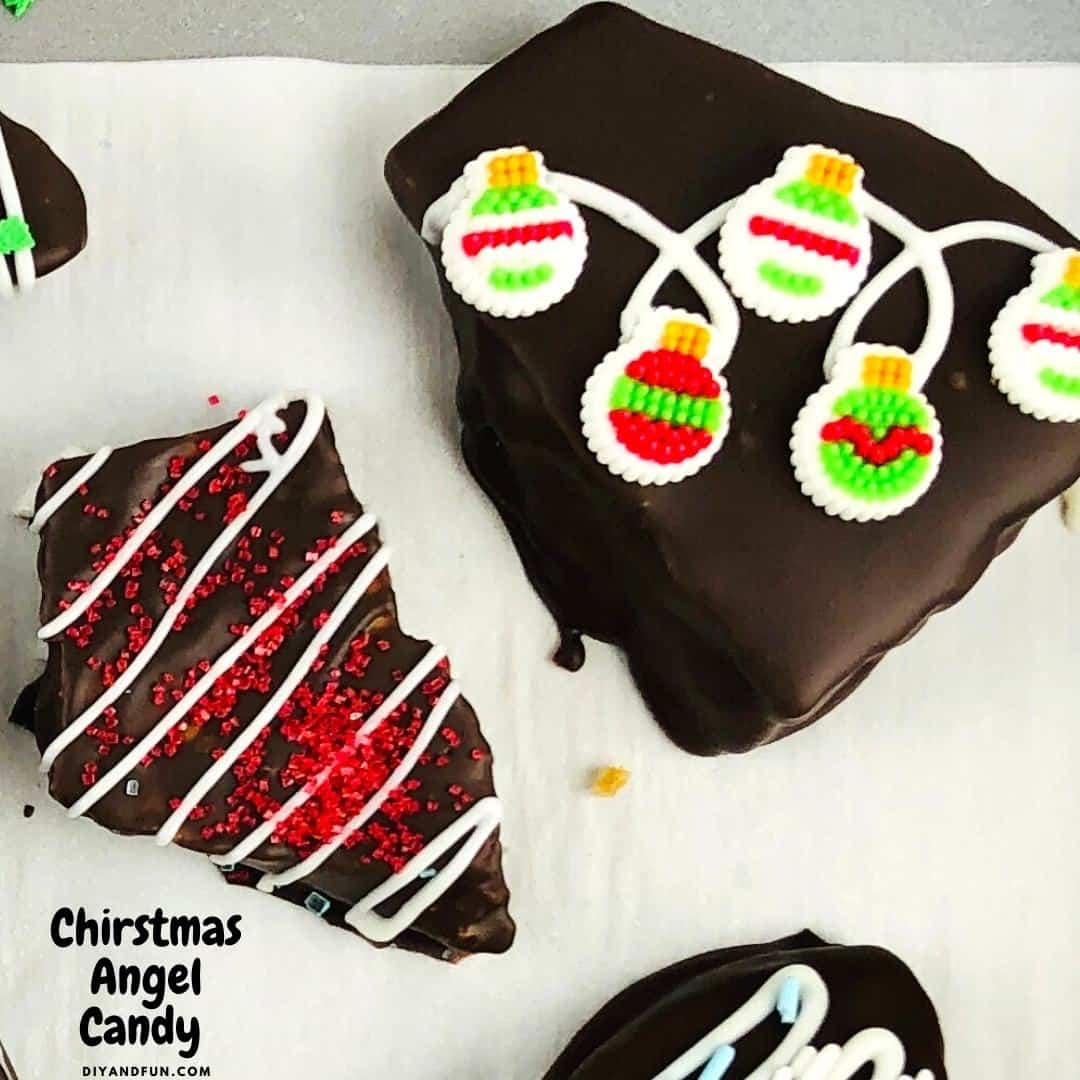
How to make Christmas Angel Candy.
Step One: prepare.
Prepare a rimmed baking dish with butter.
Have a whisk and candy thermometer ready.
Step Two: heat the ingredients.
In a saucepan over medium heat whisk together sugar, syrup, and vinegar as they heat.
Continue whisking until the sugar dissolves into the ingredients. The stop whisking.
Continue to cook without stirring or whisking until the mixture reaches 300 (310 tops!) on your candy thermometer. Then immediately remove the mixture from the heat and stir in the baking soda.
Transfer this to the prepared baking dish and allow it to cool completely at room temperature.
Step Three: decorate.
Line a rimmed baking sheet or flat work area with parchment paper.
Break the cooled candy into pieces (placing it into a zip top bag first is a cleaner way to do this).
Then you can dip the pieces of candy into the melted chocolate and then place them on to the parchment paper.
To decorate you can simply drizzle melted white chocolate over the hardened candy and add the decorations.
Allow this to set in your refrigerator before serving. You can also store this candy in a zip top bag or air tight container with little excess room.
Christmas Angel Candy, a favorite family recipe for a chocolate covered treat that has a crunchy candy inside.
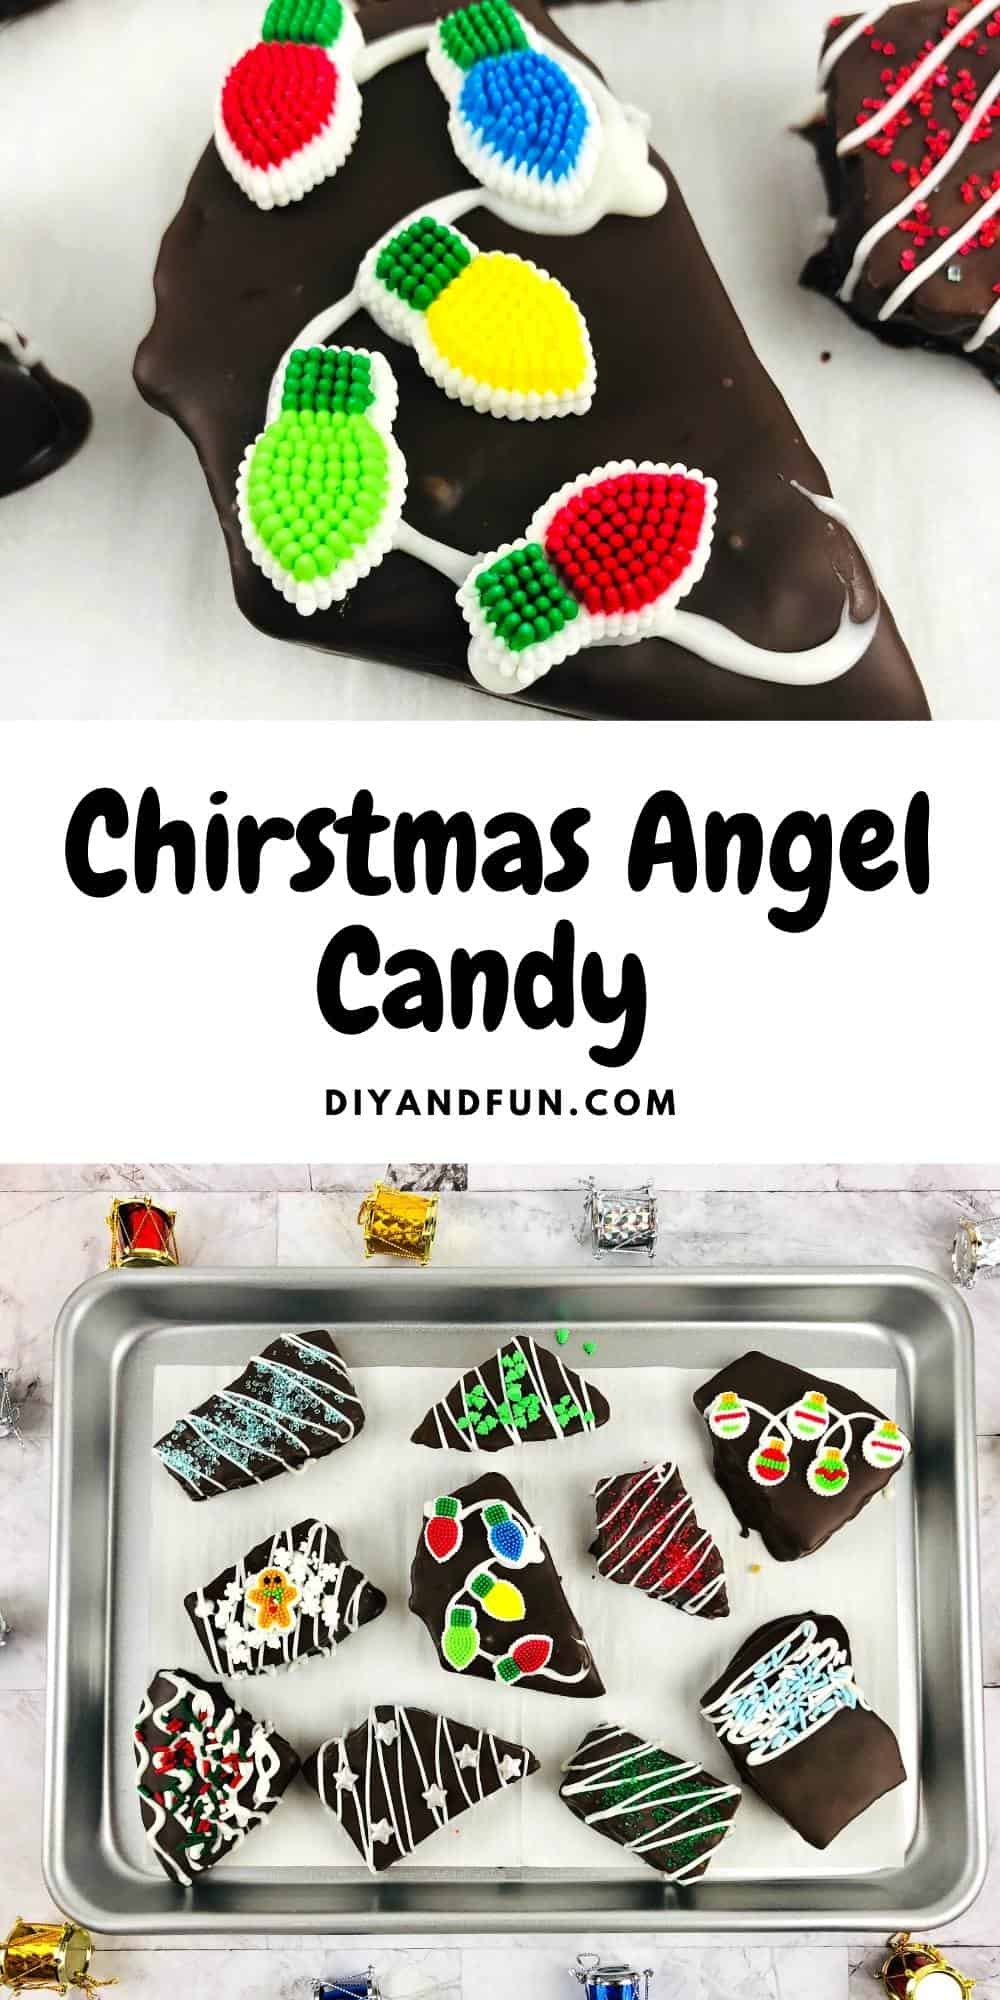
Christmas Angel Candy
Equipment
Ingredients
- 1 cup Sugar-
- 1 cup Dark Corn Syrup-
- 1 tbsp White Vinegar
- 1 tbsp Baking Soda-
- 1 lb Chocolate Chips
- 2 oz White Chocolate-
Instructions
- Prepare a rimmed baking dish with butter. In a saucepan over medium heat whisk together sugar, syrup, and vinegar as they heat. Continue whisking until the sugar dissolves into the ingredients. Then stop whisking. Continue to cook without stirring or whisking until the mixture reaches 300 (310 tops!) on your candy thermometer. Then immediately remove the mixture from the heat and stir in the baking soda. Transfer this to the prepared baking dish and allow it to cool completely at room temperature.
- Line a rimmed baking sheet or flat work area with parchment paper. Break the cooled candy into pieces (placing it into a zip top bag first is a cleaner way to do this). Dip the pieces of candy into the melted chocolate and then place them on to the parchment paper. To decorate simple drizzle melted white chocolate over the hardened candy and add the decorations. Allow this to set in refrigerator. Store this candy in a zip top bag or air tight container with little excess room.
Recipe Notes
Please see recipe post for further details on this recipe.
Nutritional Information is only an estimate and can vary especially with ingredients that are used. See DIYandFUN.com for details on this recipe.
originally posted:
November 30, 2021*As an Amazon Associate I earn from qualifying purchases. This means that the links on this website, and specifically on this post, that lead to other sites may be affiliate links.
Nutrition
Please note: Nutritional data has been calculated using a tool that comes with this recipe card and not by me. This means that Nutritional Information is only an estimate and can vary especially with ingredients that you use. The accuracy of this tool may differ from other tools as expected. Also note that there is no instructional value to the video that may be attached to this recipe. It is only there for visual pleasure. For more information about the images in this recipe, please refer the the recipe instructions. Thank you!
Follow Me


