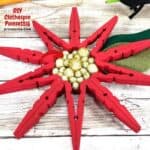
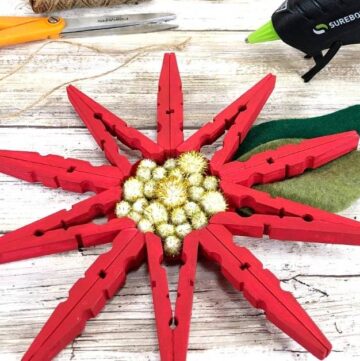
Clothespin Poinsettia Ornament DIY is an easy way to make a cute oranment.
I really like how inexpensively this clothespin ornament project can be!
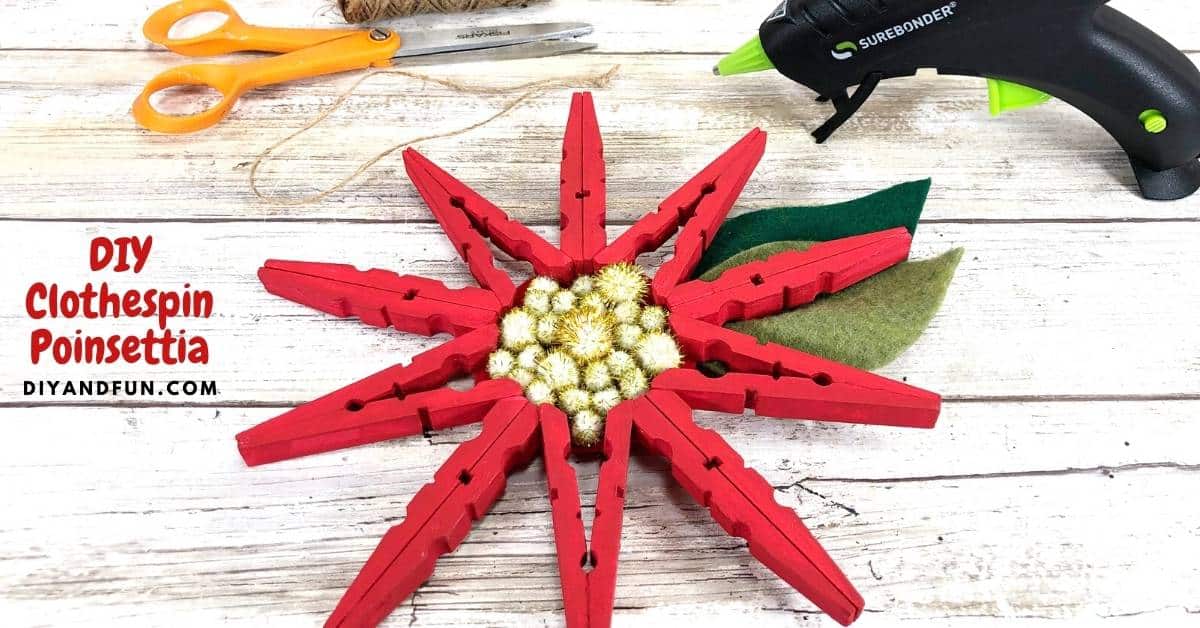
Clothespin Poinsettia Ornament DIY
This is a simple project for making nice looking poinsettia ornaments using clothespins.
You can even find many of the materials at your local dolalr store too!
Did you make my Clay Pot Santa Hat Ornament project?
That is another great idea for a simple ornament using inexpensive materials.
Both that Santa hat ornament and this poinsettia ornament would look great together when displayed on your holiday tree!
To make this project you will need to use clothespins. You can find clothespins at good prices here.
This project is for anyone asking what kind of crafts can you make with clothespins.
This project is a perfect example of a project that can be made with clothes pins.
While you can most likely tell that the poinsettia is made with clothespins, it still is a perfect match for a homemade ornament.
This clothespin ornament reminds me of a rustic project.
This is because this ornament is really a timeless project.
However, this clothespin ornament is always a nice idea for a holiday tree.
How to prepare for this old fashion clothespin craft.
Before you start this project you will need to separate the clothespins.
This means that you will need to remove the metal spring from the wooden clothespins.
The easiest way to remove the remove the springs from the clothespins is to slide them off.
Start by gently twisting the clothespins to loosen the spring.
Then simply slide the spring off.
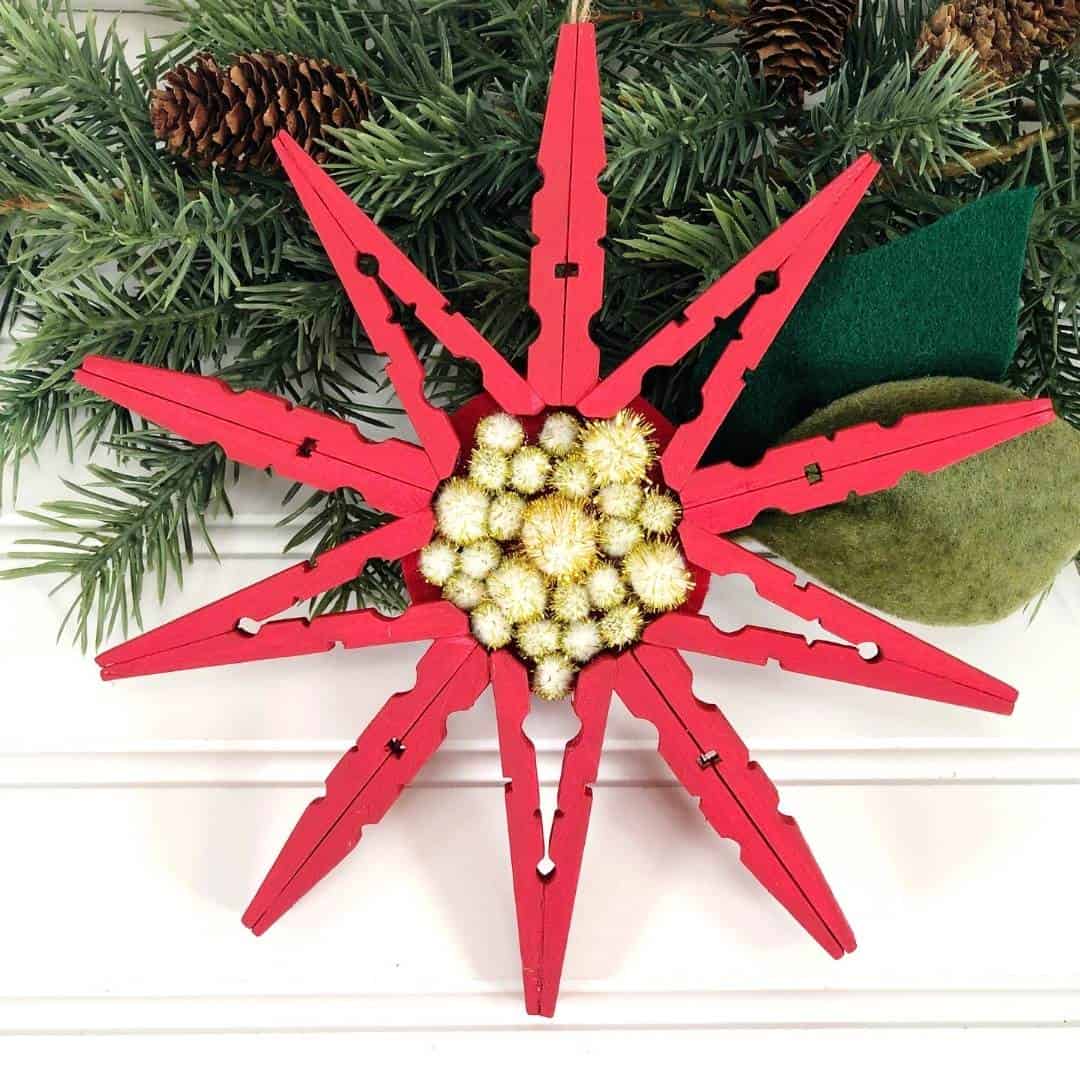
Tips for making this Christmas flower ornament project.
Line up all of your clothespins next to one another and inspect them first.
Choose clothespins that are most alike one another and that are also in good condition (wooden part is what matters).
More tips for you
- When you paint your clothes pins, paint extra ones. This way you will have alternate pins in case something goes wrong.
- This project uses a hot glue gun. However, you can use liquid craft glue instead. Keep in mind that you will have to wait for it to dry.
- While these Clothespin Poinsettias are perfect as an ornament, there are other uses for them. You can use them as holiday meal place cards, gift tags, or even garland
Personalize your poinsettia ornament project.
This project is great just the way it is.
However, you can also make them even better.
Try one of these ideas.
- Use colored clothespins instead of painting unfinished ones.
- Glue a wrapped mint candy in the center instead of the pompoms.
- Decorate these ornaments using markets.
👉Be sure to follow us on Facebook, Pinterest, and Instagram.
Subscribe to our Weekly Newsletter.
You may also be interested in these ideas.
About this poinsettia clothespin ornaments.
You can use unfinished clothespins to make this project.
The clothespins will have their springs removed before being painted.
After the clothespins have been painted and have dried, we will construct the ornament.
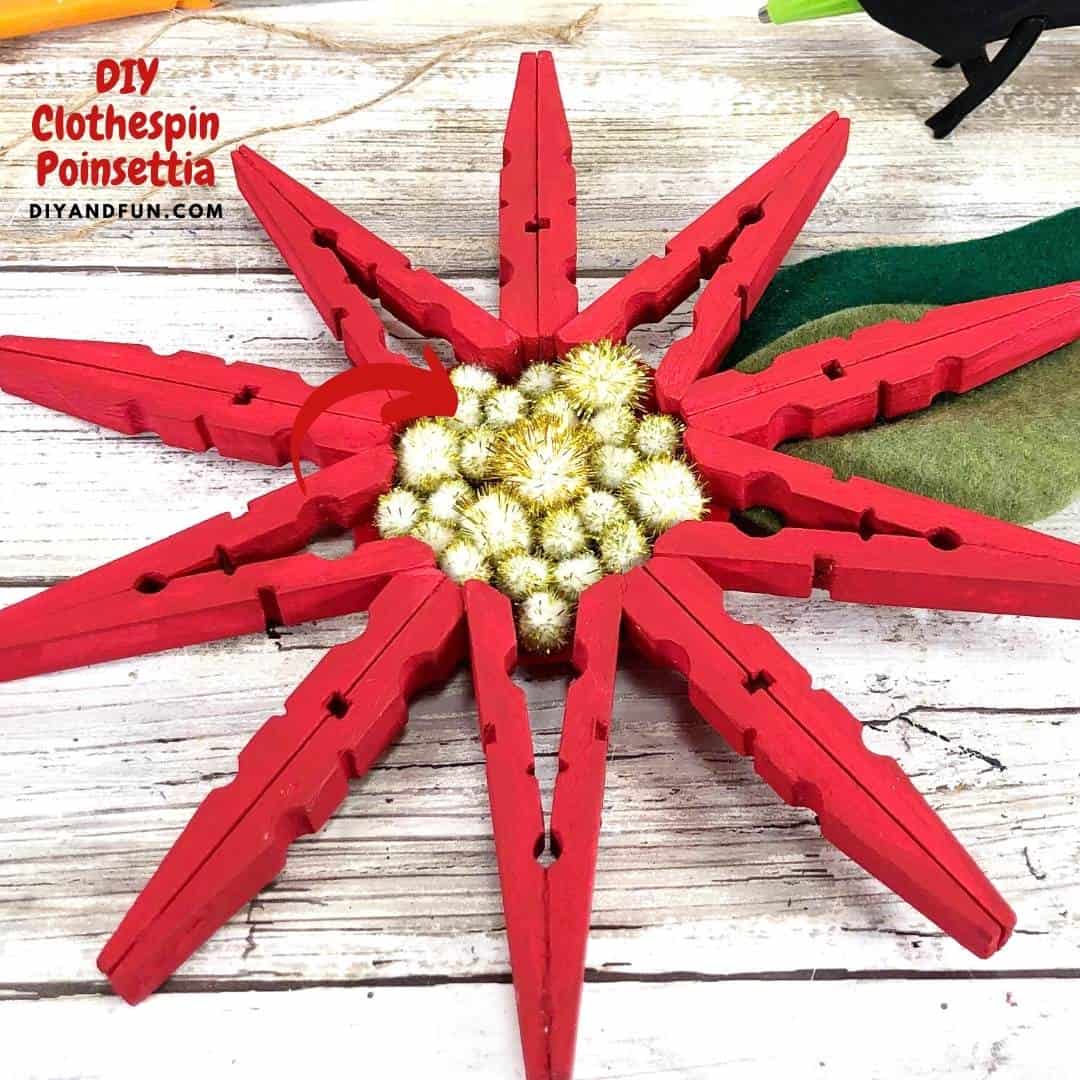
The clothespins will be glued into poinsettia star shape.
We will then attach leaves and a center.
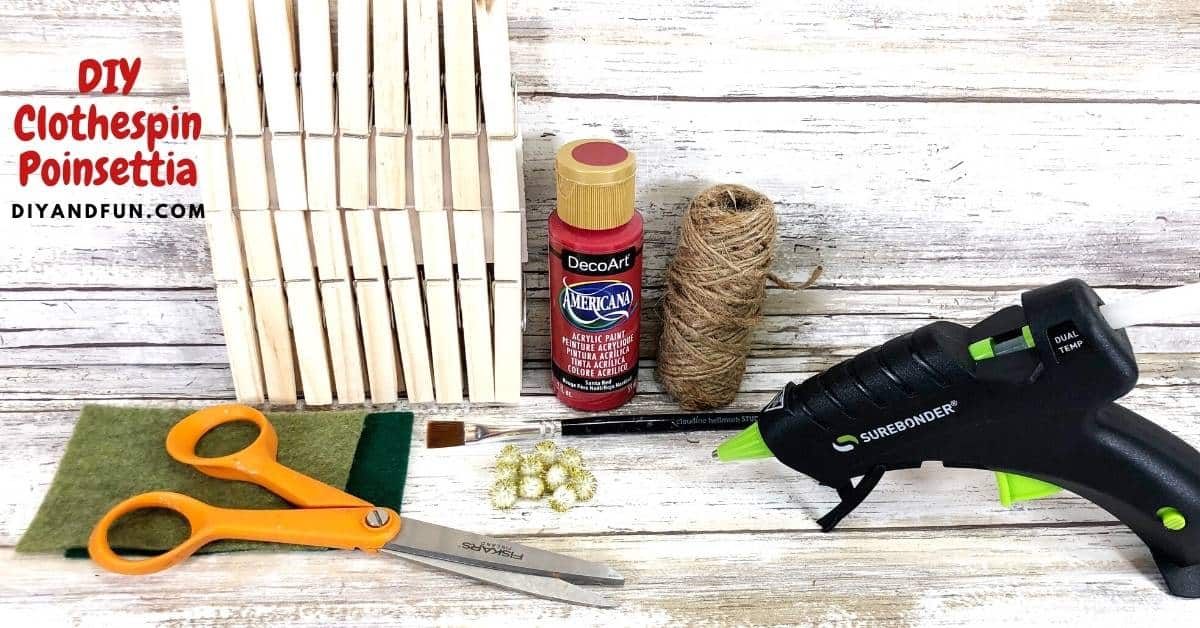
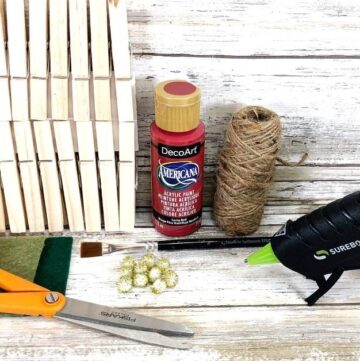
Materials needed to make clothespin poinsettias.
- Clothespins- 8-10 per ornament. Choose the wooden spring style kind of clothespins.
- Acrylic Craft Paint- red.
- Pom Poms and Gold Tinsel.
- Craft Felt- Bright Red, Olive Green, Dark Green.
- Natural Jute Twine
- Glue Gun and Glue Sticks.
- Marker, Paintbrush, and Scissors
- Circle Template – 2 ¼”
How to make a Clothespin Poinsettia Ornament DIY
Step One: Prepare the clothespins.
Prepare a works station that can be painted on.
Dust off the clothes pins if needed and remove any debris.
Then carefully remove the springs.
Line up five clothespins in a V shape on your work surface
Then line up five clothespins in a straight line to create a poinsettia shape.
Attach the wooden clothespin pieces together with a glue gun and glue sticks, using the photo above as a template.
Once the glue has set you can paint the front and all sides of the clothespin flower with primary red acrylic craft paint. Set aside to dry and apply a second coat, if necessary.
Step Two: Cut the felt pieces.
Place the circle template onto bright red craft felt and trace the outline of the 2 ¼” circle with a marker. Then carefully cut out circle from the felt, cutting inside the traced lines for a clean, finished project.
Glue this felt circle to the back of the poinsettia ornament.
Next, cut a leaf shape out of olive green and dark green craft felt with scissors. Place a ½” line of glue at the base of each leaf and fold in half to create dimension.
Step Three: finish the project.
Attach a variety of gold tinsel pom poms into the center of each clothespin poinsettia with a glue gun using glue sticks.
Next, cut a 12” length of natural jute twine, tie it in a loop with a knot, and attach to the top of the back with a glue gun and glue sticks.
Secure the leaves to the back of the flower, at an angle.
Enjoy!
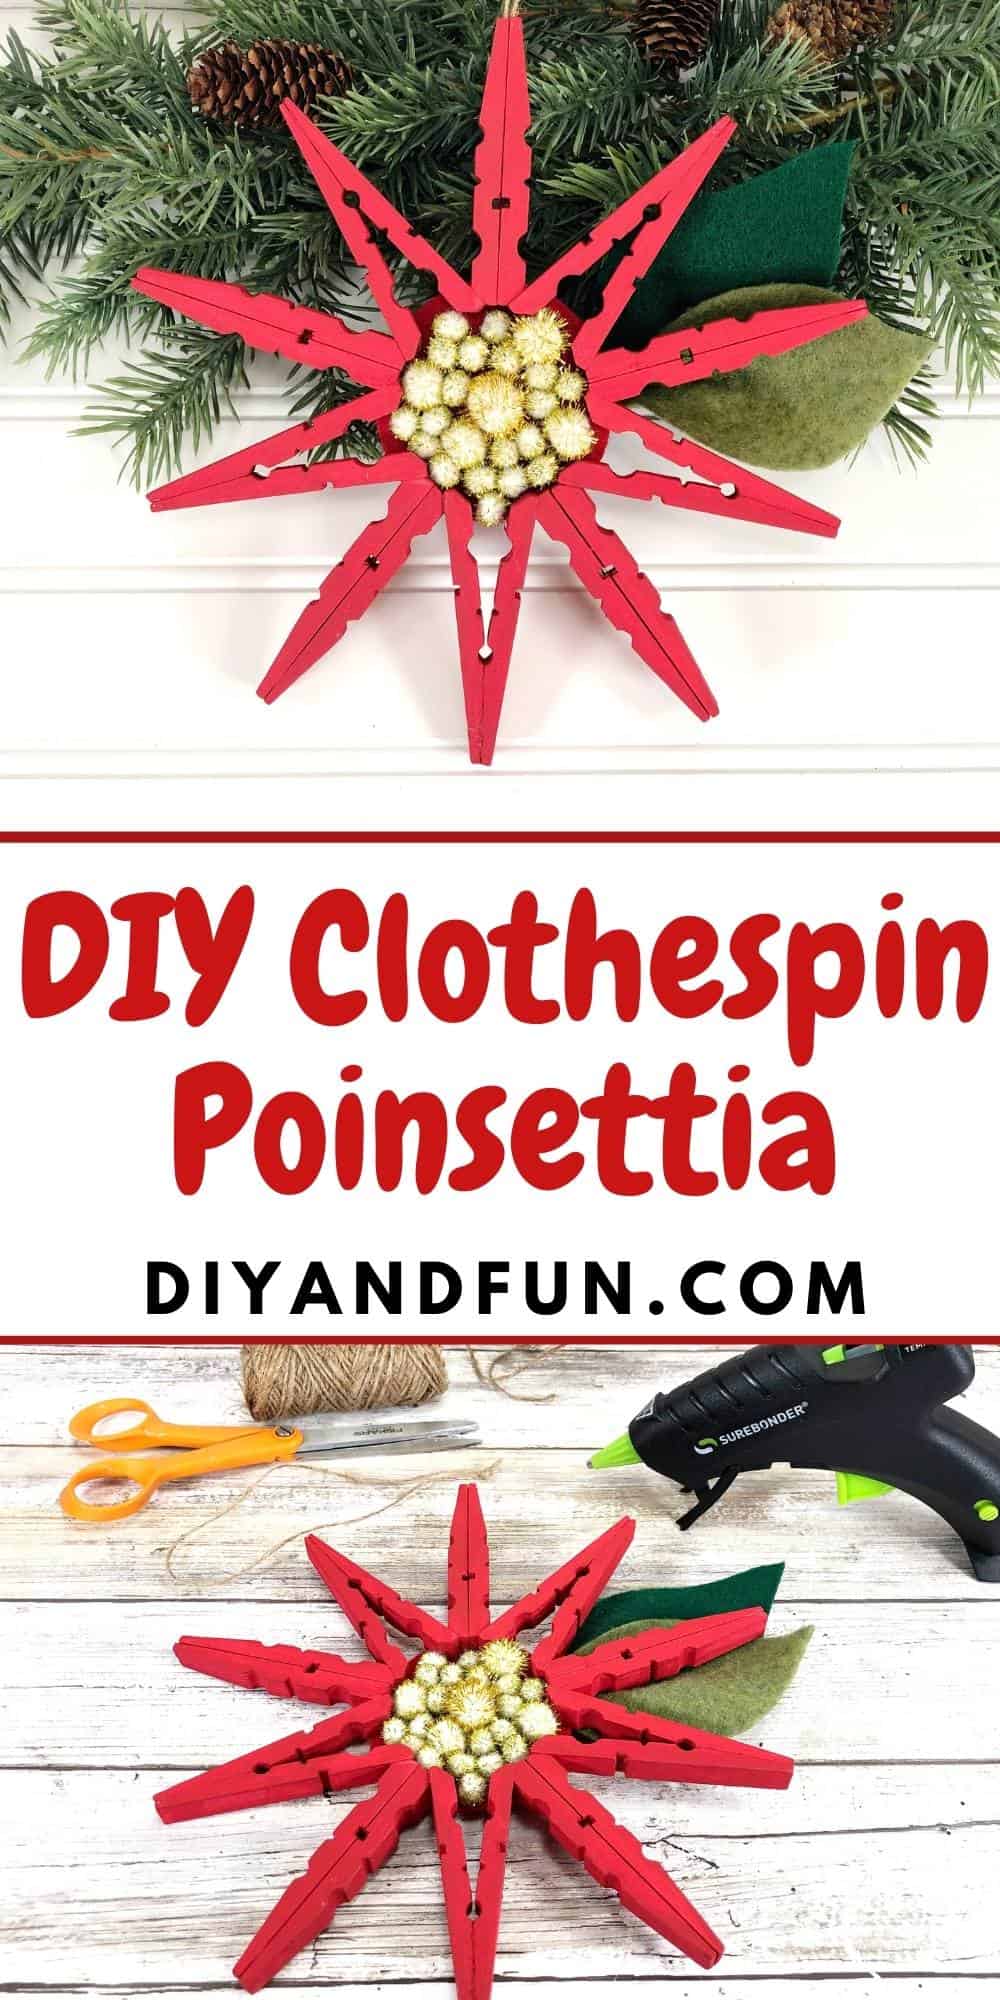
Clothespin Poinsettia Ornament DIY, a simple craft idea for making homemade Holiday or Christmas ornaments using clothespins.
Clothespin Poinsettia Ornament DIY
Ingredients
Instructions
- Line up five clothespins in a V shape on your work surface Then line up five clothespins in a straight line to create a poinsettia shape. Attach the wooden clothespin pieces together with a glue gun and glue sticks.Once the glue has set you can paint the front and all sides of the clothespin flower with primary red acrylic craft paint. Set aside to dry and apply a second coat, if necessary.
- Place the circle template onto bright red craft felt and trace the outline of the 2 ¼” circle with a marker. Then carefully cut out circle from the felt, cutting inside the traced lines for a clean, finished project. Glue this felt circle to the back of the poinsettia ornament.Next, cut a leaf shape out of olive green and dark green craft felt with scissors. Place a ½” line of glue at the base of each leaf and fold in half to create dimension. Attach a variety of gold tinsel pom poms into the center of each clothespin poinsettia with a glue gun using glue sticks.Next, cut a 12” length of natural jute twine, tie it in a loop with a knot, and attach to the top of the back with a glue gun and glue sticks.
Recipe Notes
originally posted:
November 22, 2021*As an Amazon Associate I earn from qualifying purchases. This means that the links on this website, and specifically on this post, that lead to other sites may be affiliate links.
Please note: Nutritional data has been calculated using a tool that comes with this recipe card and not by me. This means that Nutritional Information is only an estimate and can vary especially with ingredients that you use. The accuracy of this tool may differ from other tools as expected. Also note that there is no instructional value to the video that may be attached to this recipe. It is only there for visual pleasure. For more information about the images in this recipe, please refer the the recipe instructions. Thank you!
Follow Me


