How to Paint Rocks may be easier to do than you may think.
I like that this project is pretty easy to do.
How to Paint Rocks
This is a simple guide for painting rocks that can be used for display.
This project is suitable for most ages however, some may need some assistance.
Did you see how to Make Minions out of Flower Pots?
That Minion craft idea is another fun and easy project to do. Both this painted rock project and that flower pot idea are simple ideas that are suitable for most ages.
To seal the rocks and make them shiny you will need a product such as Krylon Clear Glaze. You can find Krylon Clear Glaze here.
Painting rocks is a fun craft activity that just about anyone can do.
The rocks can be painted to look like something (such as a ladybug), with a random design, or with words or phrases.
What do you do with the rocks?
Painted rocks look great as a display in your garden, as an accent on a table, or even if used as a paperweight.
However, painted rocks also make for a nice gift idea (that can be personalized easily!) or as a party gift.
My rocks have been painted using acrylic craft paint.
You can also use Acrylic paint pens for detailing.
Start by selecting smooth rocks that are as flat as possible.
Before painting the rocks they should be cleaned and allowed to dry.
Lastly, the paint should be sealed using a clear glaze.
Tips for making painted rocks.
River rocks work best in this project. This is because they are smooth which means that the paint will go on more smoothly.
More tips for you
- Select rocks that are flat for best results. Flatter rocks are easier to paint.
- River rocks can be found outside. However, for the best rocks for painting, check out you local landscape stores or you can find river rocks for painting here.
- Lastly, it is best to use rocks that are free of dirt, dust, or anything else that may be on them. Wash your rocks at least a day before you paint them so that they have time to dry. You can use running water with a sponge and a drop of dish soap if needed. Make sure that the soap is completely rinsed off as well.
Personalize your painted rocks.
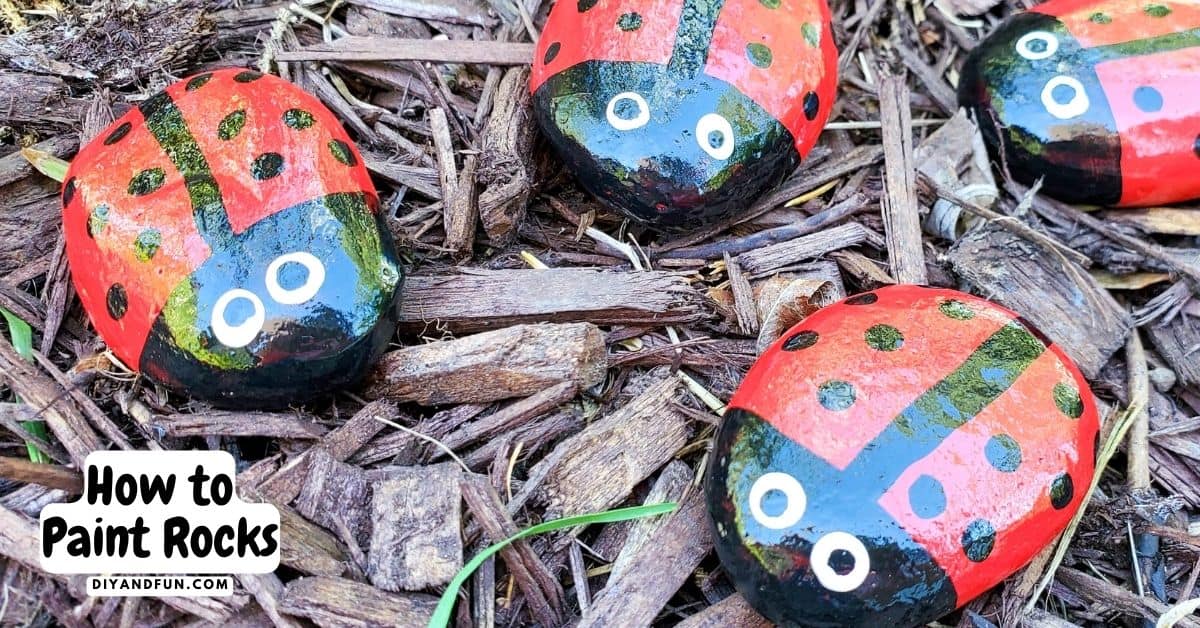
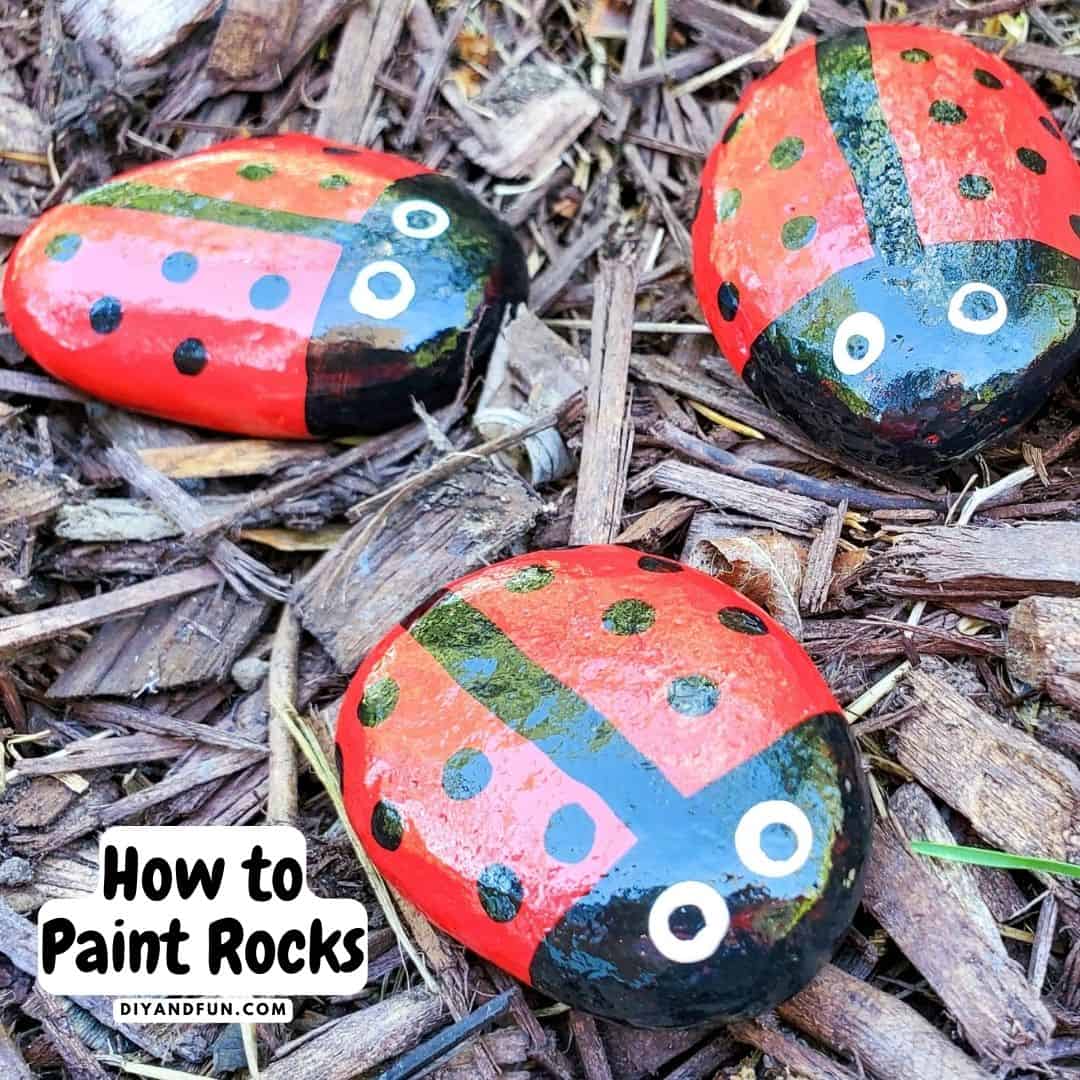
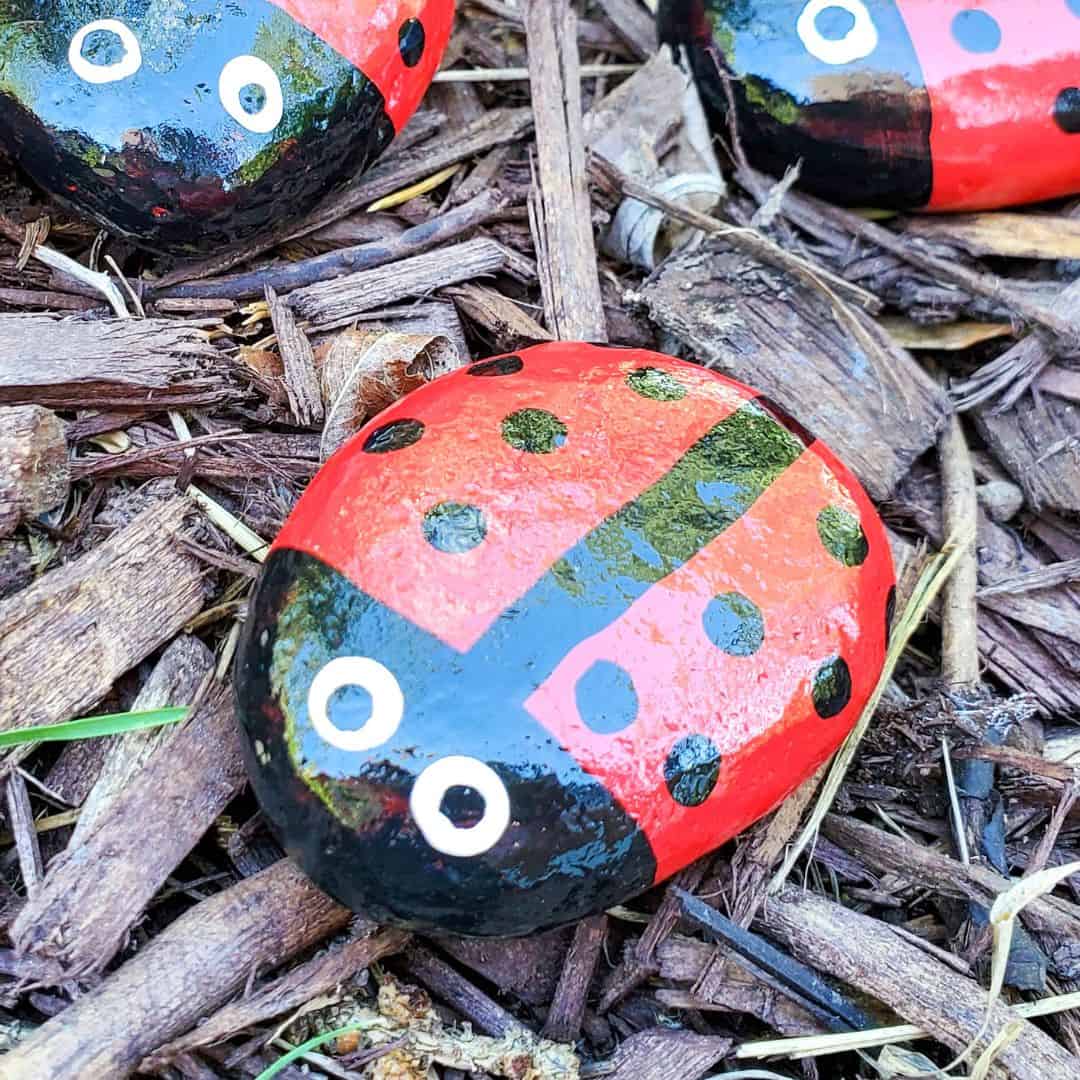
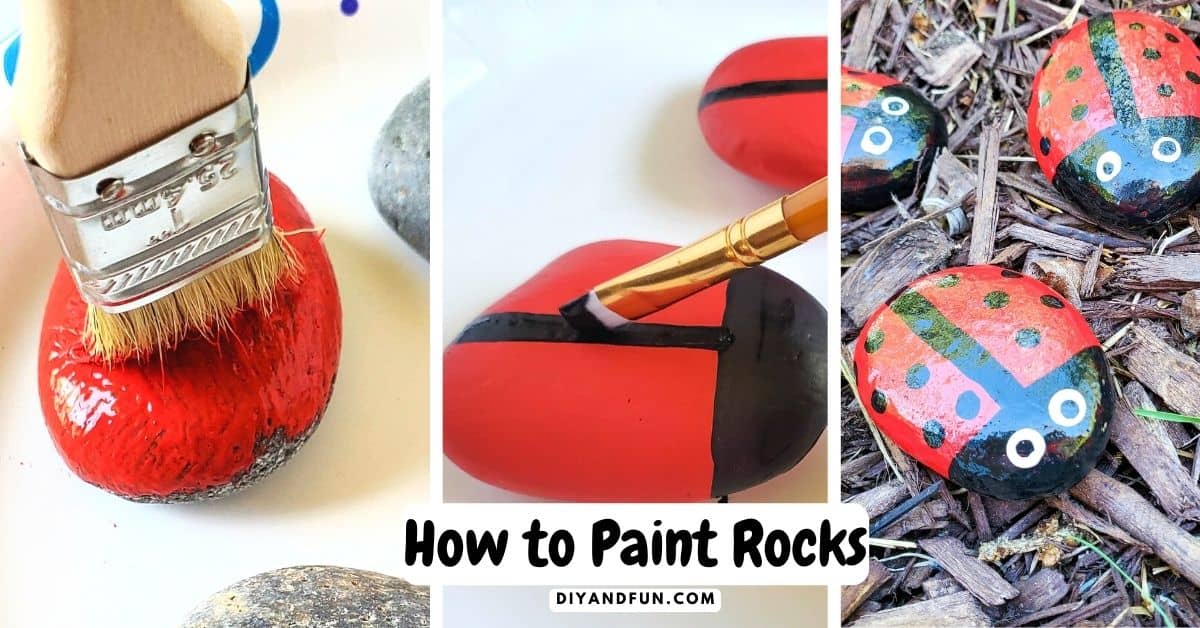
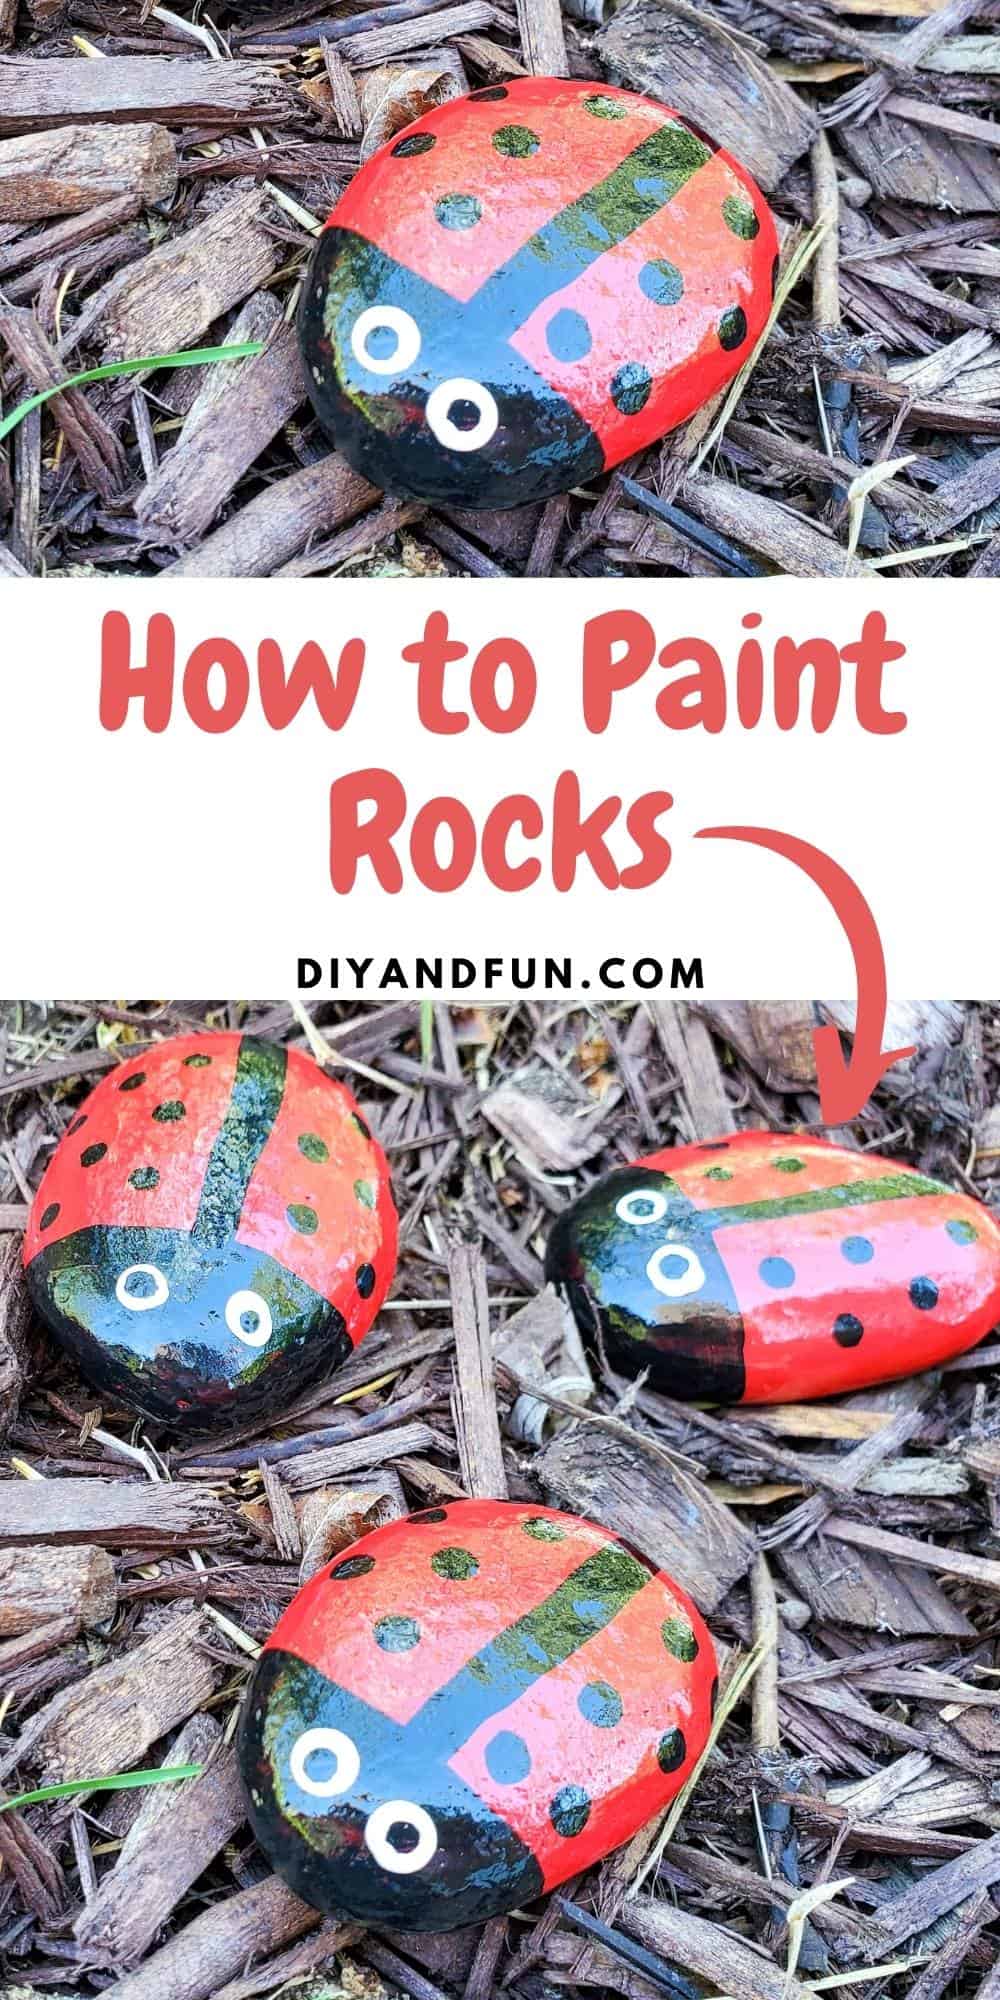
My rocks are painted in a simple ladybug design.
You can easily copy my ladybug or do the design of your choice.
Here are some design ideas that you can try for your painted rocks.
- Paint designs such as small flowers or stick figures on your rocks.
- Write quotes or names on your rocks.
- Coordinate your rock design with a design from your garden, a room, or even as part of a display.
👉Be sure to follow us on Facebook, Pinterest, and Instagram.
Subscribe to our Weekly Newsletter.
You may also be interested in these ideas.
How to prepare rocks for painting.
No matter where you find or buy your rocks from, they are bound to be dirty and need washing. Sometimes the rocks may just have a bit of dust on them while other times they could have dirt stuck to them.
Dirt and dust on the rocks can make it hard for the paint to stick to the rock which can ruin your design as a result.
- Start by washing the rocks under running water.
- If the rocks are need additional help, use a small amount of dish soap (some people use a bit of cleaner with bleach).
- An old toothbrush, scrubber, or sponge can be used to help get the dirt off.
- Give the rocks a thorough rinse before allowing them to dry.
- Lastly, allow for the rocks fully dry enough (up to a day depending on the rock) before painting.
Materials needed to paint rocks.
- River Rocks that are flat, smooth, and have been cleaned.
- Acrylic craft paint (mine have red, black, and white paint).
- Paint brushes. For my ladybugs, 1” foam, ¼” flat angled artist brush, and foam dabber.
- Krylon Clear Glaze .
- Optional- Acrylic paint pens. These are great for detail work or for writing on the rocks.
How to Paint Rocks.
Difficulty: Easy
Time to Make: 15 minutes, plus drying time.
Step One: prepare.
- Gather your supplies and prepare your work area.
- Make sure that your rocks are free of debris and are also dry.
- If rocks seem to be a bit porous you can apply a light layer of glaze and allow it to dry.
Step Two: paint the rocks.
You can paint your rocks with your own design or follow the steps below to make a ladybug design.
- Paint the entire rock red, using the one inch foam brush. Then allow the rock to fully dry before applying a second coat.
- For the head of the ladybug, use the ¼” flat angled artist brush to paint it black. Also, use the brush to paint the line down the center of the ladybug to give the appearance of wings.
- Next, use the foam dabber and black paint to paint the spots on to the body of the ladybug. Carefully clean and dry the dabber.
- Now, use the foam dabber with white paint to make the outside of the eyes and allow the white paint to dry.
- For the inside of the eyes, use the foam dabber. Make a tiny dot of black paint in the middle of the white to finish the eyes. Alternatively, you can use a black marker to do this.
👉Expert tip: You can speed up drying time by using a blow dryer or set the rocks by a fan.
Step Three: allow the painted rock to dry.
Once the rock is completely dry, spray with Krylon Clear Glaze to seal the paint, and protect it from the outdoor elements. You can also paint the bottom if desired.
How to Paint Rocks , a simple guide for painting landscape or other rocks for display or use. Most ages or with assistance.
HOW TO PAINT ROCKS
Materials
- River Rocks
- red, black, and white craft paint
- 1” foam, ¼” flat angled artist brush, and foam dabber.
- Krylon Clear Glaze .
Instructions
- Clean and dry the rocks.
- Paint the entire rock red, using the one inch foam brush. Then allow the rock to fully dry before applying a second coat.
- For the head of the lady bug, use the ¼” flat angled artist brush to paint it black. Also, use the brush to paint the line down the center of the lady bug to give the appearance of wings.
- Next, use the foam dabber and black paint to paint the spots on to the body of the lady bug. Carefully clean and dry the dabber. Now, use the foam dabber with white paint to make the outside of the eyes and allow the white paint to dry.
- For the inside of the eyes, use the foam dabber. Make a tiny dot of black paint in the middle of the white to finish the eyes. Alternatively, you can use a black marker to do this.
- Once the rock is completely dry, spray with Krylon Clear Glaze to seal the paint, and protect it from the outdoor elements.


