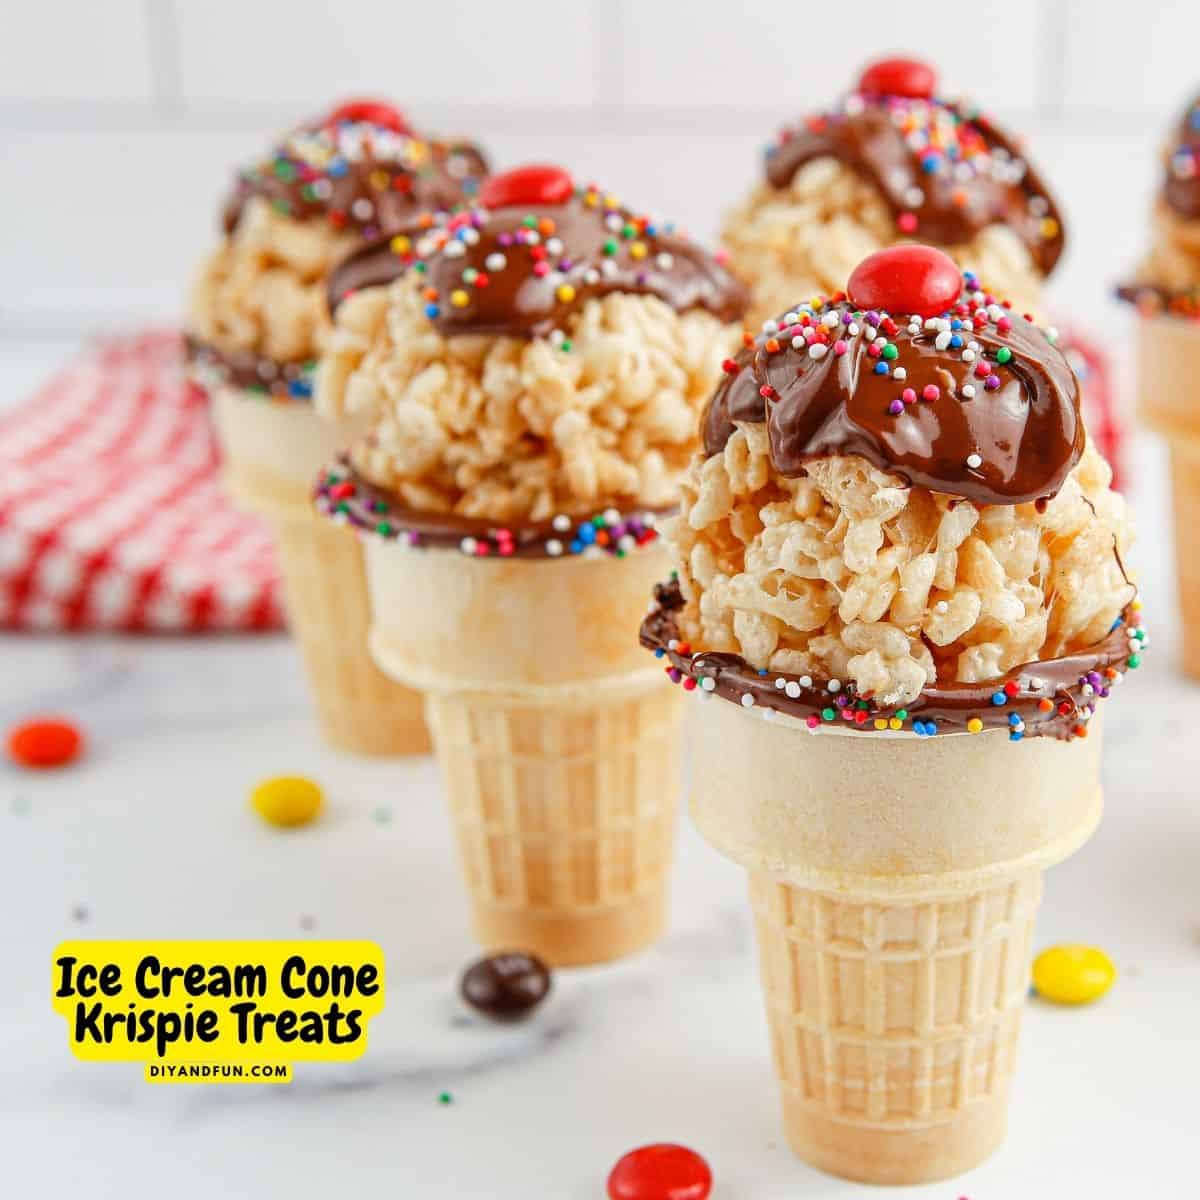
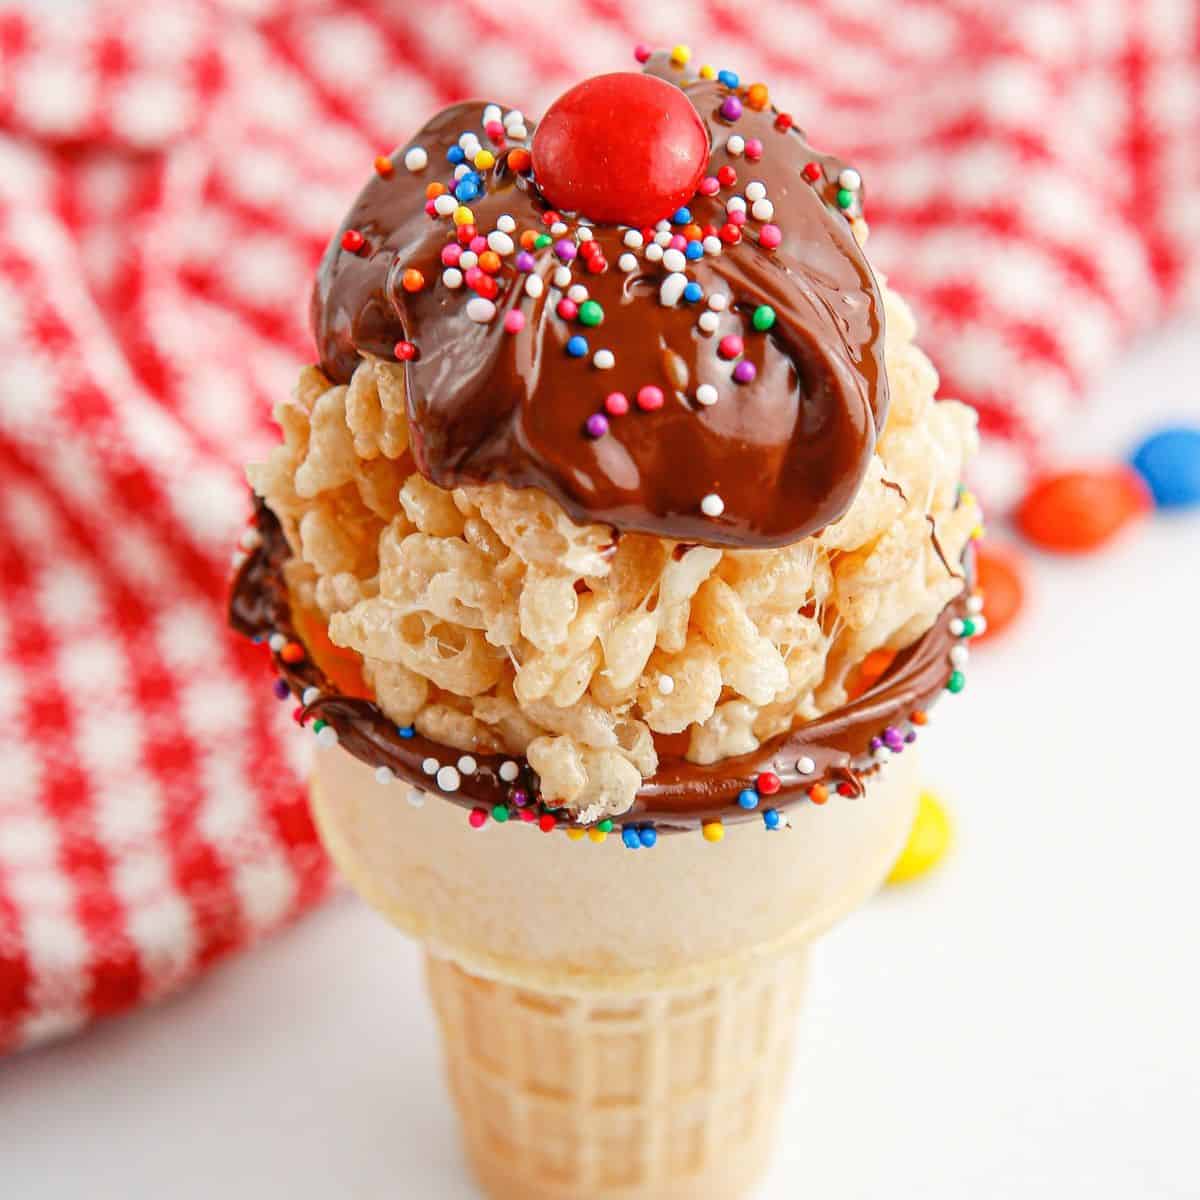
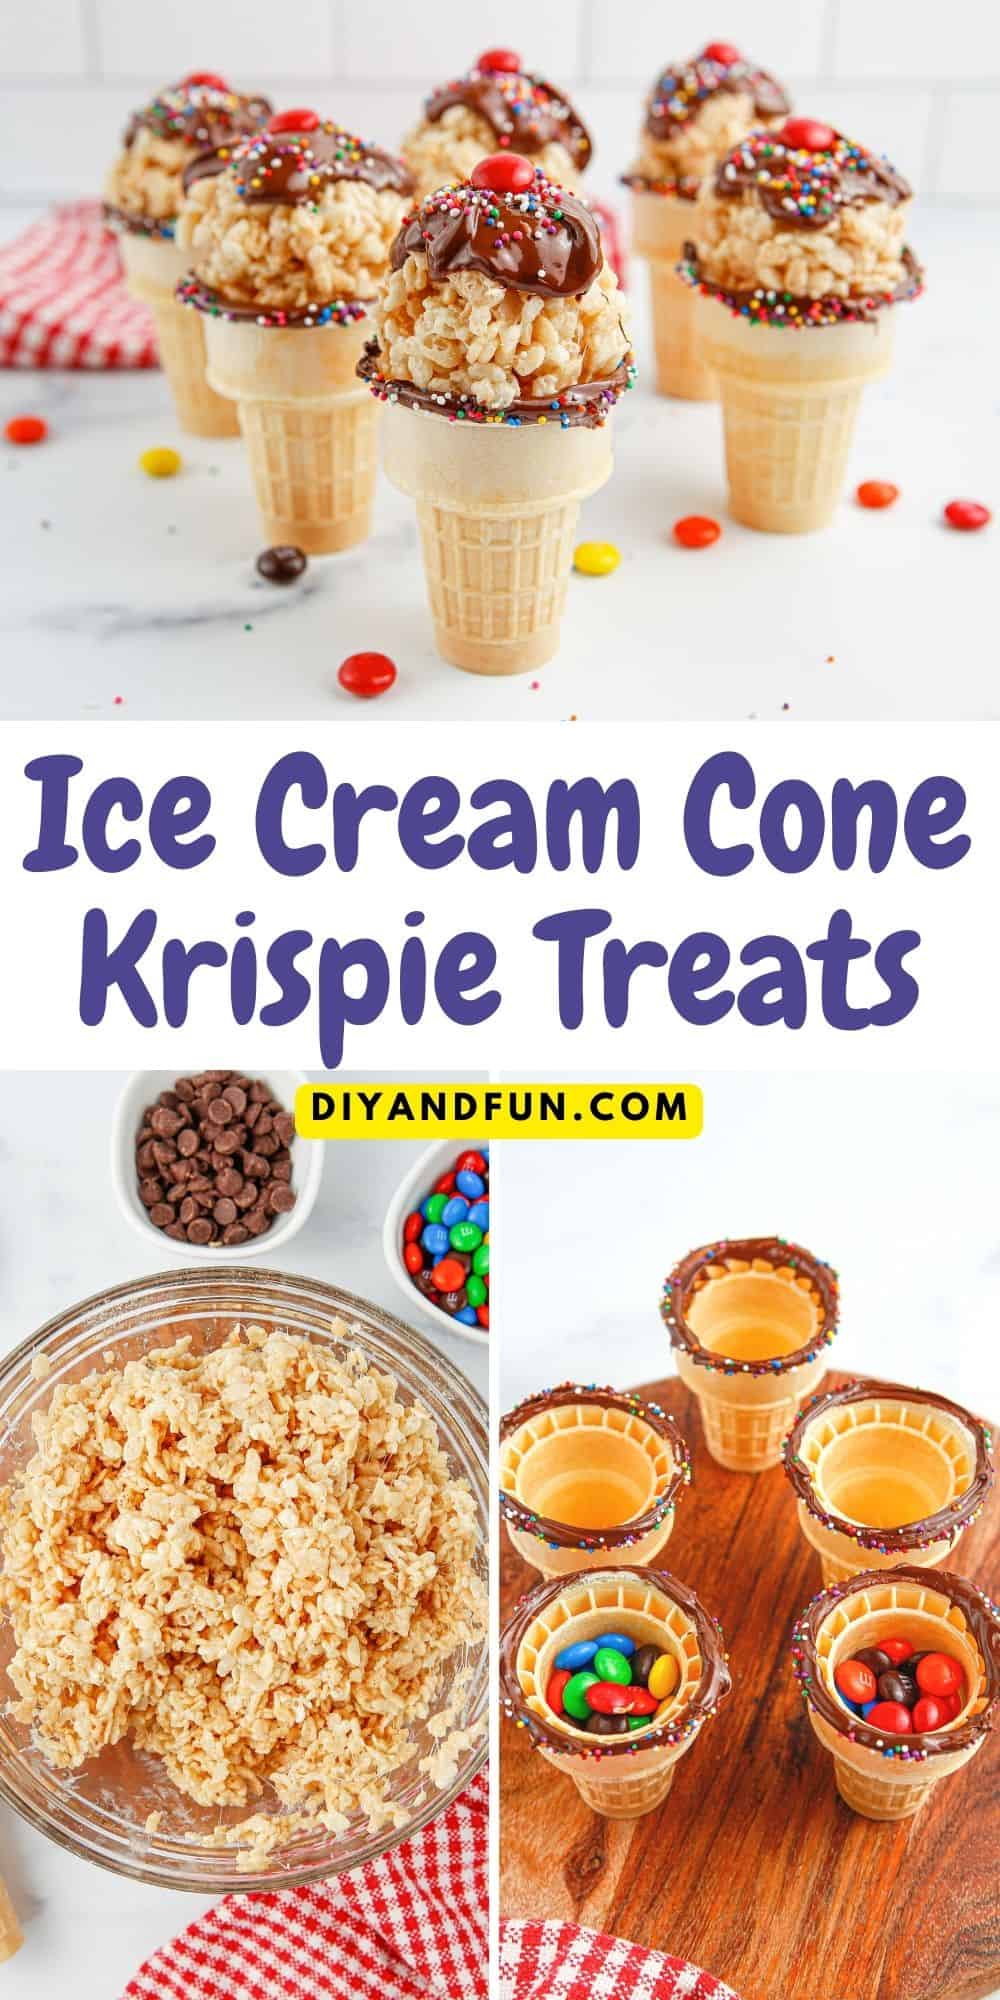
Ice Cream Cone Krispie Treats are a fun and tasty treat that is also easy to make
These tasty treats taste just like the real krispie treat but, with the added topping on top to make them even better!

Rice Krispie Treat Ice Cream Cones.
This is a simple idea for turning an empty ice cream cone into a tasty treat.
If you know how to make or for that matter, eat krispie treats, then you will find this recipe idea easy to make.
Did you see my recipe for Paw Print Krispie Treat Pops?
That paw print krispie treat is another fun easy to enjoy a favorite snack.
Both this ice cream cone treat and that paw print treat are fun treats that almost any age can enjoy!
Make your krispie treat cones even more authentic looking by topping them with ice cream toppings. You can find a selection of ice cream cone toppings here.
Frequently asked questions about krispie treat cones.
Krispie treats are cereal and marshmallow treats.
These treats are commonly made with Rice Krispie Cereal.
Krispie treats are popular as they are delicious and are relatively easy to make. They are also easy and delicious way to use the treats in other recipes such as this one.
An ice cream cone stuffed treat is simply an ice cream cone that has krispie treats inside of it. The krispie treats are first made using the recipe on the packaging and then they are scooped and placed into an empty ice cream cone.
While you could add a small amount of ice cream to these stuffed cones, they are not made with ice cream. These treats are instead made by stuffing an ice cream cone with rice krispie treats and then adding melted chocolate and toppings to make the cones look like an ice cream cone rather than a krispie treat.
Tips for making krispie treat cones.
When selecting cones to use, select cones that have a flat bottom.
This will make it easier for the cones to stand up.
More tips for you
- The cones are first dipped in chocolate before you can add the sprinkles around the brim of the cones.
It is a good idea to use a shallow bowl to hold them melted chocolate in so that your cone opening will fit properly in place. - When you fill your cones with krispie treats, use a cookie scoop to scoop the treats. This will help to keep the amount of treats uniform between cones and also will help you prevent overfilling the cones.
- I like to refrigerate my cones after I make them. This helps the ingredients to set better which in turn, help keep them attached to the cone rather than coming apart.
How to make cereal treats cones even better.
This ice cream cone treats are adorable and tasty just the way they are.
However, you can make yours even better.
Try one of these ideas.
- Use colorful cones rather than the basic color.
- Ot use food coloring and chocolate chips or other add-ins to make your cones look like regular ice cream cones.
- Instead of using rice cereal, use another cereal such as fruity pebbles.
👇You may also be interested in these ideas!👇
👉Be sure to follow us on Facebook, Pinterest, and Instagram.
Subscribe to our Weekly Newsletter.
About this recipe for krispie treat cones.
This is a simple recipe for making an ice cream cone with krispie treats.
An ice cream cone filled with krispie treats is a delicious and fun dessert idea especially for kids and parties.with rice krispie treats.
To make this treat we will first make the cereal treats.
Then we will add the krispie treats to each of the cones.
Lastly, we will add the ice cream decorations to make the cones tastier as well as cuter.
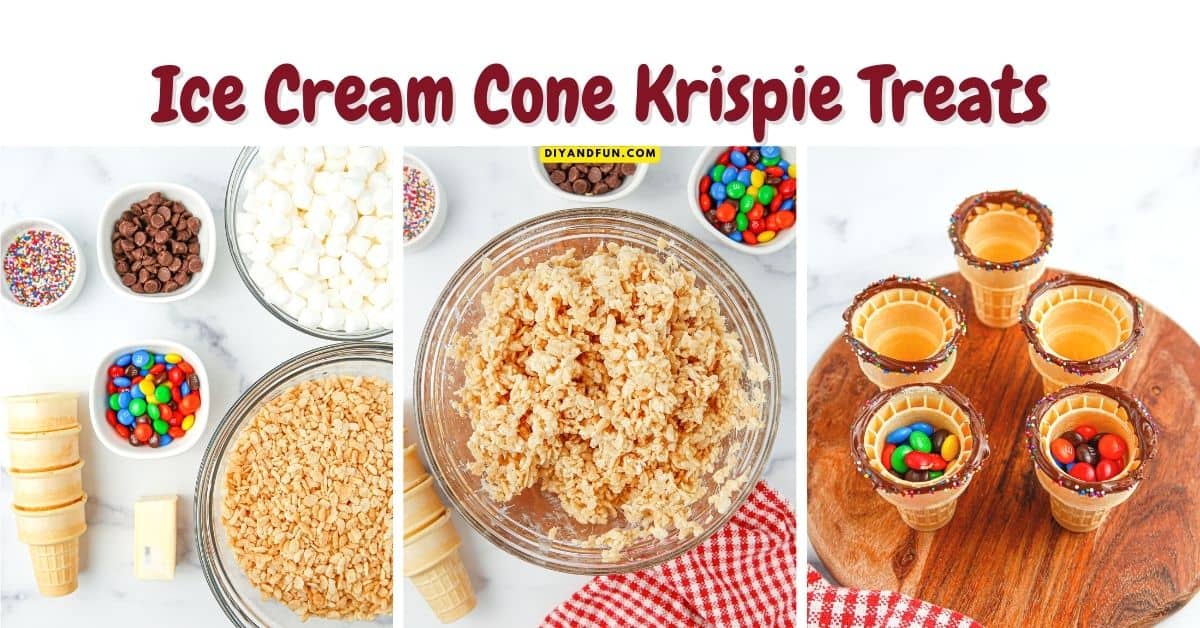
Ingredients needed to make Ice Cream Sundae Rice Krispie Treats
- Butter. You can use salted butter for this recipe.
- Marshmallows. Mini marshmallows work best in this recipe.
- Cereal, such as rice cereal. Rice Krispie cereal is the most common one used in this recipe.
- Chocolate Chips. Really, you can use other flavors with or instead of the chocolate.
- Ice Cream Cones. Use cones that have flat bottoms. Also, the cones should be as fresh as possible.
- Candies and/or decorations. M&M candies were used to make my cones.
- Optional toppings such a sprinkles, candies, or even chopped nuts.
How to make Ice Cream Cone Krispie Treat
Servings: makes 24 cones
Prep: 20 Minutes
Cook: 10 Minutes
Total: 30 Minutes
Store leftovers in an airtight container for up to 5-7 days.
Step One: make the krispie treats.
- In a microwave- safe bowl, melt the butter and marshmallows, carefully stopping to stir every 45 seconds until melted. If you are using a stovetop, melt the ingredients on medium high heat, stirring as needed.
- Once the heated ingredients have melted together, remove them from the heat and stir in the cereal.
- While the ingredients are cooling, prepare a baking sheet with wax paper or silicone pad.
- Once the heated ingredients have slightly cooled enough to handle, Use an ice cream scoop to scoop out ice cream sized scoops to form balls.
- Place each of the formed balls on the wax paper or mat that you just prepared to cool while you prepare the cones.
Step Two: prepare the cones.
- Start by inspecting each of the cones to make sure that they are fully intact.
- Place your sprinkles in a shallow bowl or rimmed plate.
- In a shallow microwave safe bowl, melt a half cup of the chocolate chips, stopping to stir every 20 seconds, until melted.
- Dip the top of each of the cones into the melted chocolate.
- Then dip the cones into your sprinkles.
- Set the cones aside to fully cool.
Step Three: assemble the cones.
- When you are ready to fill your cones, start by adding the candies (my cones have M&M's) to each of the cones.
- Layer the candies with the cereal scoops that you made in the first step.
- Next, melt the remaining chocolate using the (microwave) method that you used before.
- Carefully, use a teaspoon to spoon the melted chocolate over the top of each cone to create a fudge sundae look.
- Lastly, garnish each cone with sprinkles and with an M&M or candy on top.
- Allow the chocolate to cool before serving.
Ice Cream Cone Krispie Treats, an adorable and tasty dessert or snack treat featuring and ice cream cone filled with a tasty treat.
👇Popular Ideas👇
In case you missed something.
- Rice Krispie Treat Ice Cream Cones.
- Frequently asked questions about krispie treat cones.
- Tips for making krispie treat cones.
- How to make cereal treats cones even better.
- About this recipe for krispie treat cones.
- Ingredients needed to make Ice Cream Sundae Rice Krispie Treats
- How to make Ice Cream Cone Krispie Treat
Ice Cream Cone Krispie Treats
Materials
- 4 tbsp Butter
- 10 oz Marshmallows
- 6 cups Krispie Cereal
- 1 ½ cups Chocolate Chips
- 24 Ice Cream Cones
- 2 cups Candies
Instructions
- In a microwave- safe bowl, melt the butter and marshmallows, carefully stopping to stir every 45 seconds until melted.
- If you are using a stovetop, melt the ingredients on medium high heat, stirring as needed.
- Once the heated ingredients have melted together, remove them from the heat and stir in the cereal.
- While the ingredients are cooling, prepare a baking sheet with wax paper or silicone pad.
- Once the heated ingredients have slightly cooled enough to handle, Use an ice cream scoop to scoop out ice cream sized scoops to form balls. Place each of the formed balls on the wax paper or mat that you just prepared to cool while you prepare the cones.
- To prepare the cones, start by inspecting each of the cones to make sure that they are fully intact. Place your sprinkles in a shallow bowl or rimmed plate.
- In a shallow microwave safe bowl, melt a half cup of the chocolate chips, stopping to stir every 20 seconds, until melted. Dip the top of each of the cones into the melted chocolate. Then dip the cones into your sprinkles. Set the cones aside to fully cool.
- When you are ready to fill your cones, start by adding the candies (my cones have M&M's) to each of the cones. Layer the candies with the cereal scoops that you made in the first step.
- Next, melt the remaining chocolate using the (microwave) method that you used before. Carefully, use a teaspoon to spoon the melted chocolate over the top of each cone to create a fudge sundae look.
- Lastly, garnish each cone with sprinkles and with an M&M or candy on top. Allow the chocolate to cool before serving.
Notes
Also, please see the actual recipe post for further details on this recipe. Nutritional Information is only an estimate and can vary especially with ingredients that are used. See DiyandFun.com for details on this recipe.
Thanks so much for visiting!
If you decide to try any of the ideas listed in this article please tag on social media @diyandfun. We like to hear your ideas and suggestions.
DIY and Fun is a website dedicated to providing you with the best DIY projects, crafts, recipes, hiking, and fun ideas that inspire. Whether you're looking for a new way to decorate your home, learn a new skill, or simply have some fun, DIY and Fun has something for everyone.
Here are some additional ways to keep coming back to DIY and Fun:
- Sign up for our email newsletter. We'll send you weekly updates with new projects, inspiration, and more.
- Follow us on social media. We're on Facebook, Twitter, and Pinterest.
- Our community forum is coming soon. Share your projects, ask questions, and get inspired by other DIYers.


