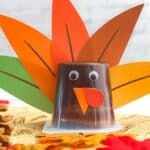
This DIY Turkey Pudding Cups project is a fun idea for Thanksgiving.
This turkey craft activity idea is especially nice for kids to try.
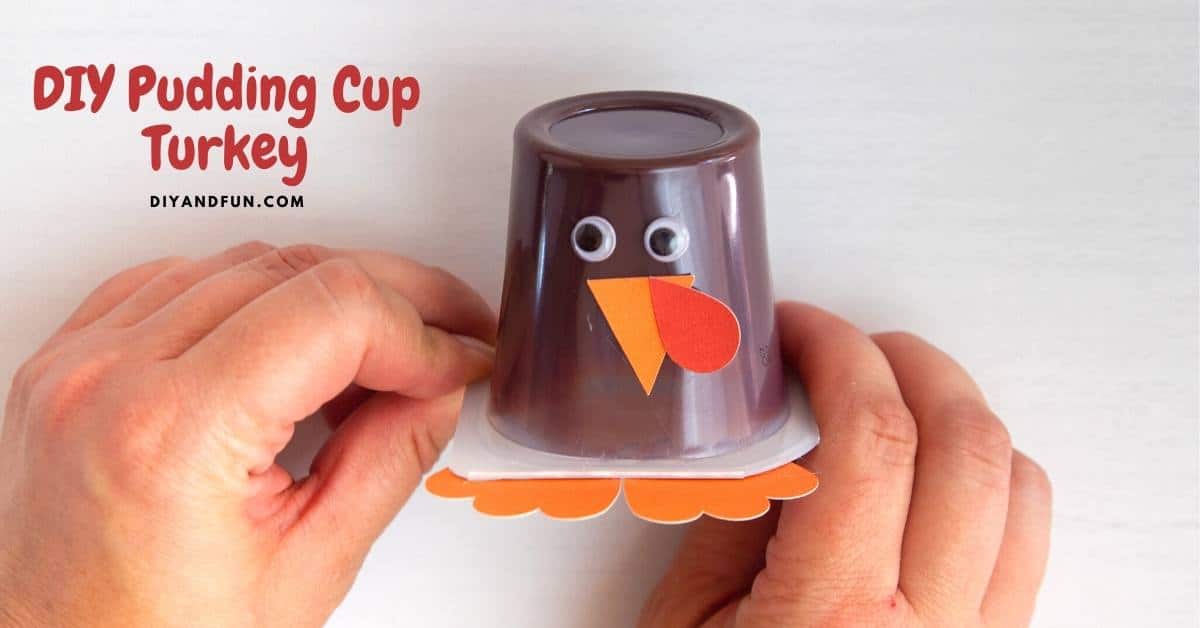
DIY Turkey Pudding Cups
This project is as simple as turning a pudding cup into a turkey.
All it takes to do so is pudding cup and a few supplies.
Did you see 20 Cheap Fall Activities for Families?
That article is loaded with fun ideas that do not cost a lot of money for a family to do.
This do it yourself project is an additional idea that could easily be done without spending too much money!
This project calls for using scissors to cut out the pattern that I will be providing you with. You can find scissors made especially for young ones here.
This is especially for anyone looking for fun Thanksgiving diy decorations.
I say this is fun partly because the pudding can be eaten after making the turkey.
Also, this is what I would consider to be an easy project with minimal work.
This project is especially fun because is can be as simple as you want it to be.
I will provide you with the template that you can use to make the decorations with.
As a result, this is little to have to think about.
You may be wondering what can kids do on Thanksgiving week.
This project is one of the ideas that you can occupy kids with.
I like that these pudding turkeys can be used as decoration and then eaten as a dessert.
Here are some more ways to use these pudding cup turkeys.
- Use a marker to write names on each turkey to use it for seating on Thanksgiving.
- Make these as a gift for teachers, neighbors, or even grandparents.
- Place the decorated pudding cup in lunchboxes for kids.
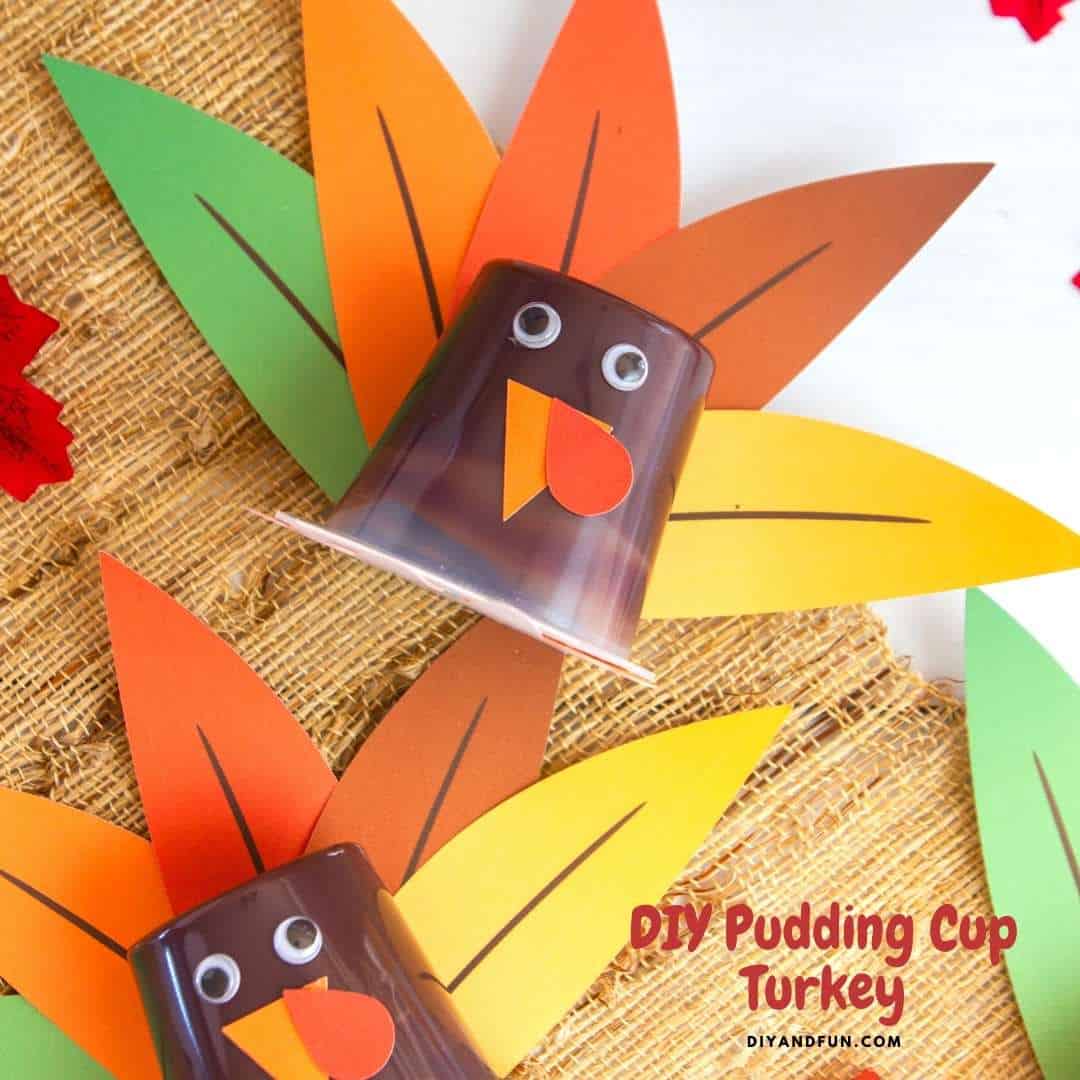
Tips for making this easy turkey craft.
For best results, use pudding cups that are at room temperature.
This will allow for the glue to stick better.
More tips for you
- This project works best when using a low heat glue gun. However, it is always best to use what is age-appropriate for your child so please do so.
- While this project would work with simple construction paper, you could uses something more firm to insure that the 'feathers' hold up. Cardstock or foam board are good choices.
- Gluing each feather on one at a time is a nice idea for spacing. However, it may be easier to arrange the feathers and glue them all together before
gluing them to the pudding cup.
Personalize your pudding craft project.
This project is basically a cut out the template pieces and then gluing them on to the pudding cup. However, you can personalize your turkeys too.
How to personalize your turkey pudding cups.
- Instead of using pudding cups, try using gelatin or applesauce cups.
- Make this craft idea even more personable by using traced hands on paper for the feathers instead of the template feathers.
- Add additional features such as silly hair, feet, or arms (pipe cleaners, felt, markers etc can be helpful).
👉Be sure to follow us on Facebook, Pinterest, and Instagram.
Subscribe to our Weekly Newsletter.
You may also be interested in these ideas.
About this turkey craft project.
To make this project you will need non-perishable individual sized pudding cups.
Chocolate pudding cups will give you the color that is more like a turkey however, you can really use any color or flavor.
I will provide you with a template.
It is recommended that you print out the template on a thicker paper like a cardstock. Another option is to trace it on to form or a heavier board.
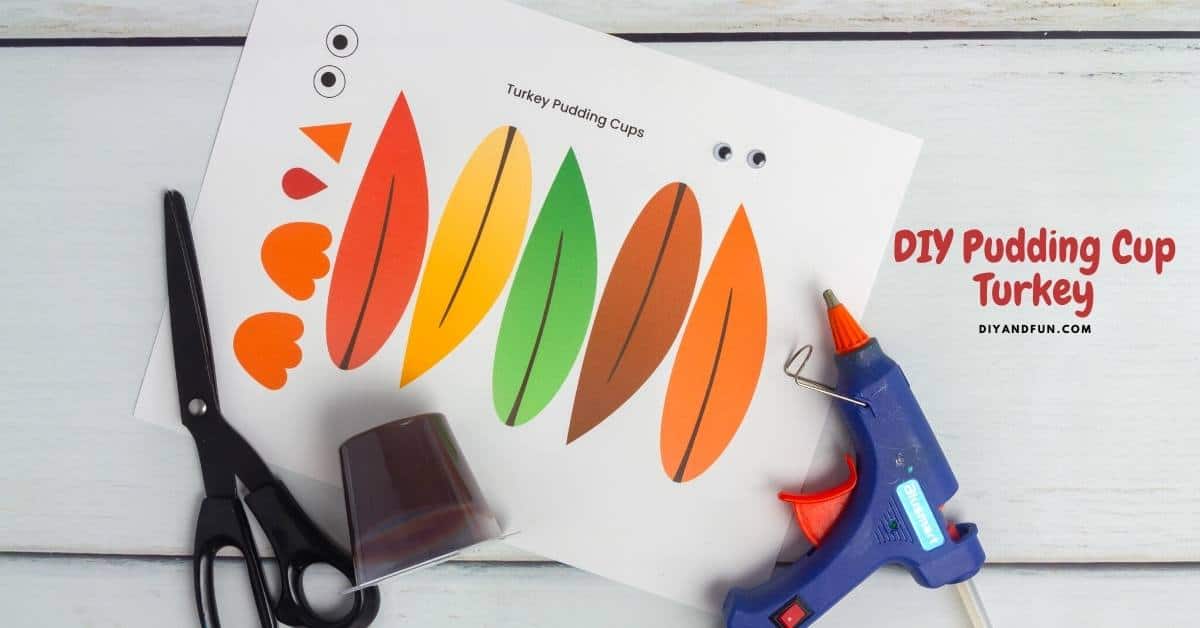
Materials Needed to make this Turkey Thanksgiving Project.
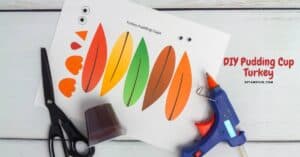
- This Template
- White cardstock
- Chocolate pudding cups (nonperishable and full).
- Googly eyes
- Scissors
- low heat glue gun and sticks or the glue/ glue gun of your choice.
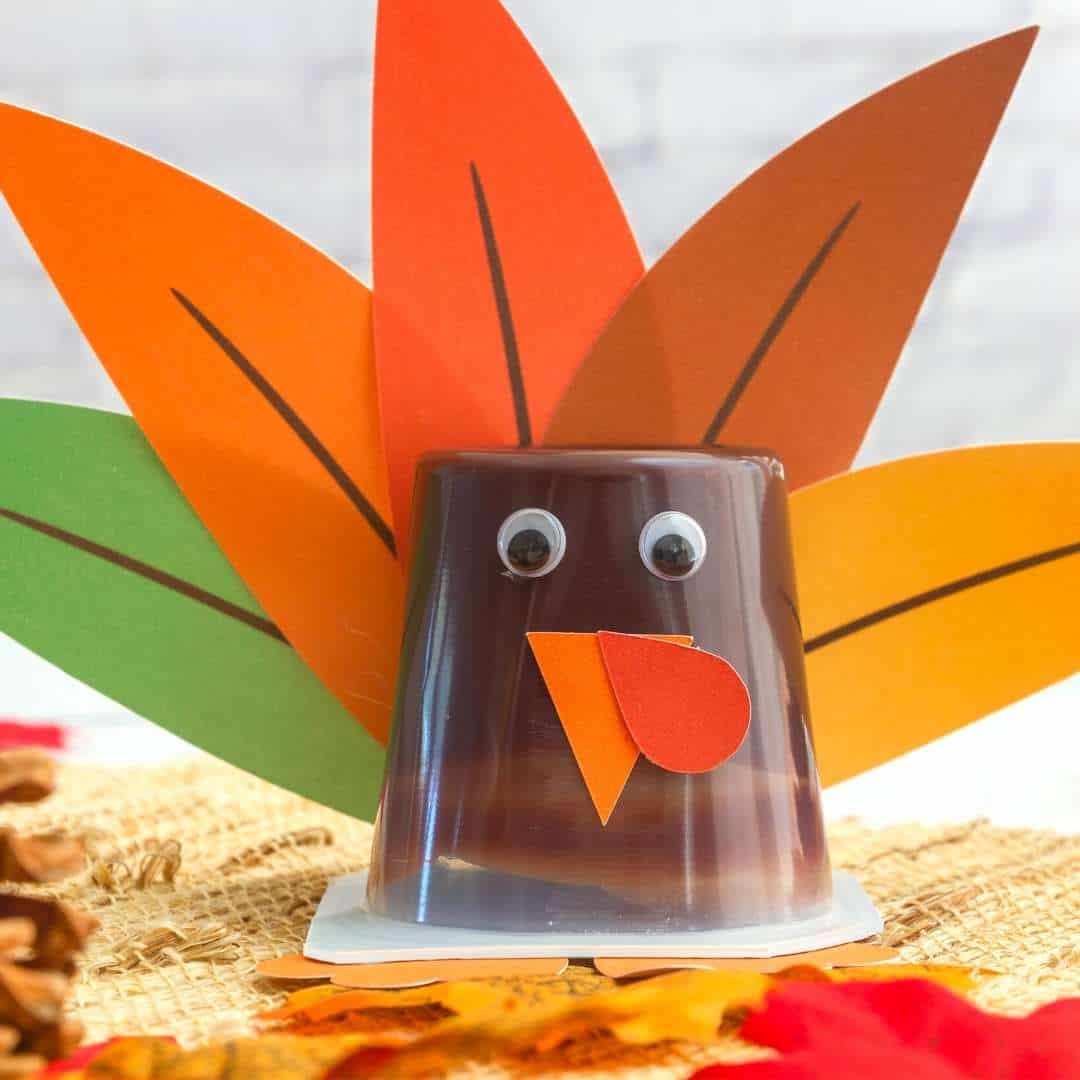
How to make DIY Turkey Pudding Cups
Step One: prepare the materials.
Download the Template , heat your glue gun, and cut out the pieces.
Step Two: attach the turkey pieces.
Turn the pudding cup upside down so that the largest part of the cup is facing down.
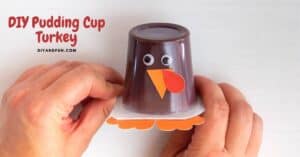
Glue the red waddle on top of the turkey beak and then glue the beak onto the pudding cup. Make sure beak points down.
Next, glue the eyes on to the cup above the beak, slightly above the beak.
For the feet, they should be glues to the bottom of the cup (which is actually the lid).
Step Three: attach the feathers.
The feathers should be attached to the backside of the cup with the printed side facing the cup.
Lastly, glue the feather plume to the pudding cup on the opposite side of the face, making sure the printed design faces the pudding cup.
DIY Turkey Pudding Cups, A simple do it yourself activity project especially for kids. Make a turkey using a pudding cup.
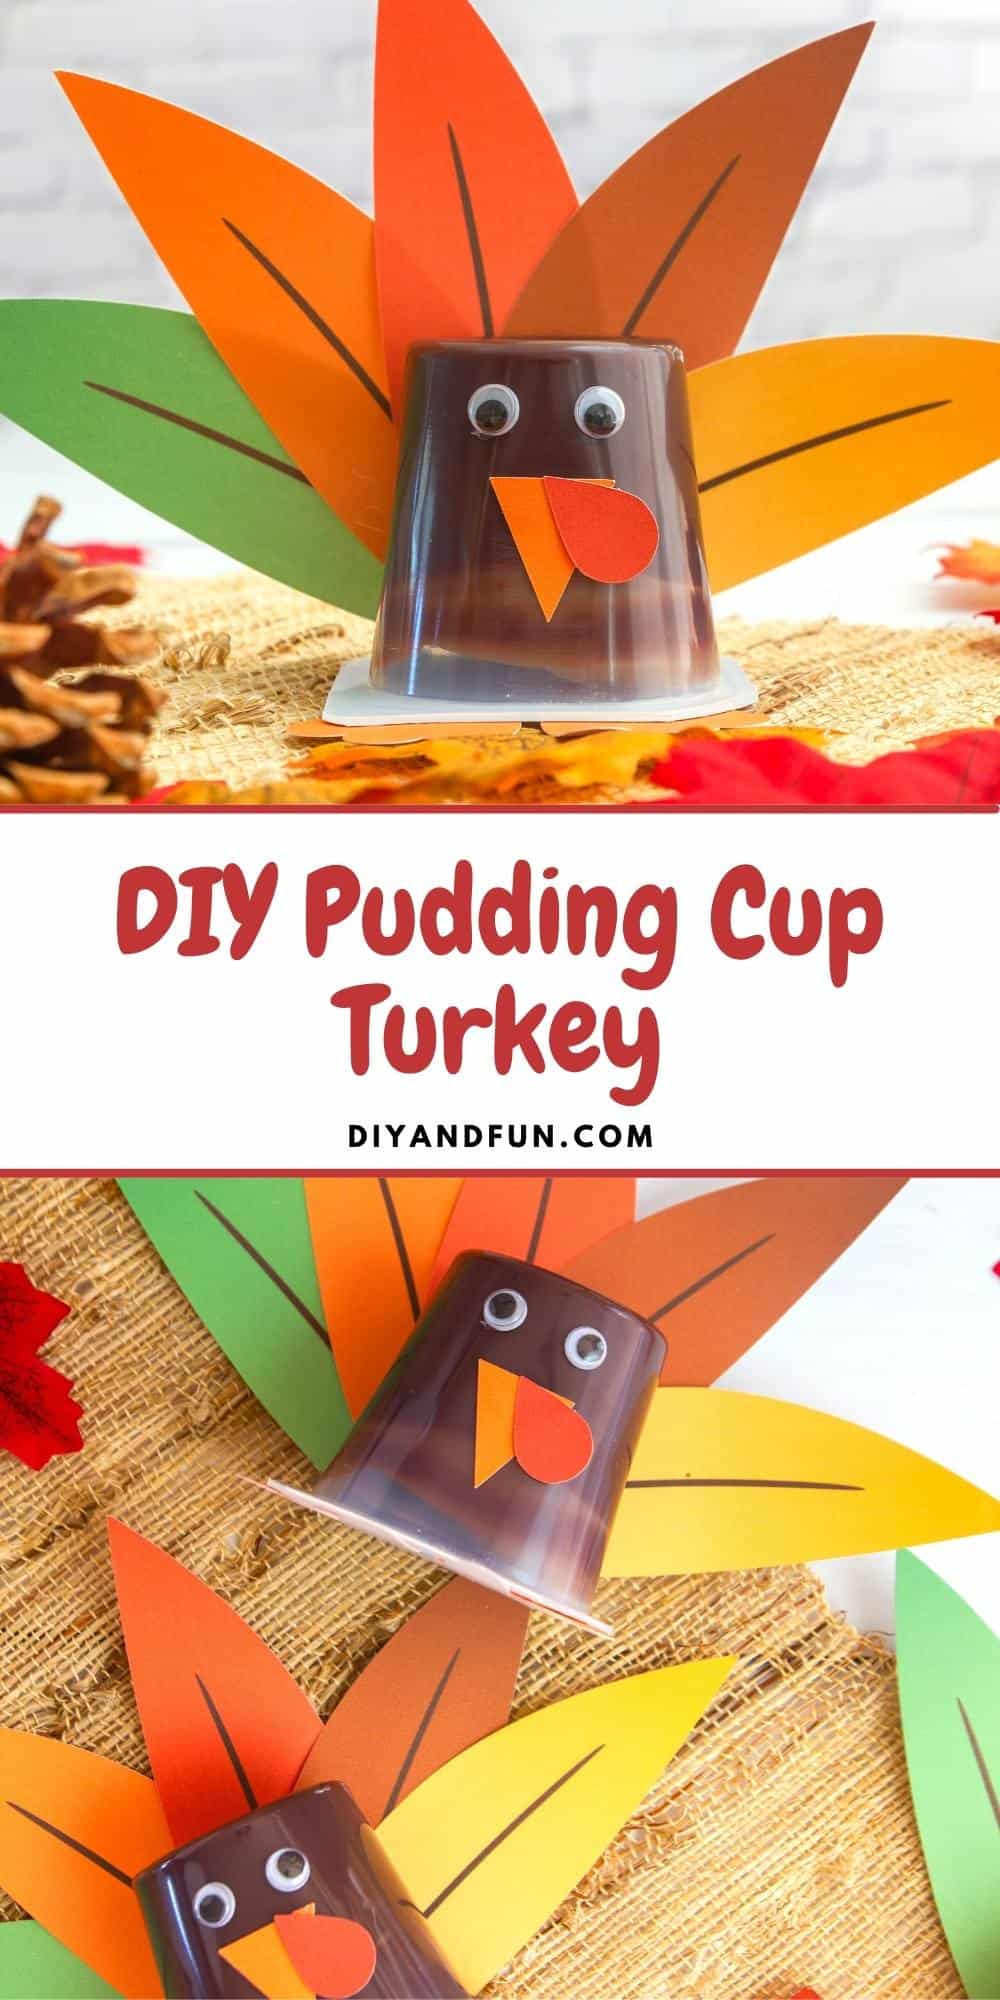
DIY Turkey Pudding Cups
Materials
- Template -see post for download
- White cardstock
- Chocolate pudding cups
- Googly eyes
- Scissors
- low heat glue gun
Instructions
- Turn the pudding cup upside down so that the largest part of the cup is facing down. Glue the red waddle on top of the turkey beak and then glue the beak onto the pudding cup. Make sure beak points down.Next, glue the eyes on to the cup above the beak, slightly above the beak .For the feet, they should be glues to the bottom of the cup (which is actually the lid).
- The feathers should be attached to the backside of the cup with the printed side facing the cup. Lastly, glue the feather plume to the pudding cup on the opposite side of the face, making sure the printed design faces the pudding cup.


