
Simple Irish Cream Coffee Bombs that make a warm beverage even better.
This is the perfect treat especially for holidays such as St. Patrick's day!

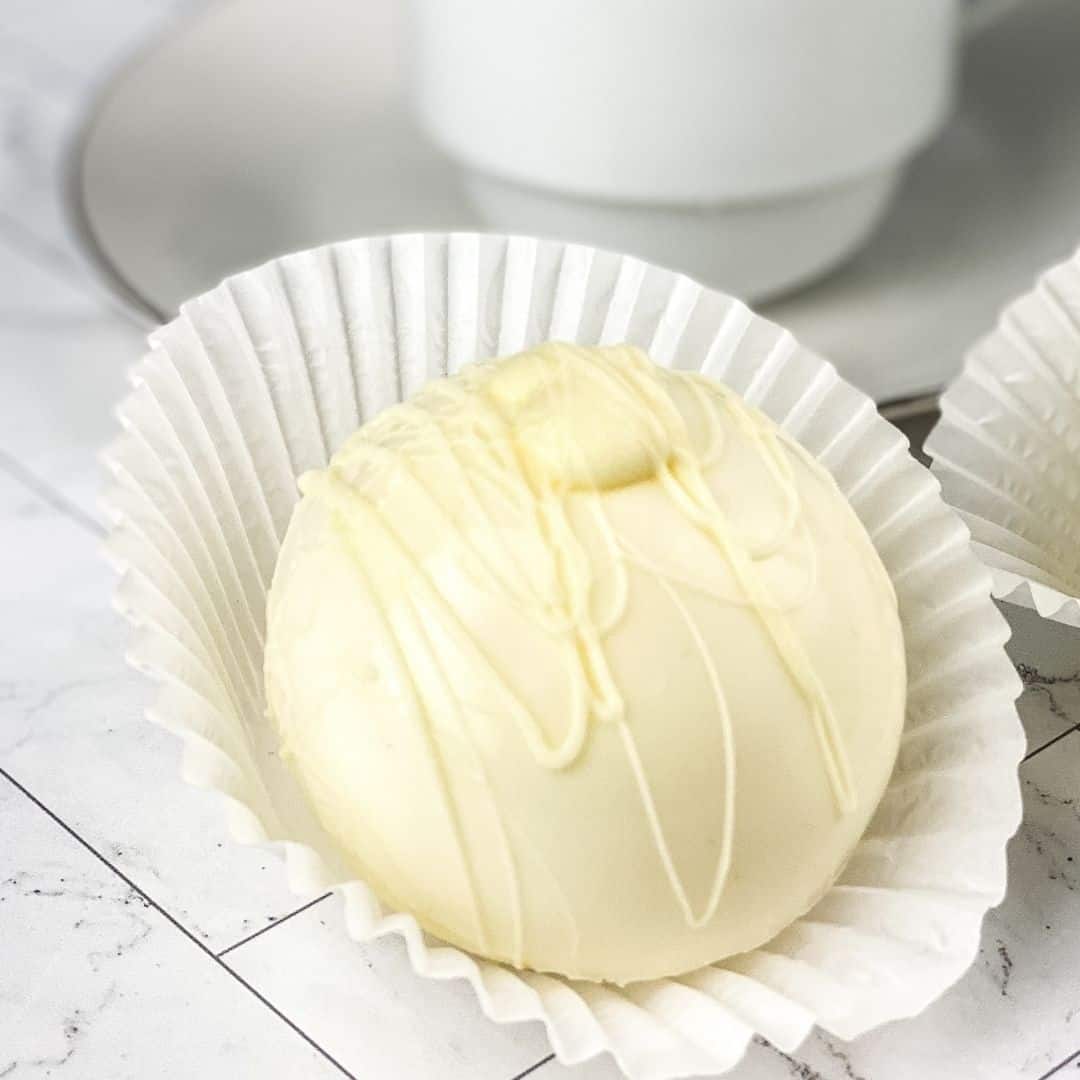
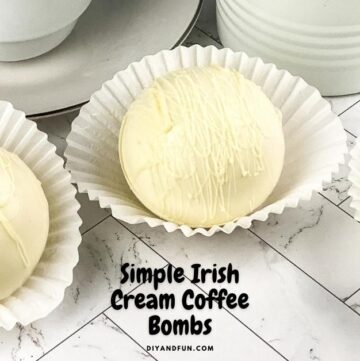
Simple Irish Cream Coffee Bombs
This is a chocolate coated bomb that holds the ingredients inside.
The ingredients that are added will make most any warm cup of coffee even better!
Did you try my Easy Hot Chocolate Bombs?
That hot bomb recipe is perfect for anyone looking for an easy to make hot chocolate drink.
Bot this recipe for bombs and that recipe would go nicely on a cold day!
To make this recipe you will need Silicone Molds. You can find Silicone Molds for bombs here.
People ask what is Irish crème coffee.
Irish crème coffee is certainly not something that you will find at your local coffee shop.
You may be able to find it at a location such as a bar or restaurant that serves alcohol however.
Irish crème coffee is a flavor of coffee that that reminds us of Irish crème.
The Irish crème usually comes from alcohol such as whiskey along with the added creamer.
This makes the beverage especially popular during holidays such as St. Patrick's day.
What is an Irish Cream Coffee Bombs?
An Irish Cream Coffee Bomb is like any other kind of beverage bomb.
It is a chocolate coated sphere that contains ingredients.
In the case of this recipe, the ingredients are everything that you need to add to warm coffee.
The chocolate covered sphere is meant to be dropped into a warm cup of coffee.
This will melt the chocolate which allows for the chocolate and everything inside of it to be added to the warm coffee.

Tips for making a coffee bomb.
This bomb will hold more ingredients than the average beverage bomb.
As a result, it is important that handling the bomb as little as possible as it will be fragile.
More tips for you
- To use the bombs it is best to gently place it into the mug first and on its side. Then pour hot coffee on to the seam to break the bomb open. You can carefully stir the ingredients as needed.
- These bombs can be stored in a freezer. I suggest wrapping them individually in a sturdy container if possible.
- Using a quality whiskey is recommended for the bombs. This is because cheaper products can make the coffee curdle.
Personalize coffee bombs.
These coffee bombs are a fun way to make warm coffee more exciting.
They are great for entertaining with or even giving away as gifts to others.
Here is how to make your coffee bombs even more fun.
- Make these bombs non-boozy by using Irish Cream syrup instead of whiskey. You may need to adjust how much you add.
- Sprinkle colorful sprinkles on the molds before adding the chocolate.
- Add another kind of alcohol such as rum to your bomb.
You may also be interested in these ideas.


About this recipe for coffee bombs.
This coffee bomb holds everything that is needed to turn your hot coffee into something special.
The flavoring of the bomb is like that of Irish cream.
Subscribe to DIYandFun
This recipe is made with using whiskey.
As a result this is an adult themed recipe.
However, you can make this a non-boozy coffee bomb by using Irish Cream syrup instead of whiskey, adjusting the amount used as needed.

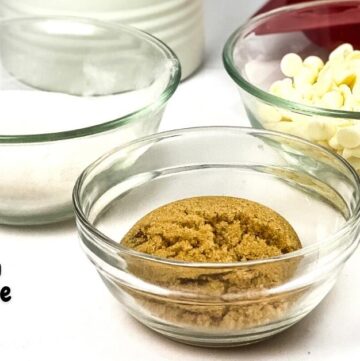
Ingredients needed to make Irish Cream Coffee Bombs
- White Chocolate Chips - 1 ½ cups. You can find sugar free white chocolate chips here.
- Brown Sugar- 1 -1 ½ tablespoons as desired.
- Dry French Vanilla coffee creamer- 4 tablespoons. Add additional as needed if you like more vanilla creamer.
- Whiskey- 3 tablespoons. This is optional and for a boozy version.
How to make Simple Irish Cream Coffee Bombs
Step One: prepare.
Make sure that your silicon molds are clean and dry. Then place the molds, with the open sides up, on a rimmed baking sheet that can fit into a freezer.
Place a kitchen plate into the freezer as you will need a very cold plate later on.
Step Two: coat the silicon molds.
Melt the white chocolate as indicated on the packaging.
I use a microwave-safe bowl to melt mine.
To do so I place the white chocolate into the microwave, stopping every 30 seconds to stir the melting chocolate. When the chocolate is smoothly melted it is ready to use.
Use a tablespoon to transfer a bit of the melted chocolate into the first mold. Carefully smooth this around the interior of the mold using the back of the spoon, small rubber spatula, or pastry brush. Once all of the mold cups have been coated with the melted chocolate, wipe the excess chocolate off of the tops of the molds.
Then transfer the molds, using the baking sheets to hold them, to the freezer until hard (about 15 minutes). Remove the molds from the freezer along with the plate that was placed in there earlier.
Then carefully pop out the chocolate from the molds and place the bomb halves on the plate while you work.
Step Three: fill the molds.
To seal the mold halves together to form a sphere you will need a warm plate to soften the edges of the unfilled mold halves.
Place a second plate that is microwave safe into the microwave for about two minutes to heat up.
Meanwhile, you will be filling half of the mold halves with the ingredients.
Each bomb half that will hold ingredients should be filled with a tablespoon of brown sugar, 1 to 2 tablespoons of the French vanilla creamer, and the whiskey or alternative. You can place the bomb halves in a cupcake pan cavity to hold it in place while being filled.
Take the empty bomb halves and, one at a time, place the edges on the microwaved plate to soften the edges before carefully attaching it to a filled bomb half.
Piping additional melted chocolate onto edge that do not perfectly fit together may help.
Place the bombs into the refrigerator or freezer to set. You can keep them in the cupcake pan when you transfer the bombs.
Simple Irish Cream Coffee Bombs

Simple Irish Cream Coffee Bombs
Equipment
Ingredients
- 1 ½ cups White Chocolate Chips
- 1 ½ tbsp Brown Sugar
- 6 tbsp Dry French Vanilla coffee creamer
- 3 tbsp Whiskey
Instructions
- Melt the white chocolate as indicated on the packaging. Use a tablespoon to transfer a bit of the melted chocolate into the first mold. Carefully smooth this around the interior of the mold using the back of the spoon, small rubber spatula, or pastry brush. Once all of the mold cups have been coated with the melted chocolate, wipe the excess chocolate off of the tops of the molds.Then transfer the molds, using the baking sheets to hold them, to the freezer until hard (about 15 minutes).

- To seal the mold halves together to form a sphere you will need a warm plate to soften the edges of the unfilled mold halves. Place a second plate that is microwave safe into the microwave for about two minutes to heat up.Meanwhile, you will be filling half of the mold halves with the ingredients.Each bomb half that will hold ingredients should be filled with a tablespoon of brown sugar, 1 to 2 tablespoons of the French vanilla creamer, and the whiskey or alternative. You can place the bomb halves in a cupcake pan cavity to hold it in place while being filled.Take the empty bomb halves and, one at a time, place the edges on the microwaved plate to soften the edges before carefully attaching it to a filled bomb half.
Recipe Notes
Please see recipe post for further details on this recipe.
Nutritional Information is only an estimate and can vary especially with ingredients that are used. See diyandfun.com for details on this recipe.
originally posted:
February 1, 2022*As an Amazon Associate I earn from qualifying purchases. This means that the links on this website, and specifically on this post, that lead to other sites may be affiliate links.
Nutrition
Please note: Nutritional data has been calculated using a tool that comes with this recipe card and not by me. This means that Nutritional Information is only an estimate and can vary especially with ingredients that you use. The accuracy of this tool may differ from other tools as expected. Also note that there is no instructional value to the video that may be attached to this recipe. It is only there for visual pleasure. For more information about the images in this recipe, please refer the the recipe instructions. Thank you!
Follow Me