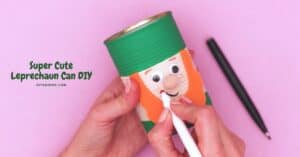
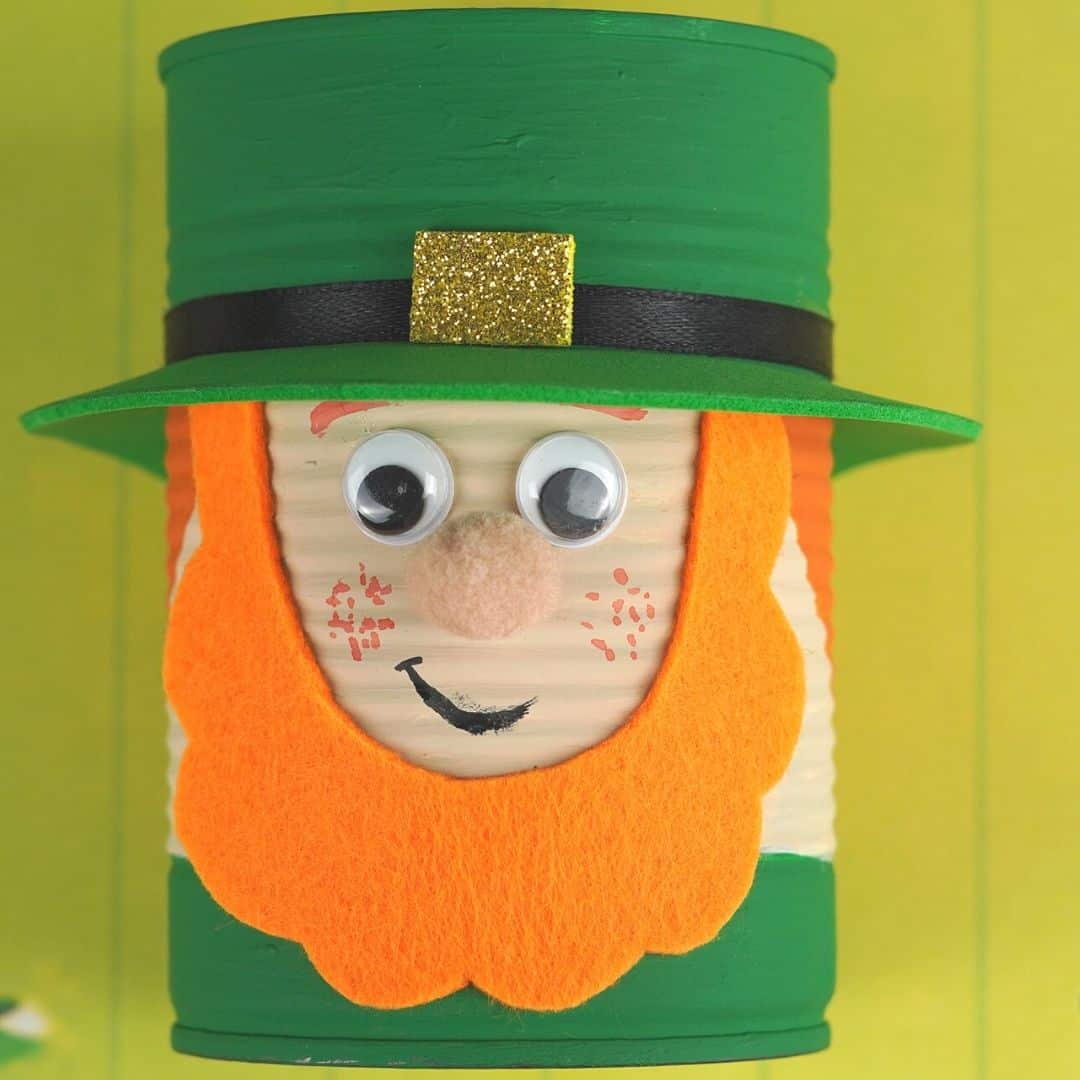
Super Cute Leprechaun Can DIY craft project that can be made using an empty can.
I like how cute this Leprechaun is as well!
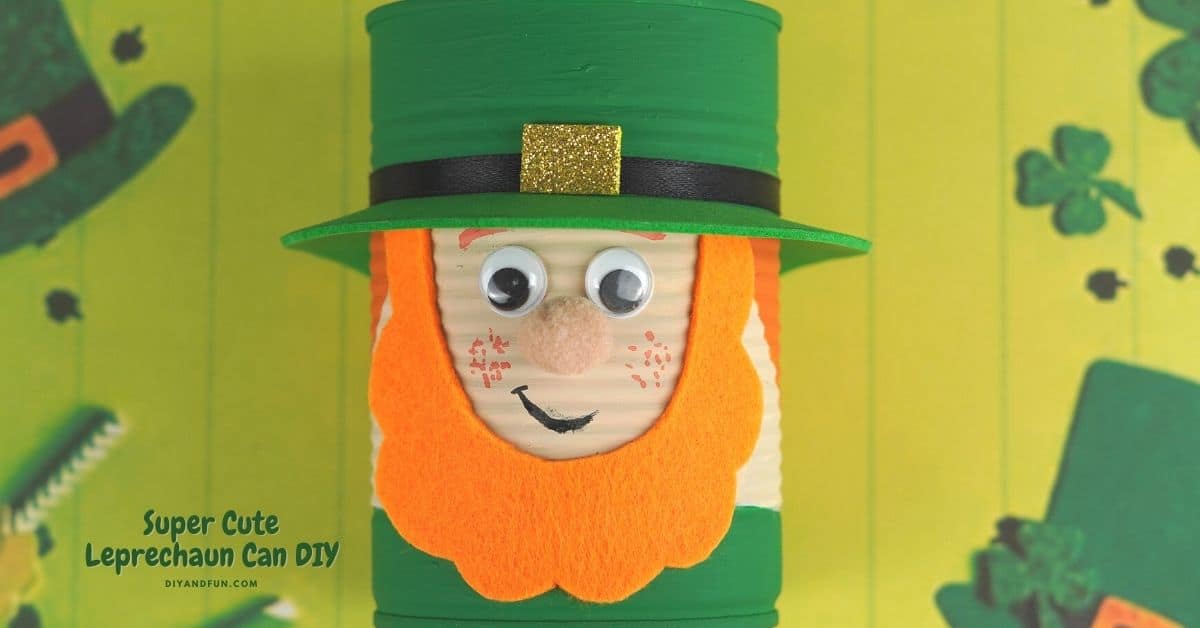
Super Cute Leprechaun Can DIY
This is a craft project that is made using an empty can
We can easily upcycle an empty soup can to make a cute décor item.
Have you tried my Easy Shamrock Shake Recipe?
That recipe is for making a tasty green milkshake that is especially tasty for St. Patrick's day.
This craft idea is a great idea for a project for the same holiday.
Place a bag filled with candy inside of your decorated can to give to someone as a gift. You can find a great selection of St. Patrick's day candy here.
You may be wondering what is a leprechaun.
We really only see this cute fella on a cereal box or during the month of March.
But, there really is a story behind the fictional character.
A leprechaun is really a fictional, but lovable, Irish character.
He is known for his green hat, red beard, and short pants.
Some folks believe that a leprechaun is a sign of good luck.
This craft idea is especially for anyone asking what can you make out of a tin can.
Just about everyone has a can in their kitchen cabinet that has soup, vegetables, or even a sauce in it.
Once you have used the food that is stored in the can, the can simply gets tossed, usually in a recycling bin.
This can craft gives new life to that empty can.
We are turning the can into a cute and reusable holiday décor that is perfect for St. Patrick's day.
You can also give the leprechaun can to someone else to enjoy!
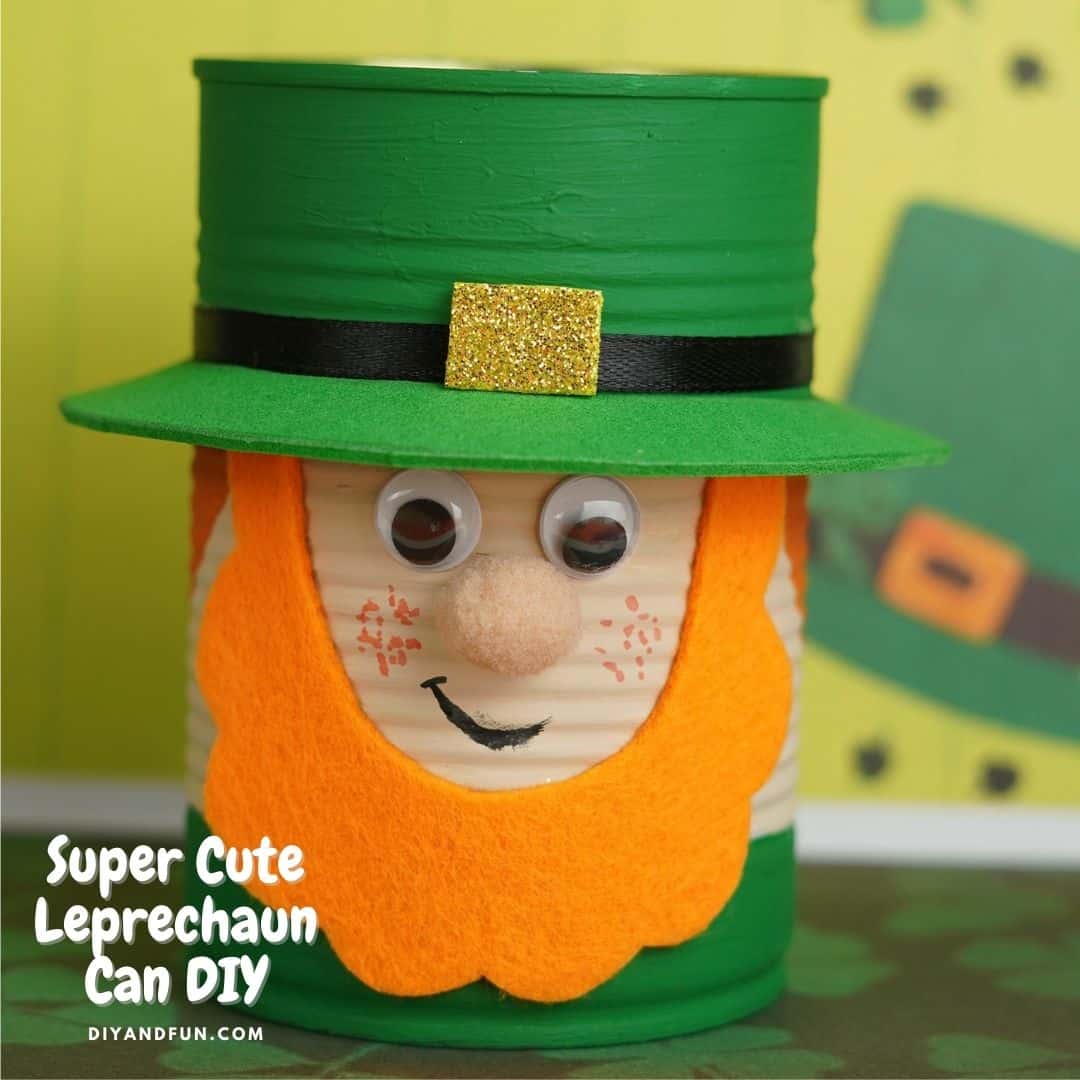
Tips for this painted can project.
It is very important that you carefully make sure that there are no edges left on your can that can cut someone.
You can run the can through a can opener until smooth, use a file, or try covering the edge of the can using a sturdy tape such as electrical tape or duct tape.
More tips for you.
- Adding a bit of mod podge to your acrylic paint can give the can a nice finish. It will also help protect the paint.
- When selecting an acrylic paint, if in doubt, read the label to assure that it will work on aluminum. Bonding paint can be used although the acrylic paint tends to be an easier paint that is also relatively inexpensive.
- The hat brim is made by tracing two circles from foam board to form a lifesaver shaped shaped object. Use the can to trace the inside of the brim and something a bit larger to trace the outside of the brim.
- Use the can to hold something. Your can can hold about anything from candy to a plant or pencils.
Personalize this homemade project.
This is a really cute idea just as it is.
However, you can also make yours more interesting too.
Try one of these ideas.
- Use several sized cans to make a family of leprechauns.
- Use markers to draw extras on your leprechaun such as glasses.
- Embellish your leprechaun using St Patrick's Day supplies such as stickers.
👉Be sure to follow us on Facebook, Pinterest, and Instagram.
Subscribe to our Weekly Newsletter.
You may also be interested in these ideas.
About this St. Patrick's day leprechaun diy craft project.
This is a simple painted can craft project for making a leprechaun.
You can use a soup can or even a tomato sauce can to make it.
We will start by painting the can.
When the paint has fully dried, we will glue on elements.
Also, using markers, we will add the final details to the leprechaun.
Materials needed to make a homemade leprechaun.
- A 10-12 ounce soup can or similar size.
- Green Acrylic Paint-
- Skin tone acrylic paint
- Orange acrylic paint
- Green Craft foam for the hat.
- Black ribbon for the brim.
- Gold glitter paper, button or gold rhinestone.
- Orange felt for beard.
- Also, orange permanent marker
- Craft eyes
- Black marker- for the mouth.
- Pompom for nose (or a button or something similar).
- Glue, scissors, glue gun and sticks, and pencil.
Video available for this project.
How to make this Leprechaun Can DIY.
Step One prepare the can.
Prepare the can by washing it out and then removing the label and any residual glue. Carefully remove any sharp edges- a can opener or file can help. Allow the can to dry.
Also prepare your work station and materials.
Step Two: Paint the can
Paint the top ⅓rd of the can using the green paint for the hat. Use this green paint to paint the bottom ⅕th of the can for the body. It is okay to estimate these proportions or vary them as desired.
When the green paint has dried you can paint the unpainted parts with the front being skin colored and the back orange for the hair. Another option is to simply paint all of the remaining can with the skin tone and when this dries simply use an orange permanent marker to to draw on the hair. Tip: use a Lazy Susan or similar rotating, protected for paint spill, to work on if needed.
Allow the paint to dry.
Step Three: finish
The top green portion of the can is the hat.
Using the green foam, trace the can for the inside of the brim. Then, using something that is about ¼-1/2" wider than the can to trace the outside of the brim before cutting the brim out. Attach the brim to the can at the base of the top green painted area.
Glue the black ribbon around the hat just above the brim and then glue the golden square onto the front.
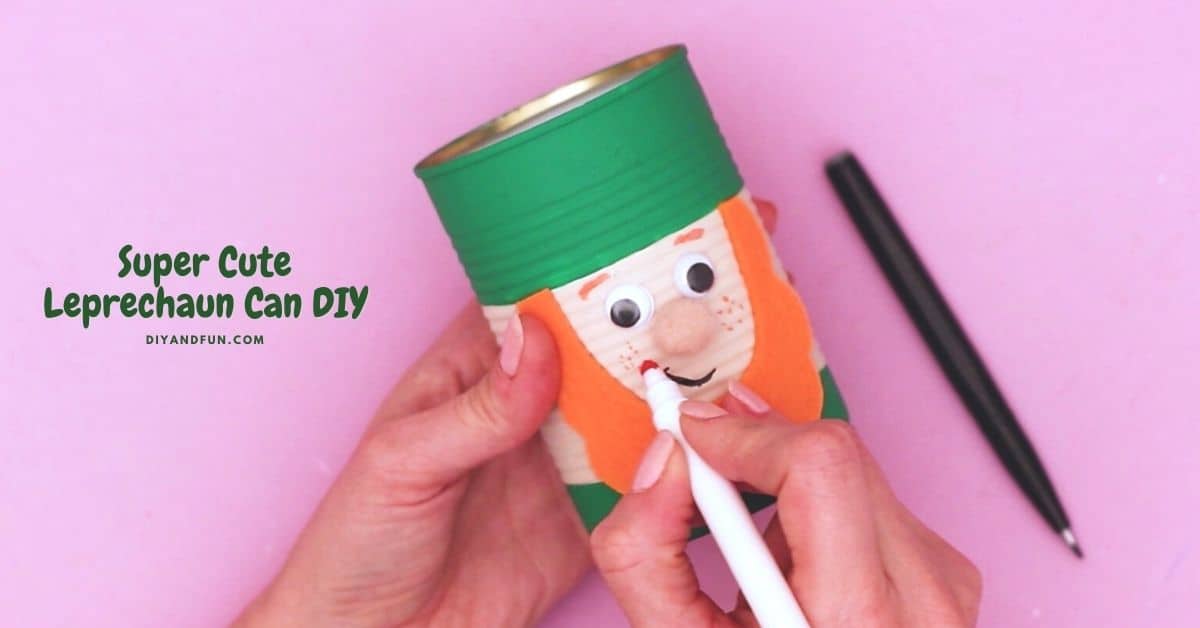
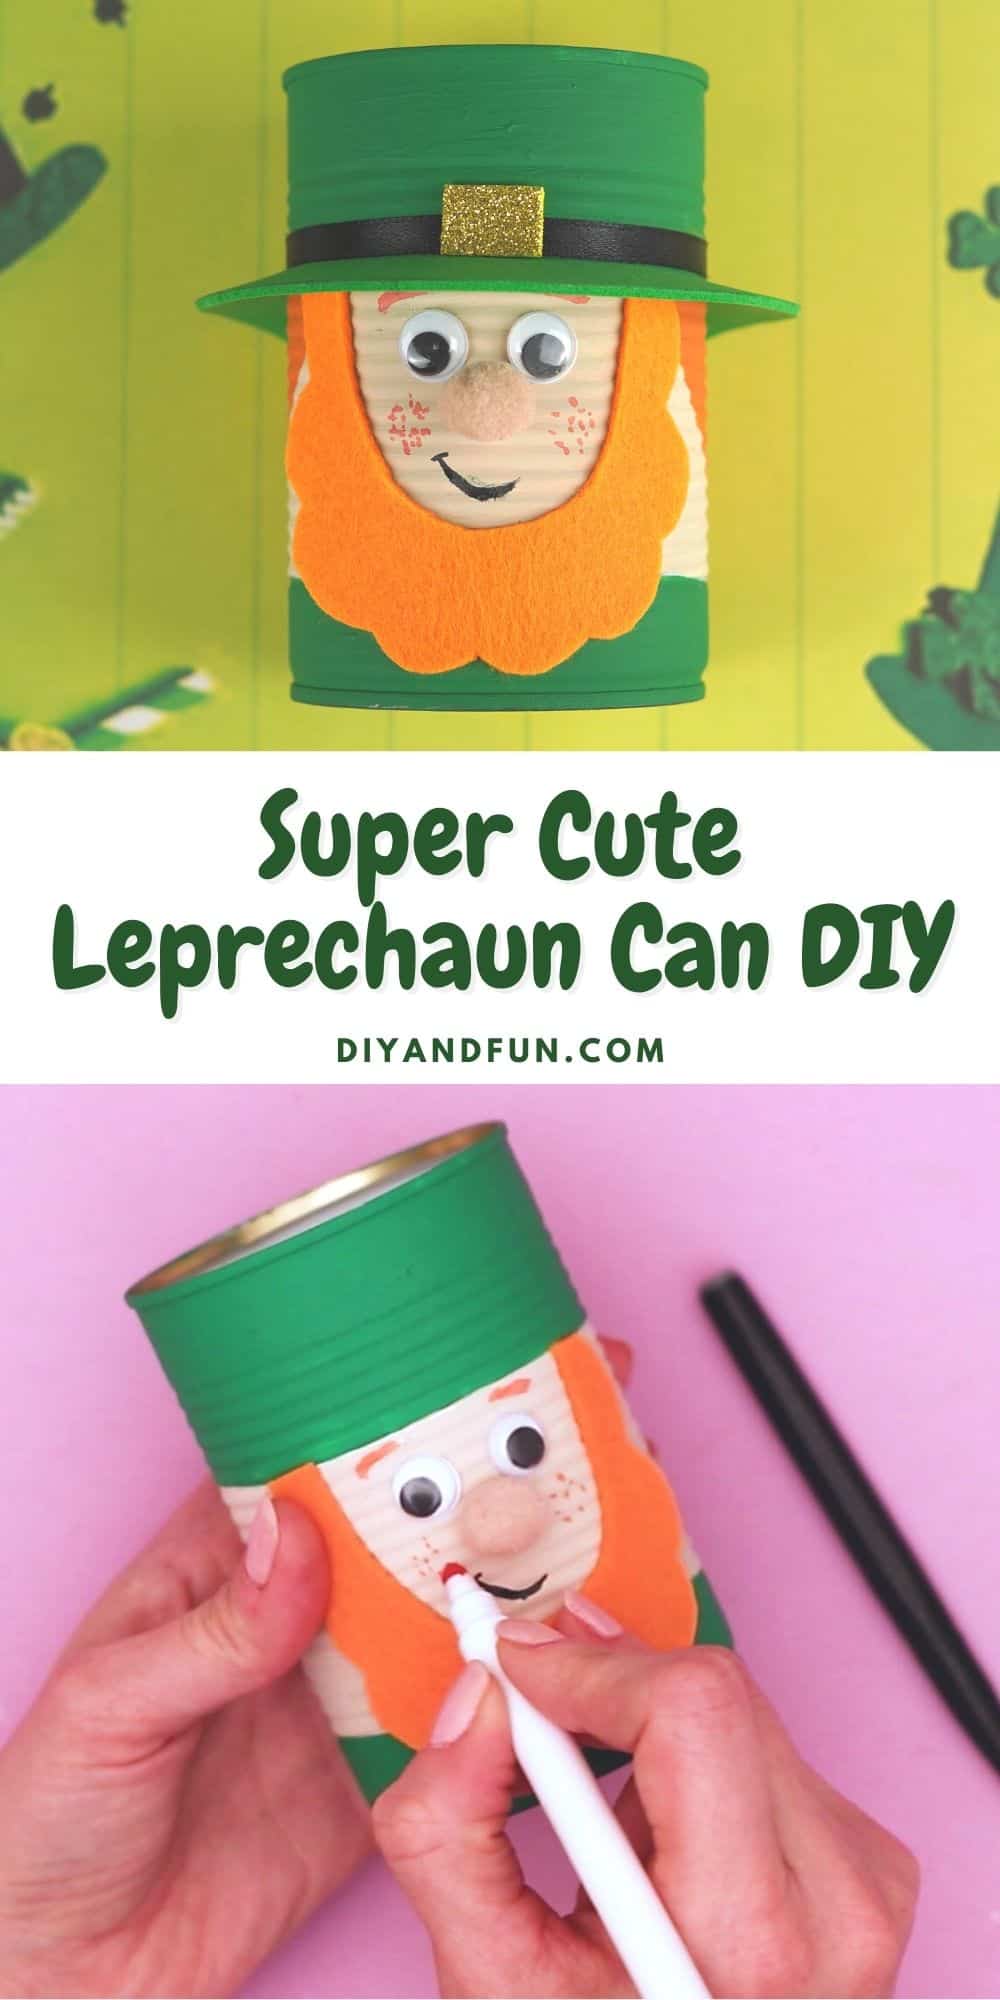
Use the template that I have included to make the beard with the orange felt. Glue the beard on to the can after cutting it out. Then use the orange marker to make the freckles, eyebrows, and anything else needed.
Finish the can by gluing on the pompom nose and the eyes.
Super Cute Leprechaun Can DIY, an easy craft project using an empty food can especially for St. Patricks' day.
Download the Beard Template.
SUPER CUTE LEPRECHAUN CAN DIY,
Materials
Glue, scissors, glue gun and sticks, pencil, larger circle to trace for the hat brim.
Instructions
- Prepare the can by washing it out and then removing the label and any residual glue. Carefully remove any sharp edges- a can opener or file can help. Allow the can to dry.
- Paint the top ⅓rd of the can using the green paint for the hat. Use this green paint to paint the bottom ⅕th of the can for the body. It is okay to estimate these proportions or vary them as desired.When the green paint has dried you can paint the unpainted parts with the front being skin colored and the back orange for the hair. Another option is to simply paint all of the remaining can with the skin tone and when this dries simply use an orange permanent marker to to draw on the hair. Tip: use a Lazy Susan or similar rotating, protected for paint spill, to work on if needed.
- The top green portion of the can is the hat. Using the green foam, trace the can for the inside of the brim. Then, using something that is about ¼-½" wider than the can to trace the outside of the brim before cutting the brim out. Attach the brim to the can at the base of the top green painted area.Glue the black ribbon around the hat just above the brim and then glue the golden square onto the front.Use the template that I have included to make the beard with the orange felt. Glue the beard on to the can after cutting it out. Then use the orange marker to make the freckles, eyebrows, and anything else needed.Finish the can by gluing on the pompom nose and the eyes.


