
How to Preserve Food Grown in your Garden is a great way to enjoy the flavors of your harvest long after the growing season is over.
Not only can you save a bit of money preserving your homegrown food, you can eat healthier, reduce food waste, and leard a few new skills doing so.

How to preserve food from your garden.
Preserving food is the process of extending the shelf life of food by slowing down the growth of microorganisms. When you extend the life of your food, you can enjoy it later on.
Preserving food may be easier to do than you may think.
Food preservation can be done by using a variety of method including canning, freezing, drying, and pickling. You can preserve anything from tomatoes to herbs that have been grown in your garden.
Did you read about how to start a Fall Vegetable Garden?
That article can help you start thinking about starting your fall garden with vegetables. Those vegetables can then also be preserved for later enjoyment.
There is so much more that you can learn about preserving food from your garden beyond this article. You can find more information about preserving here.

Table of contents for this article.
How to preserve food through canning.
Canning is a method of food preservation that involves heating food in a sealed container (such as a canning jar) to kill harmful bacteria. Heating the jars can prevent the food from spoiling while allowing it to be stored for longer period of time.
Canning can be used to preserve a wide variety of foods, including fruits, vegetables, meats, and soups.
While canning is a relatively simple process, it is important to follow the instructions carefully to ensure that the food that you are canning is safe to eat.
How to preserve food through canning.
Start by choosing the right food as not all kinds of foods are suitable for canning. Also, there are some food that can be canned without added preservatives while other foods can require the addition of a preservative, such as a salt brine or a vinegar solution.
Steps to canning your food.
- Start by doing the research on the canning requirements for the specific food that you are wanting to can.
- Purchase canning jars and follow the directions for sanitizing them.
- Prepare the food by cleaning it and if needed, cook or blanch it.
- When filling the jars, pack the food into the hars and leave about an inch at the top of the jar free.
- Add the liquid. The liquid can be water, a salt brine, or a vinegar solution. The amount of liquid added will depend on the type of food being canned.
- Seal the jar tightly to prevent the food from spoiling.
- Process the jars in a boiling water bath or a pressure cooker to kill any harmful bacteria, following the directions from the manufacturer.
- Lastly, store the jars in a cool, dark place for up to one year
Expert Tip👉 There are two methods of canning- boiling water bath canning and pressure canning. The pH of the food you are preserving will determine which type of canner to use.
Canning tips and tricks.
- The boiling-water canning method is used for acidic foods (pH value of 4.6 or less) Most fruits are naturally high in acid and are safe to process using this method.
- Some kinds of fruits however, must have additional acid added because they lack the level of acid needed to prevent spoilage (see guides to learn more).
- Low-acid foods (pH greater than 4.6) must be canned in a pressure canner (not to be confused with a pressure cooker). A pressure canner is necessary to prevent botulism.
- Canning methods that are not recommended by the experts include, processing by way of the microwave or dishwasher, solar canning, open kettle canning or oven canning.

Preserving food by Freezing
You probably are already freezing food for preserving as I know that my freezer always seems to be full. Thanks to freezer bags and freezer airtight containers, this is an easy method for preserving food.
How long can food be stored in a freezer?
Obviously, the amount of time of time that food can be stored depends on the food itself. For example, processed meat may only last for a month or two while fruits and vegetable may last up to a year when frozen properly.
How to preserve food through freezing.
- Prepare the food as needed as it should be clean and may also need to be cooked or blanched before freezing.
- Pack the food into freezer-safe containers or bags. If you are using a bag, make sure that you squeeze out as much air as possible (I roll the bag when possible and then seal it).
- Label the containers or bags with the name of the food and the date it was frozen.
- Freeze the food as soon as possible to prevent the formation of ice crystals, which can damage the food (yuck- freezer burn!).
Tips for freezing food.
- Freeze food that can be frozen as not all foods are suitable for freezing.
- Some foods, like fruits with a high water content, can become mushy when frozen (cucumbers and celery).
- Other foods, such as leafy greens, can lose their flavor and texture when frozen (spinach and kale are two that can be blanched and frozen).
- The food should be stored in a freezer at 0°F (-18°C) or below for best results.
- It is not a good idea to refreeze thawed food as doing so can increase the risk of food poisoning.
- When freezing cooked food, make sure that you cool it down to room temperature first.
- Again, make sure that you label the food with the name of the food and the date it was frozen.
- Freeze the food as soon as possible after packing it.
- Take a tip from a local restaurant and follow the FIFO policy, "first in, first out". You can rotate foods so that you use the older items first and enjoy your food at its best quality.
Subscribe to DIYandFun
Expert Tip👉 You can learn more about freezing food and safe thawing here.

How to preserve food by drying or dehydrating it.
Drying or dehydrating food are simple and popular methods for preserving.
You have probably enjoyed dried herbs or raisins in the past.
Drying and Dehydrating preserve food by removing moisture
The difference between drying and dehydrating is that drying relies on natural air and sunlight, while dehydrating is done in a kitchen appliance (dehydrator) to remove the moisture. Certainly, drying takes longer to do as it relies on nature to do the work.
How to preserve food by Drying.
When you preserve food by drying it, you can use the dried results as is or combine it with liquid to us it when you are ready to. Not every food, such as meat or poultry, is best for drying.
Popular methods for drying food include outdoors in the sun or by using an oven.
The purpose of the drying method is to remove the water from the food. This means a low and slow temperature in an oven and a lot of patience.
How to preserve by dehydrating food.
Since a dehydrator works faster and more efficiently than counting on nature, you have more options for what you can dehydrate. I use my dehydrator to dehydrate herbs, tomatoes, apples, and about anything else that I have grown and want to preserve.
When using a dehydrator, is it best to consult the manual that came with it for temperatures and directions.
Dehydrators have adjustable temperature settings and use controlled heat and airflow to remove moisture from the food. It is the controlled process of dehydrating that ensures that your food gets evenly dried and have a longer shelf life compared to traditionally dried foods.
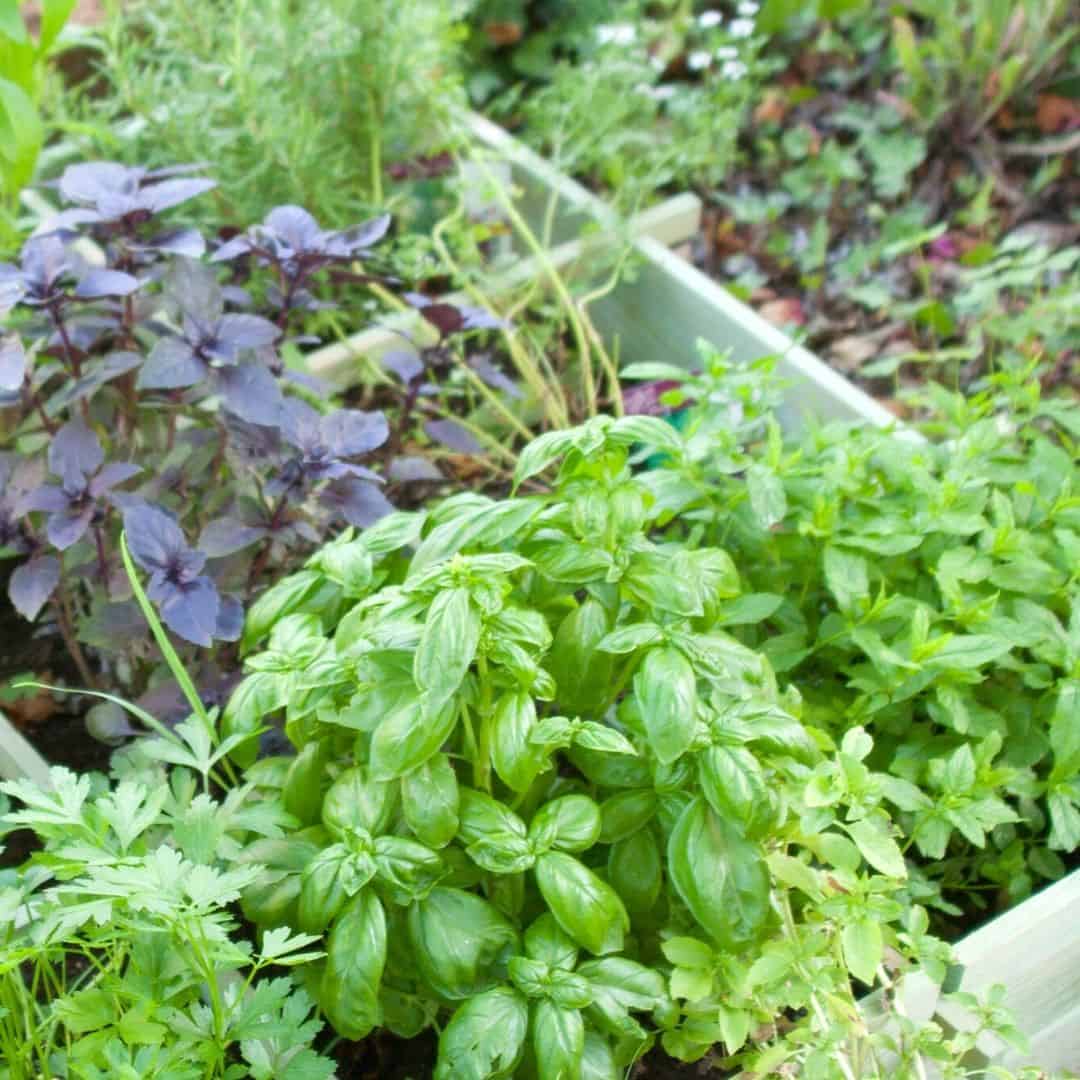
Tips for preserving herbs.
Before harvesting your herbs, make sure that they are free of pesticides. Also, it is a good idea to avoid using herbs that are buggy or are in areas where pets may have been recently.
More tips for you.
I like to rinse my cut herbs in water. Then I allow them to dry on clean kitchen or paper towels. Larger cuts or bunches can be tied together using simple twine. Doing so keeps them together in small batches and makes it easy to hang them for drying if needed.
Dried herbs should be stored in a dark location. When properly stored, they should keep for up to two years. Air drying herbs. This is my favorite method of preserving herbs. I tie them loosely together and then hang them to dry. Steps for air drying herbs.
Tie the herbs together (four to five stems for a bunch). Hang the tied up bunch upside down in a dark and ventilated locations. The herbs should be dried within two weeks. If you want to use the seeds simply tie a paper bag (with a few holes on the sides for ventilation) around the herbs and the bag will collect the seeds for you.
Read more about How to Preserve Herbs

Learn more about preserving food.
- Principles of Home Canning
- Selecting, Preparing, and Canning Fruit and Fruit Products
- Selecting, Preparing, and Canning Tomatoes and Tomato Products
- Selecting, Preparing, and Canning Vegetables and Vegetable Products
- Preparing and Canning Poultry, Red Meats, and Seafood
- Preparing and Canning Fermented Food and Pickled Vegetables
- Preparing and Canning Jams and Jellies
- Fermenting Food at Home.
- Safe Food Storage.
How to Preserve Food Grown in your Garden, includes tips on canning, freezing, and drying food. Enjoy your homegrown food all year long.
