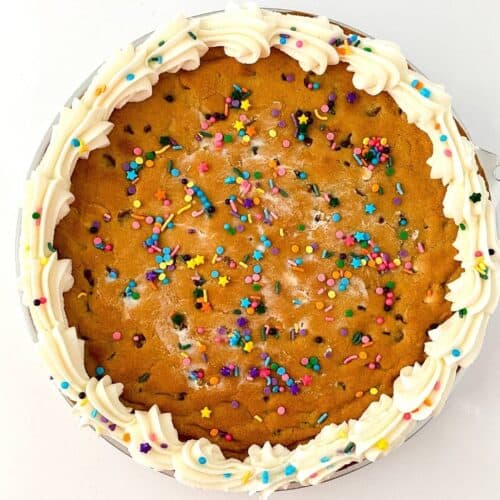
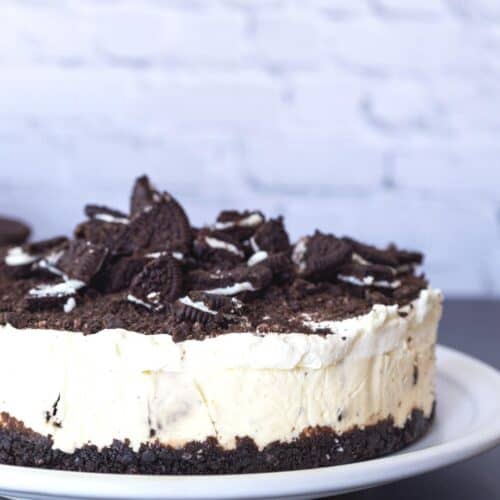
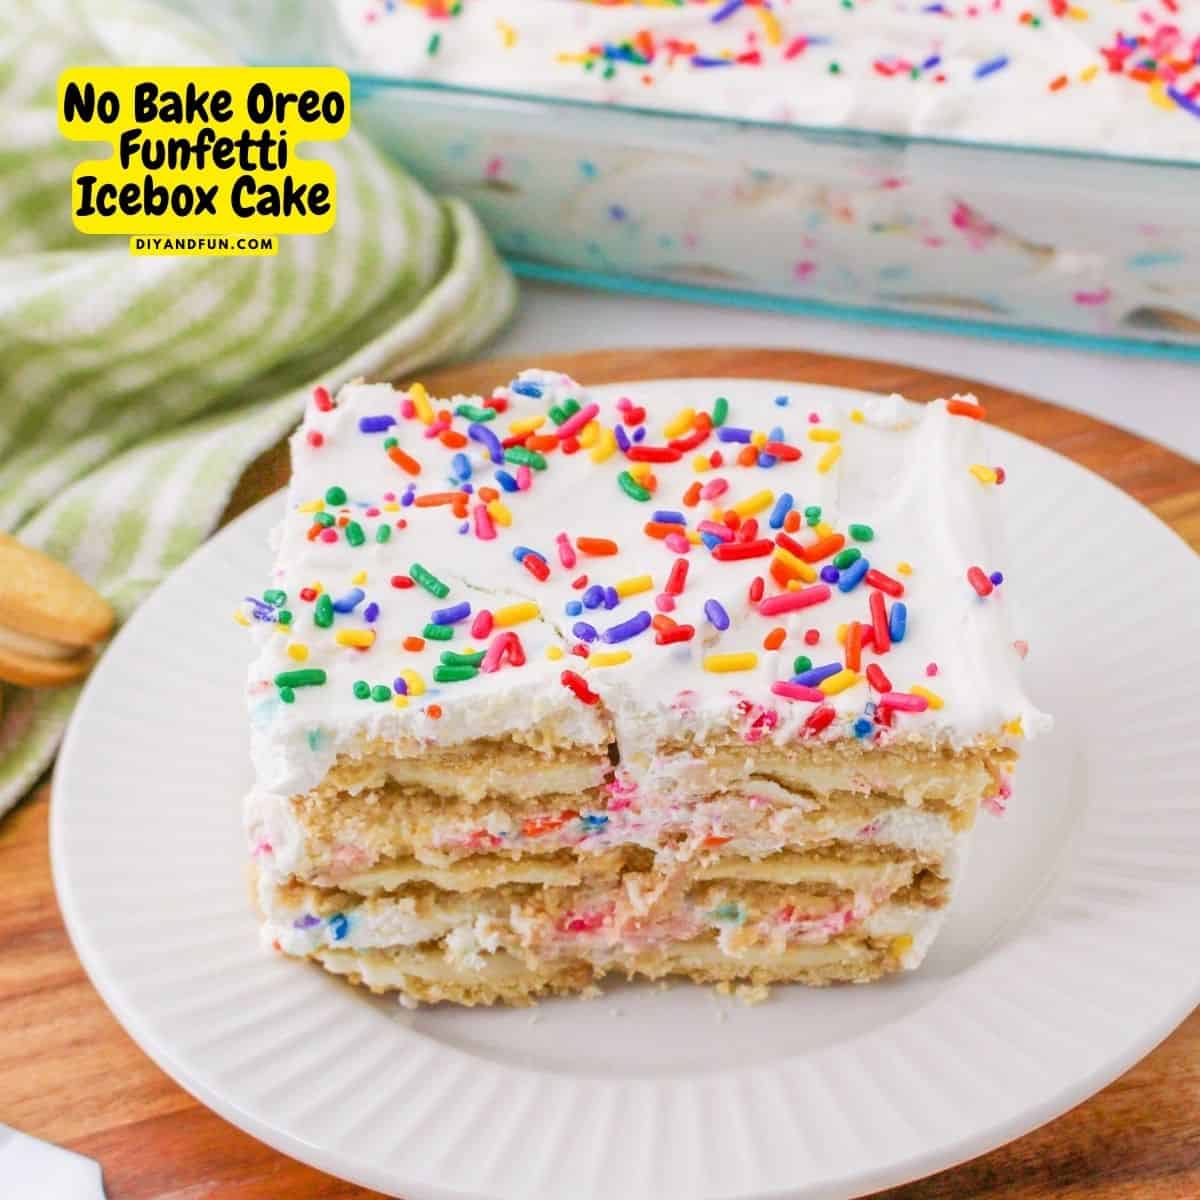
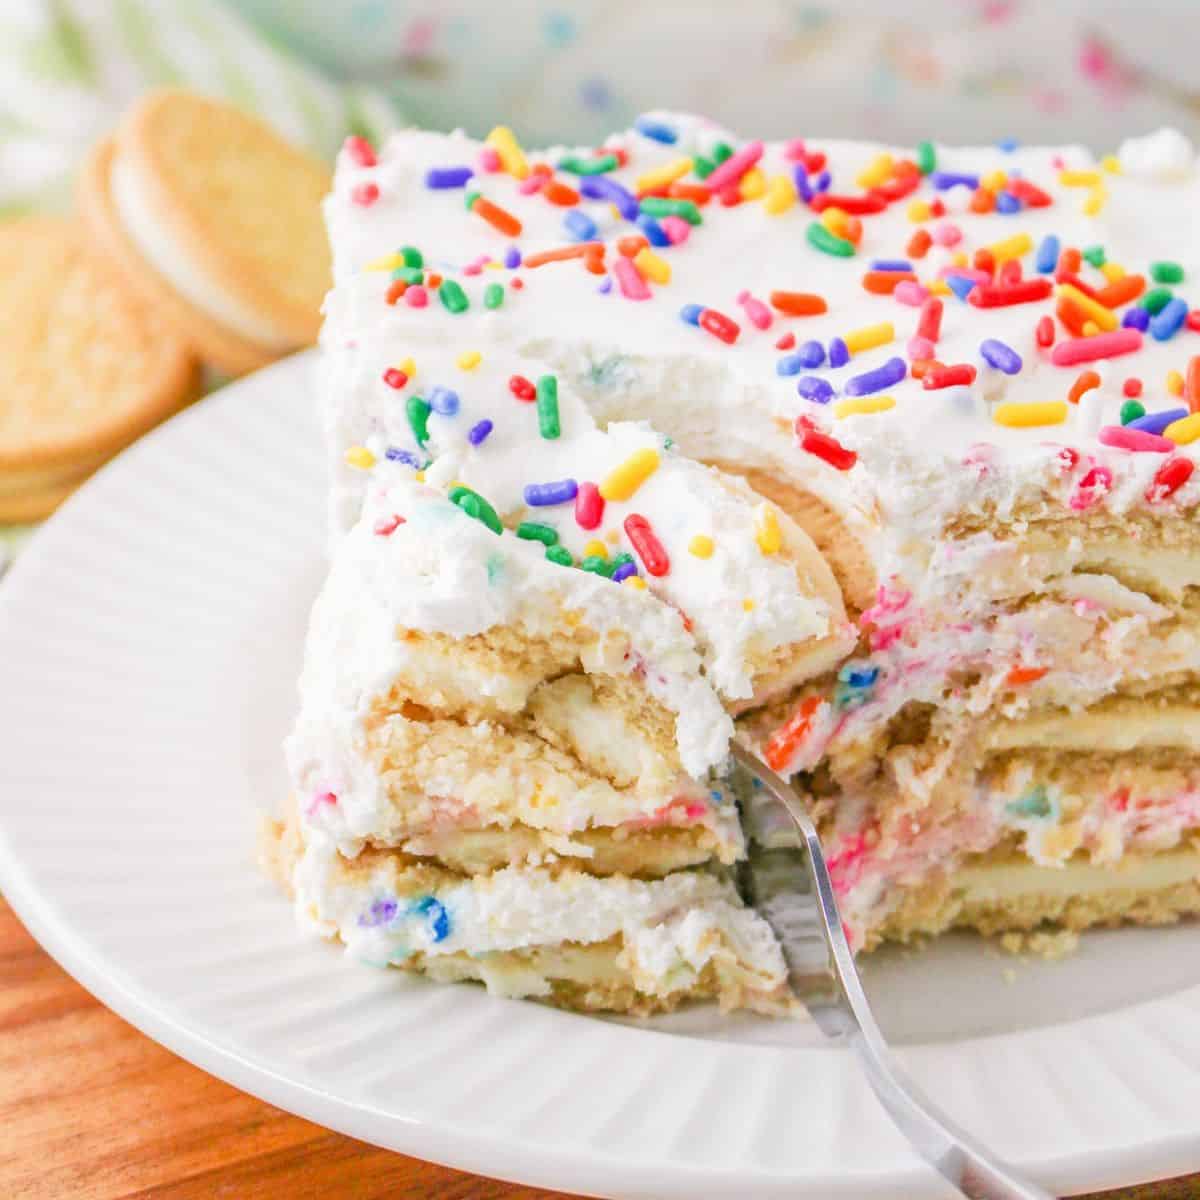
No Bake Oreo Funfetti Icebox Cake is a simple and delicious layered cake dessert that can be made in under 20 minutes.
This easy to make dessert is full of flavor and is the perfect cold temperature dessert for a warm day or any time that you are looking for a refreshing and delicious sweet indulgence.

Funfetti Icebox Cake
This is a simple no bake recipe that is made with ingredients including Golden Oreos, cream cheese and whipped topping.
Colorful sprinkles are added as a topping to make this dessert even more fun!
Did you try this Ice Cream Sandwich Cake with Hot Fudge?
That ice cream sandwich cake is made with actual ice cream sandwiches. Both this recipe for an icebox cake and that recipe for ice cream sandwich cake are easy and delicious desserts that are perfect on a warm day!
To make this recipe you will need Golden Oreos. You can find a selection of Golden Oreos here.
What to know about icebox cakes.
An icebox cake is a popular no-bake dessert that is especially popular during the warm summer months. This chilled cake is usually made with layers of cookies, whipped cream, and other ingredients such as fruit.
Icebox cakes became popular about the time that people started using refrigerators or 'ice boxes'. Since then, icebox cakes have become more elaborate and flavorful, with recipes calling for a variety of cookies, whipped cream flavors, fruits and toppings.
How do you make an icebox cake? Ice box cakes are relatively simple to make
To make an icebox cake, simply layer the cookies, whipped cream, and other ingredients in a baking dish Then refrigerate dish for at least four hours or overnight. The cookies will soften and the whipped cream will firm up, creating a delicious and refreshing dessert.
Tips for making this no bake icebox cake.
Use a full fat cream bar cream cheese rather than an alternative such as a tubbed version. Also, the cream cheese should be softened to room temperature.
More tips for you
- My icebox cake was made with Golden Oreos. Feel free to use another flavor Oreo such as S'Mores Oreos or a Holiday Oreo.
- It is important that you allow the dessert to properly freeze in order to set in place. The minimal freezing time is two hours however, overnight is preferred.
- Leftovers should be carefully covered in foil or a wrap and frozen. If properly stored, it should keep for about a week .
How to make a funfetti cake even better.
This dessert idea is simple and delicious just the way it is . You can however make yours even better.
Try one of these ideas.
- Make this recipe in a shaped pan rather than the usual baking dish
- Add a tablespoon or so of unsweetened cocoa powder and make this a chocolate cake.
- Crush additional cookies and sprinkle them on top of the finished cake.
👇You may also be interested in these ideas!👇
👉Be sure to follow us on Facebook, Pinterest, and Instagram.
Subscribe to our Weekly Newsletter.
About this Oreo Icebox Cake
This layered frozen dessert is simple to make and is especially perfect for summer gatherings. While it may take about ten minutes to make this dessert, it does require freezing time to set.
How to serve this icebox cake.
- Cut the cake into small squares and serve in individual cupcake liners.
- Top the cake with sliced fruit such as strawberries and bananas on top
- Serve this cake with a cup of coffee, milk, or flavored water.
Ingredients Needed to make an Oreo Icebox Cake
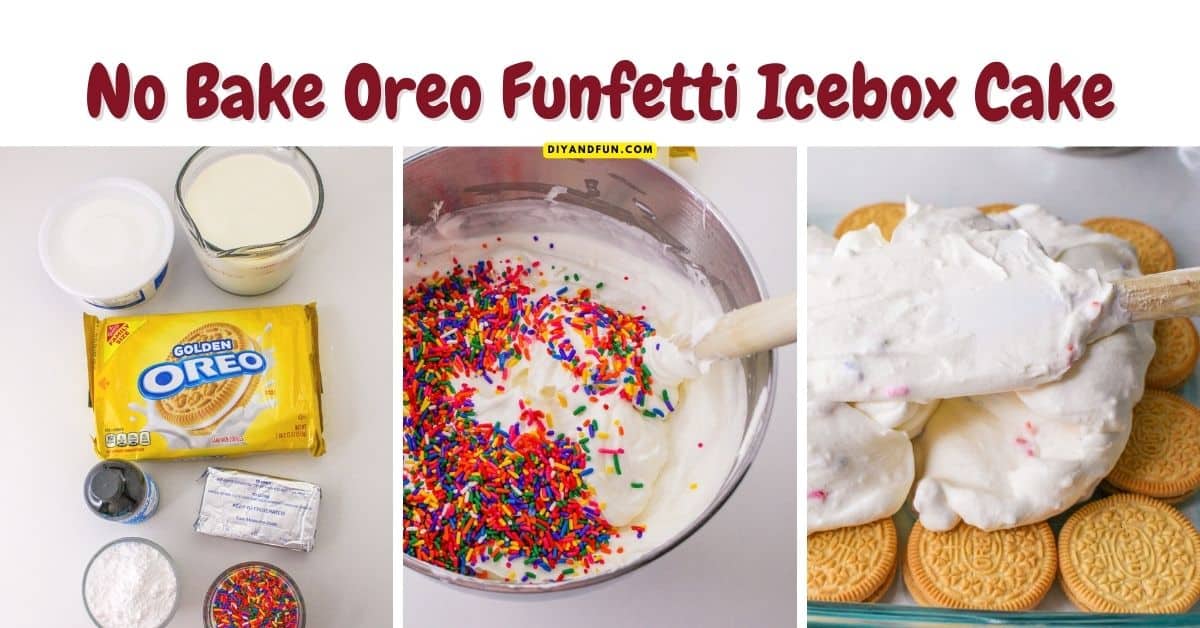
- Golden Oreo Cookies . The Oreos should be fresh and intact. While double stuffed could work in this recipe, I would not use mini as the Oreos are used as a base for the other ingredients.
- Cream Cheese. Use a full fat bar cream cheese that has been softened to room temperature.
- Vanilla Extract. Really, any flavor extract can be used but, vanilla probably goes best with the ingredients as is.
- Heavy Whipping Cream. This is used to make the whipped ingredient layers. Cold whipping cream works best.
- Powdered Sugar. Granulated sugar will not work in this instance.
- Sprinkles. Most any kind of edible sprinkles can be used including holiday versions.
- Frozen Whipped Topping. Use the standard tub version. This should be thawed in your refrigerator.
How to make No Bake Oreo Funfetti Icebox Cake
Prep: 15 minutes.
Step One: prepare.
- Make sure that your cream cheese has been softened and that the tubbed topping is thawed.
- Select the cookies that are intact. Broken cookies can be crushed or crumbled and added as a topping.
- Prepare a baking dish, making sure that it is clean and dry. My cake was made in a 9X13 baking dish.
Step Two: make the creamy filling .
- Start by laying out the cookies to form the bottom layer in your baking dish. The cookies should touch on another but, it is okay to leave space where they do not touch one another.
- In a medium bowl, cream together the softened cream cheese and vanilla until smooth.
- Next, in a large mixing bowl, beat the heavy whipping cream on medium high until it has thickened but, no peaks have formed. Then add the powdered sugar and beat until peaks form.
- Scrape down the sides of the mixing bowl and then fold in the cream cheese mixture from the first bowl along with a half cup of sprinkles, to the mixing bowl.
Expert Tip 👉 It is best to use a clean mixing bowl and whisk attachments to beat the heavy whipping cream. Also, refrigerate the clean bowl and whisk attachments first.
Step Three: finish making the cake.
- Use a large spoon to drop about a third of the creamy mixture over the cookie layer that you made on the bottom of the baking dish.
- Top the creamy layer with a layer of cookies and then add another third of the the creamy mixture on top of the new cookie layer.
- Use a rubber spatula to fold in the tubbed whipping cream with the remaining third of the creamy layer. Then use this layer as the top layer of your cake, carefully spreading it ovenly over the last layer.
- Add your remaining sprinkles to the cake and then cover the cake with plastic wrap, foil, or a similar cover.
- Refrigerate the cake until set - about four to six hours.
👇Popular Ideas👇
In case you missed something.
No Bake Oreo Funfetti Icebox Cake, a simple and delicious layered cake dessert that can be made in under 20 minutes.
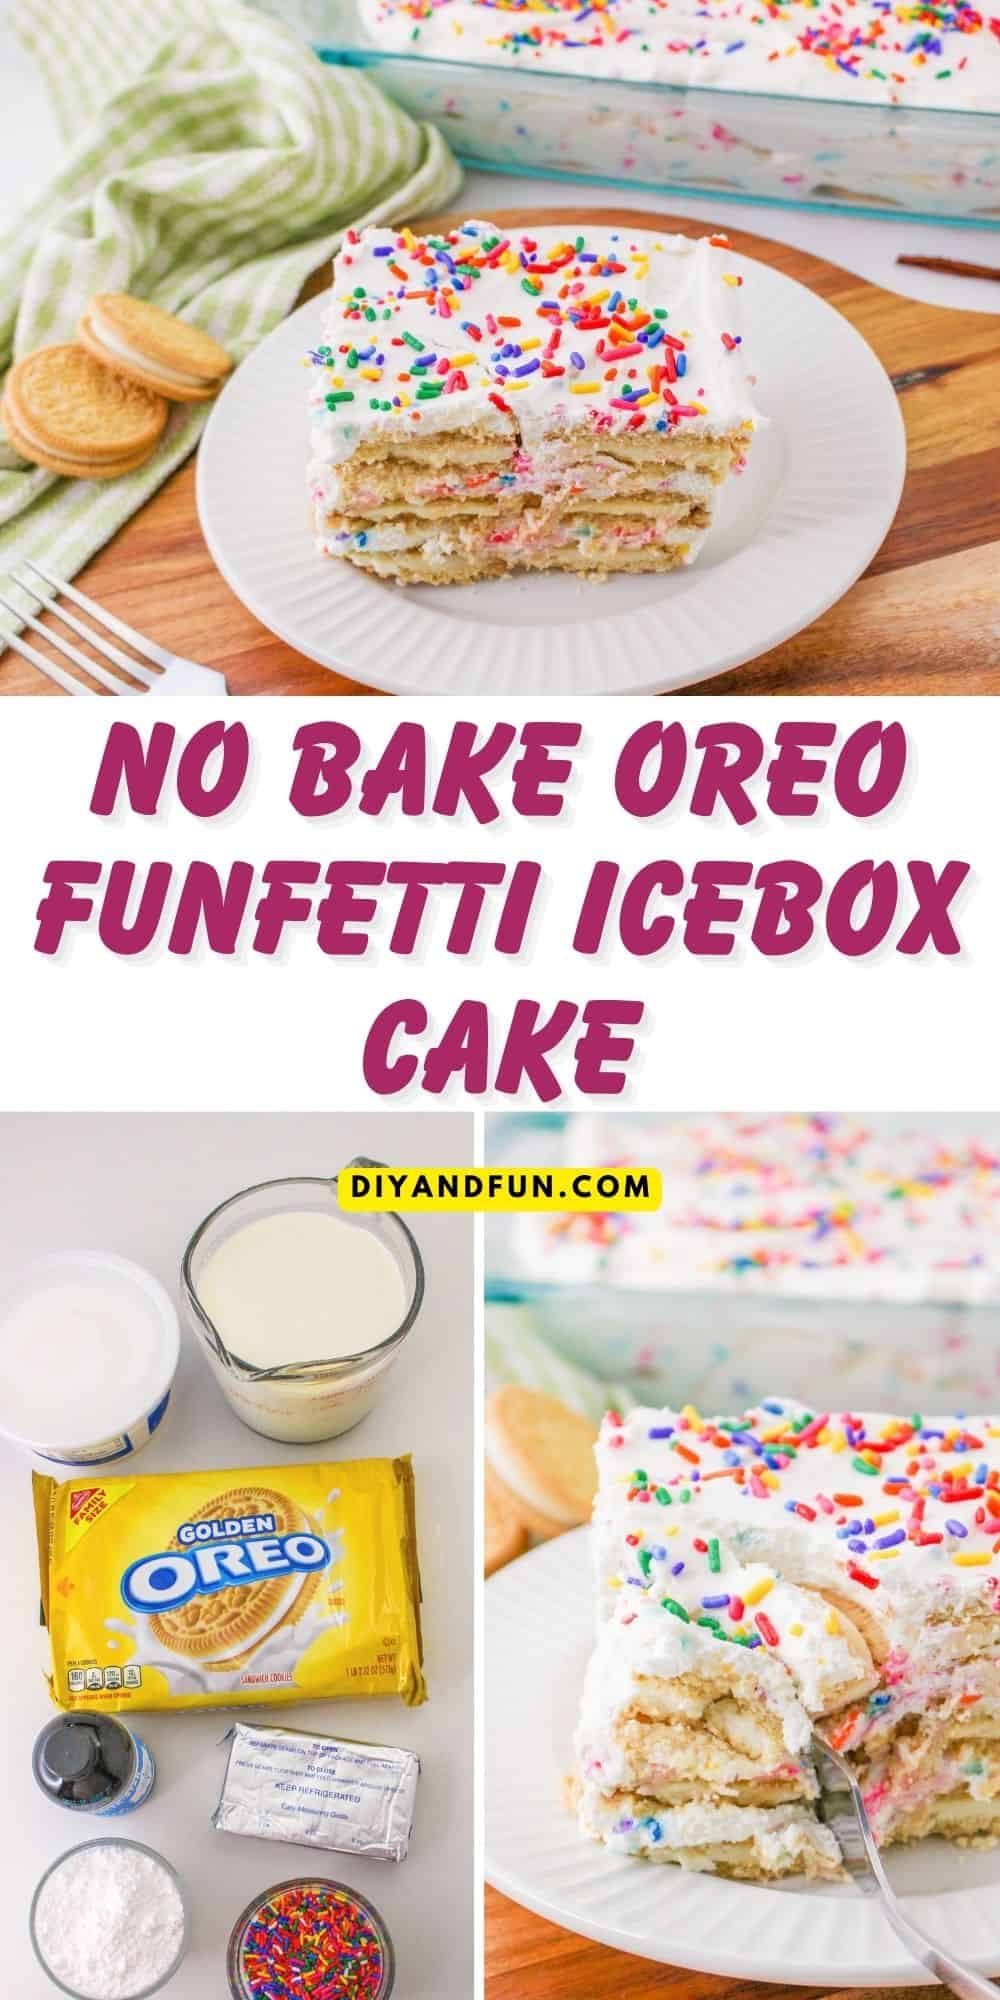
No Bake Oreo Funfetti Icebox Cake
Equipment
Materials
- 1 pack Golden Oreo Cookies
- 8 oz Cream Cheese
- 1 tsp Vanilla Extract
- 4 cups Heavy Whipping Cream
- ¾ cup Powdered Sugar
- ¾ cup Sprinkles - divided
- 8 oz Whipped Topping
Instructions
- Start by laying out the cookies to form the bottom layer in your baking dish. The cookies should touch on another but, it is okay to leave space where they do not touch one another.
- In a medium bowl, cream together the softened cream cheese and vanilla until smooth.
- Next, in a large mixing bowl, beat the heavy whipping cream on medium high until it has thickened but, no peaks have formed. Then add the powdered sugar and beat until peaks form.
- Scrape down the sides of the mixing bowl and then fold in the cream cheese mixture from the first bowl along with a half cup of sprinkles, to the mixing bowl.
- Use a large spoon to drop about a third of the creamy mixture over the cookie layer that you made on the bottom of the baking dish. Top the creamy layer with a layer of cookies and then add another third of the the creamy mixture on top of the new cookie layer.
- Use a rubber spatula to fold in the tubbed whipping cream with the remaining third of the creamy layer. Then use this layer as the top layer of your cake, carefully spreading it ovenly over the last layer.
- Add your remaining sprinkles to the cake and then cover the cake with plastic wrap, foil, or a similar cover. Refrigerate the cake until set - about four to six hours.
Notes
Also, please see the actual recipe post for further details on this recipe. Nutritional Information is only an estimate and can vary especially with ingredients that are used. See DiyandFun.com for details on this recipe.
Thanks so much for visiting!
If you decide to try any of the ideas listed in this article please tag on social media @diyandfun. We like to hear your ideas and suggestions.
DIY and Fun is a website dedicated to providing you with the best DIY projects, crafts, recipes, hiking, and fun ideas that inspire. Whether you're looking for a new way to decorate your home, learn a new skill, or simply have some fun, DIY and Fun has something for everyone.
Here are some additional ways to keep coming back to DIY and Fun:
- Sign up for our email newsletter. We'll send you weekly updates with new projects, inspiration, and more.
- Follow us on social media. We're on Facebook, Twitter, and Pinterest.
- Our community forum is coming soon. Share your projects, ask questions, and get inspired by other DIYers.


