This is simple project for creating a fall or Halloween inspired sign to decorate your home with.
I like that this can be personalized in so many ways!
DIY Farmhouse Halloween Signs
This is a simple project using stencils to create decorative signs for Halloween and fall.
You can easily display your signs or give them away as gifts too!
Did you try my Fall Garland Project?
That fall garland project is made with painted beads.
This Halloween sign would certainly go nicely when displayed with that garland!
This project is made on a Wooden Square Shadow box.
You can find unfinished craft wooden square shadow boxes here.
This project is for anyone asking how do you make a Halloween sign.
Of course, there are many kinds of signs that you can make and this sign project is just one of those projects. It is also good to remember that not all signs are the same.
I like this this sign is a sign in its own frame.
This makes the sign more complete looking in appearance.
Also, other smaller items can be displayed on top of the frame like a shelf or inside of the frames
You may be wondering why is farmhouse style so popular.
The popularity of the 'farmhouse' style is due to a variety of reasons.
One reason is that this simple style of décor is some kind of a response to the traditional wallpaper and overly-draped style that was dominant in the late 90's early 2000's.
There are also aesthetic reasons for the popularity of the farmhouse style.
Being that the farmhouse style is based upon very neutral colors, it is easy to decorate around without having to match colors and shades. Another reason for the popularity of farmhouse style is that it is somewhat calming, which can make us feel more comfortable around it.
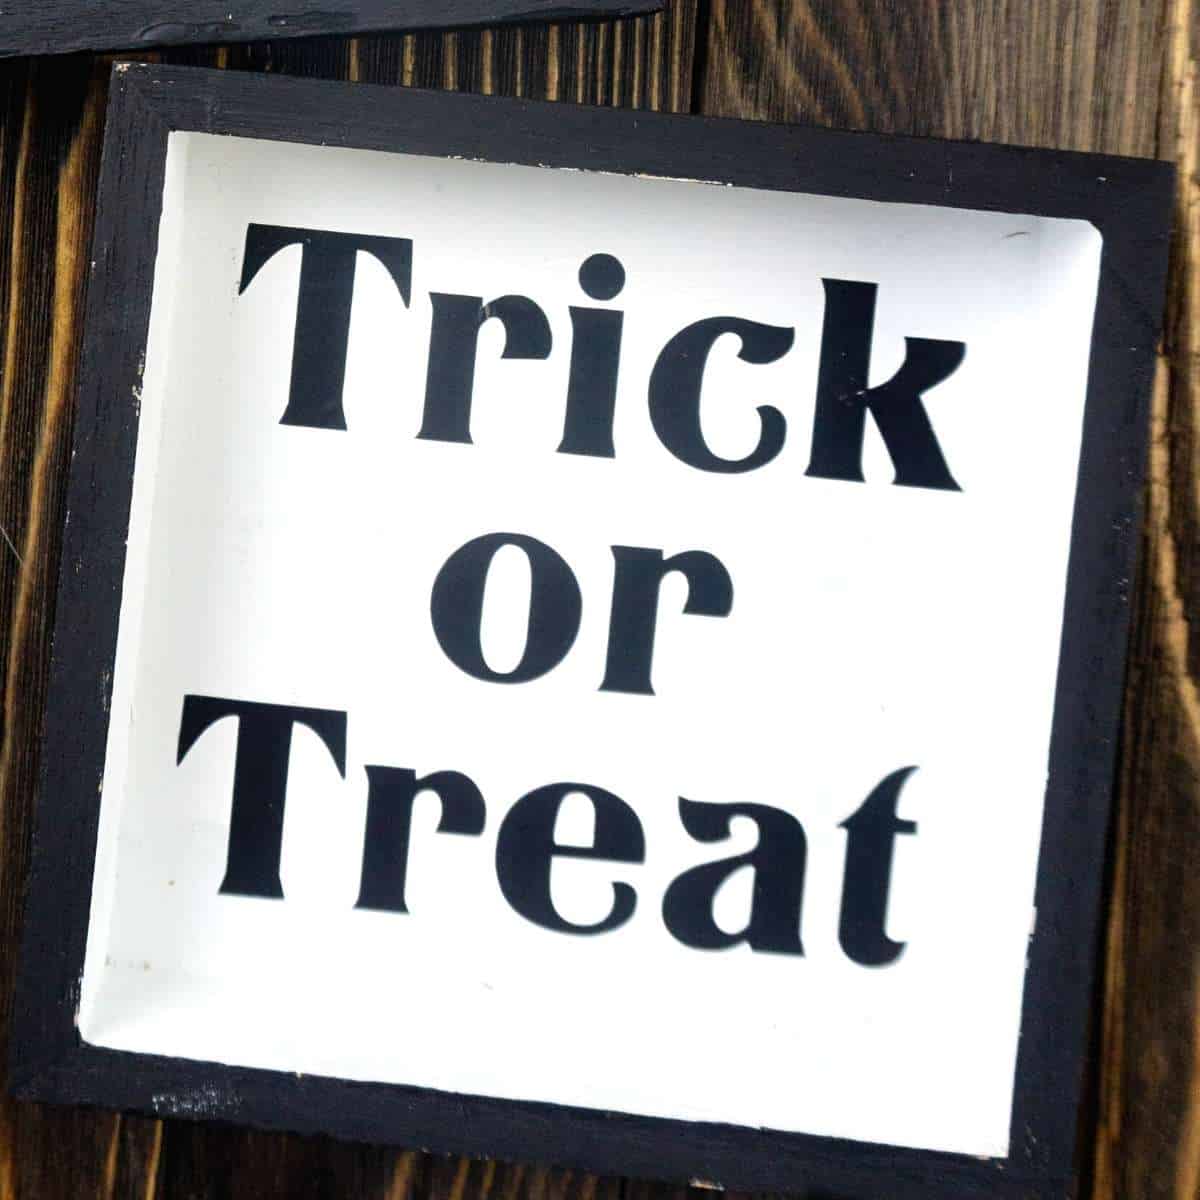
Here are some tips for making this diy wood signs with stencils.
This project is made using a cricut machine. If you do not have one of these machines, you can use a Halloween stencil or Halloween decal.
More helpful tips for you.
- The png files that I will supply you with are 4 X 4. If you are not using a 4 X 4 shadow box, you should change the size on your cricut machine.
- I am using white and black paint for my boxes. Feel free to change things up by using the colors of your choice.
- These signs just words on them. You can use Halloween stencils or Halloween stickers to add designs such as pumpkins to your final project.
How to display your diy wooden signs with sayings.
The easiest way to display these signs could be to simply prop them up beside something else.
These signs would look great next to a pumpkin or as part of a fall display.
However, you can also hang these signs.
Attach a small sawtooth or two to the backside of these signs to hang on a wall.
Or, attach a magnet strip to the back to hang these signs on a refrigerator door or similar place.
👉Be sure to follow us on Facebook, Pinterest, and Instagram.
Subscribe to our Weekly Newsletter.
You may also be interested in these ideas.
Halloween Wood Sign with Cricut.
To make this project you will need an unfinished 4X4 wood square shadow box.
If you choose to use a different size shadow box simple adjust your cricut as needed.
There are two parts to this project.
The first part of the project will be painting that shadow box.
After the paint has dried, we will then proceed with the cricut (or stencil/decal) part of the project.
Supplies needed to make this Homemade decor.
- 4X4 wood square shadow box.
- Black matte paint folkart.
- White matte paint folkart .
- Paint brushes.
- Black Matte Oracal 651 - 1 sheet.
- Transfer tape- 1 sheet.
- Blue cricut mat.
- Weeding Tool.
- Scraper tool.
How to make cool wood signs.
These instructions are intended for use with a cricut machine. If you do not have one of these machines, you can use a Halloween stencil or Halloween decal if needed.
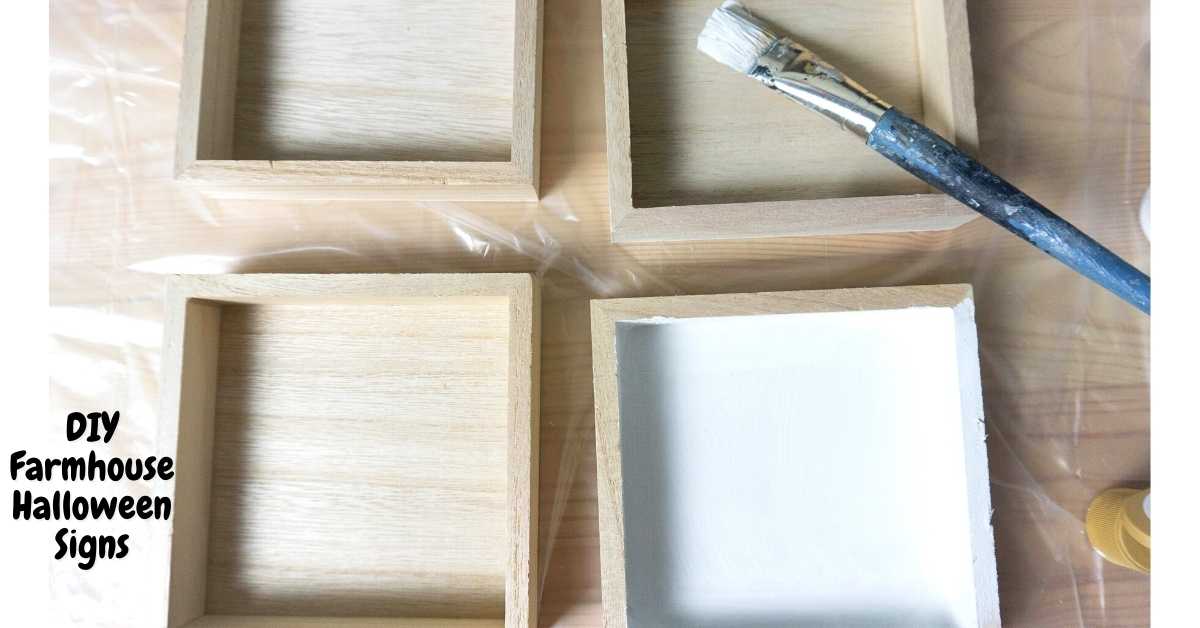
Step 1. Wipe off any dust or dirt from the wooden shadow boxes before starting this project. Then paint the inside of the shadow boxes using the white matte. Allow for the paint to fully dry.
Then paint the edges and back of the shadow boxes black matte. Let dry. Non-cricut people can simply apply their stencils/decals and finish, skipping step 2.
Step 2. You will need to download this png file and this png file.
Using the png files upload them to cricut. Make them 4x4 to fit these shadow boxes.
If you have a different sized box you will need to change the size.
Place the black matte oracal on the blue cutting mat. Tell the machine to cut on vinyl setting. Weed designs with the weeding tool as needed. Once the design is weeded then cut a piece of transfer tape the same size as the design square. Place the transfer tape over the top and scrape with scraper tool.
Peel back slowly making sure that the design sticks to the transfer tape. Now place the design to the wood square on the inside. Press down and then scrape with scraper tool. Peel back slowly making sure the design sticks to the box.
Repeat this for the other box and design as well.
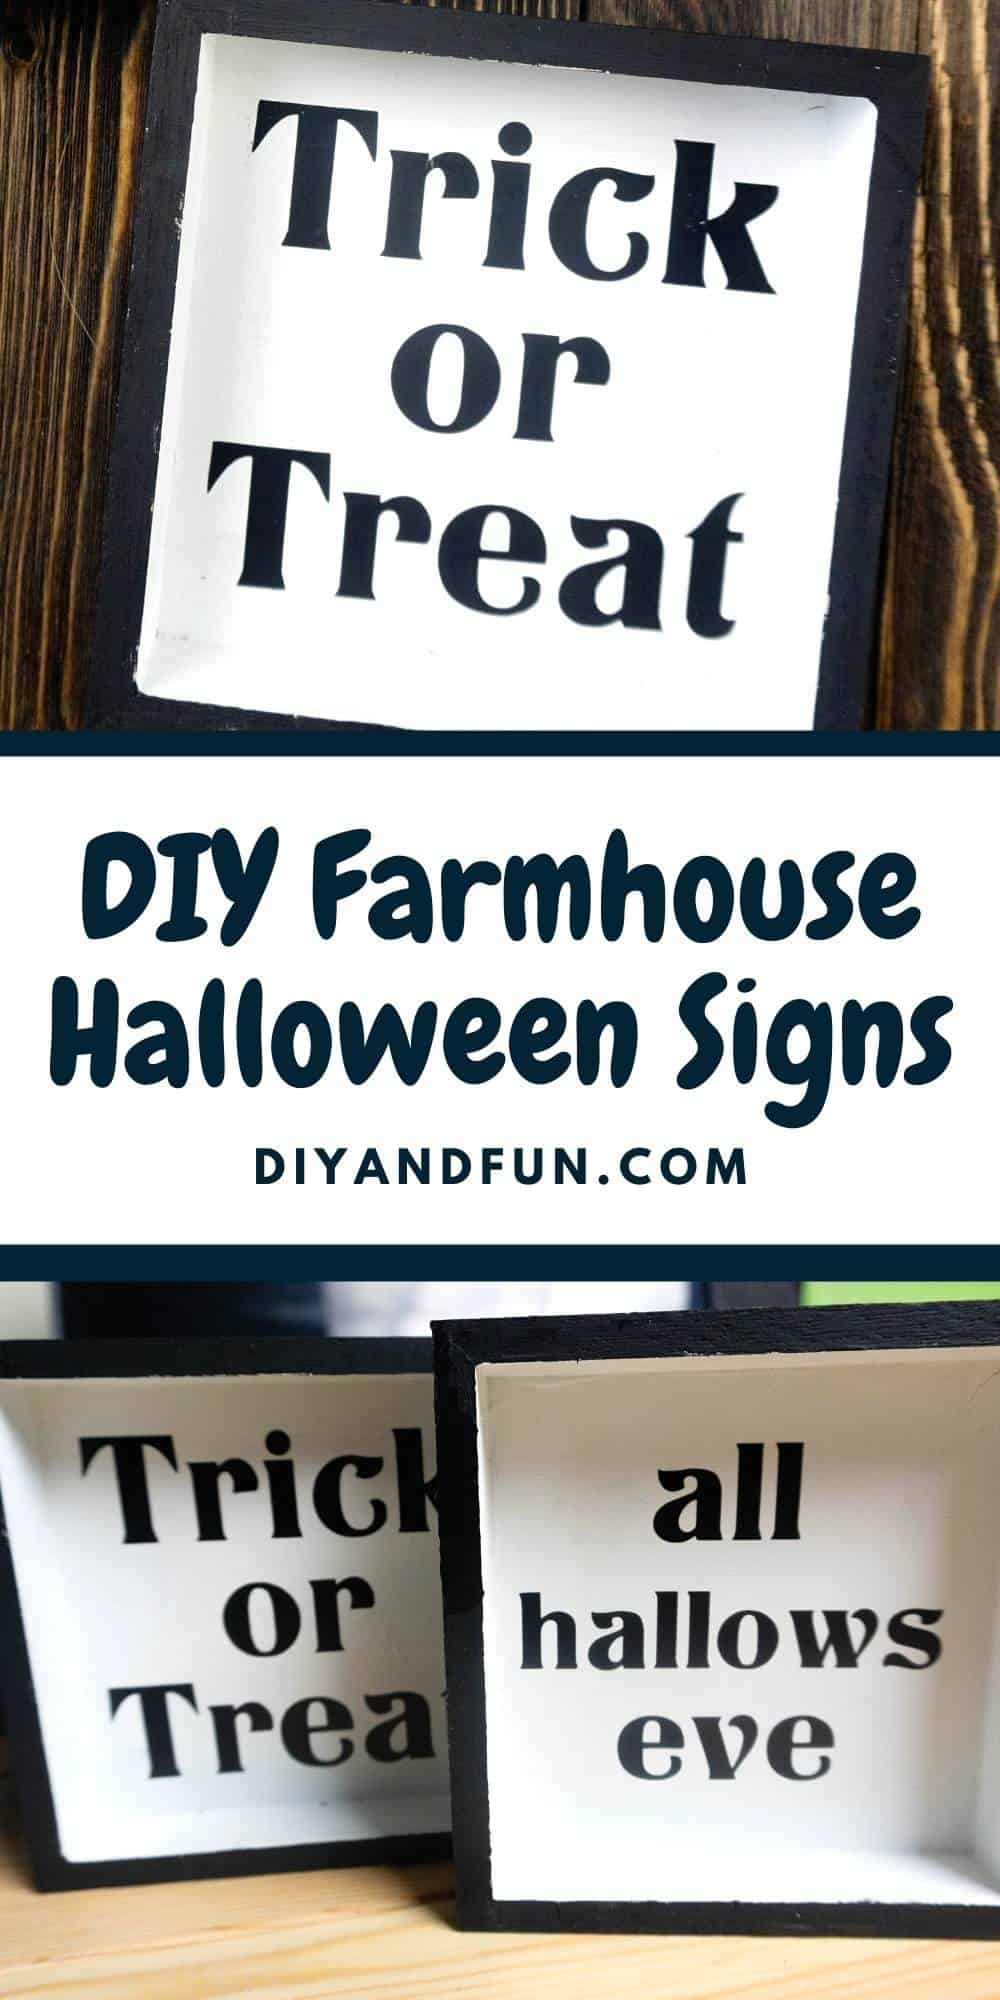
DIY Farmhouse Halloween Signs, a simple craft idea for creating festive falls signs using paint and stencils.
DIY Farmhouse Halloween Signs
Equipment
- cricut machine.
Materials
Instructions
- Wipe off any dust or dirt from the wooden shadow boxes before starting this project. Then paint the inside of the shadow boxes using the white matte. Allow for the paint to fully dry. Then paint the edges and back of the shadow boxes black matte. Let dry.
- Download the png files from DIYandFUN.com . Using the png files upload them to cricut. Make them 4x4 to fit these shadow boxes.If you have a different sized box you will need to change the size. Place the black matte oracal on the blue cutting mat. Tell the machine to cut on vinyl setting. Weed designs with the weeding tool as needed. Once the design is weeded then cut a piece of transfer tape the same size as the design square. Place the transfer tape over the top and scrape with scraper tool.
- Peel back slowly making sure that the design sticks to the transfer tape. Now place the design to the wood square on the inside. Press down and then scrape with scraper tool. Peel back slowly making sure the design sticks to the box.Repeat this for the other box and design as well.


