Dollar Store Nautical Vase Craft DIY is really an easy project that can be made with dollar store materials.
A nautical vase can add style to the decor of most any room especially when you add a few stems to it.
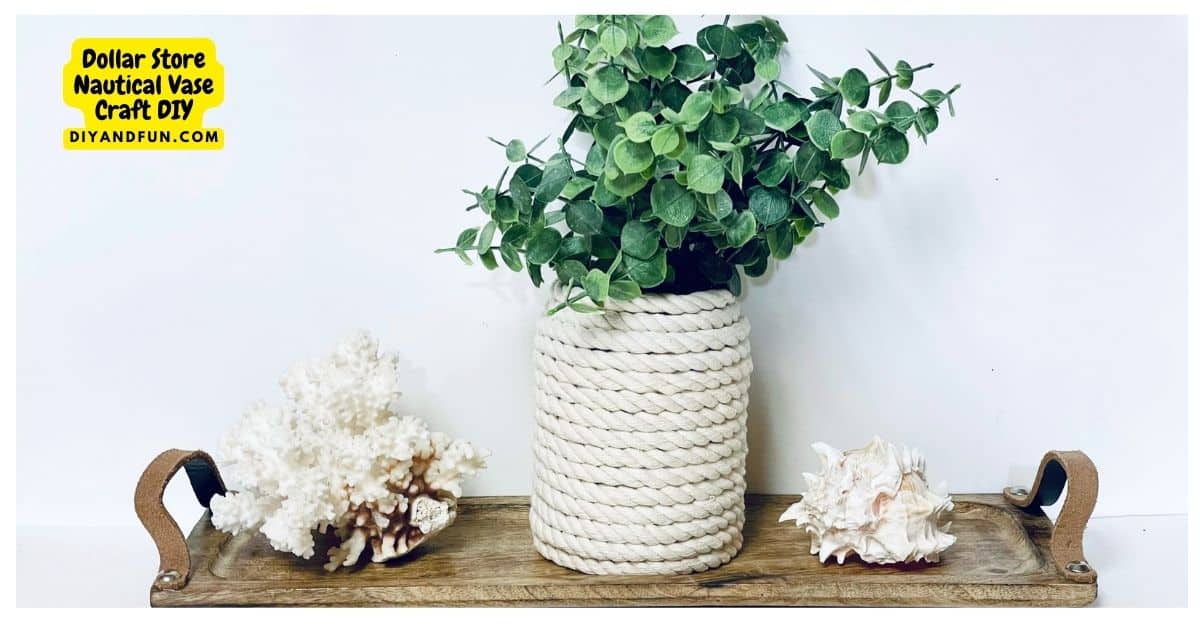
DIY Vase Craft Idea.
This is a quick and simple project that can add style to about any room.
Even better, this craft is simple enough for about anyone to do (some may need a bit of help).
Did you see my DIY Nautical Wreath Craft Idea?
That nautical wreath would go nicely with this vase. Both nautical inspired craft ideas are easy inexpensive to make.
To make this wreath you will need a nautical rope. You can find a selection of nautical craft ropes here.
What is a Nautical Theme?
A nautical theme usually refers to decor or style that has been inspired by the sea.
It is especially a popular idea in coastal locations or in locations that want to give reference to the sea.
Nautical themes are commonly inspired by the colors of the sea. However, nautical themes can also be inspired by maritime elements such as the beach, things found in the sea such as boats, seashells, nature, and colors that are commonly found by the water.
Decorating in a nautical theme can be as simple as adding a few seashells and a picture of a beach. However, it can also be as entailed as using beach inspired wall paper on the walls and nautical decorating elements such as pillows and curtains.
What is commonly seen in nautical themes;
Colors such as blue, white, or sand-brown.
Nautical symbols such as anchors, compasses, ropes, seashells and ships.
Natural materials such as rope and wood.
Stripes in red, white or blue.

Tips for making a nautical rope vase.
The trick to making this project is to use a hot glue gun and work quickly with the glue before it cools. Take precautions to not burn yourself when doing this.
If you are using a thick rope, you may need to use multiple layers to cover the vase completely.
Once the glue has dried, you can add a clear coat of spray paint to protect the vase from moisture and fading.
With a little creativity and effort, you can easily make a nautical rope vase that will add a touch of coastal charm to your home.
More tips for you
- Apply the glue in a steady stream rather than in a series of 'glops'. Applying too much glue, can cause the rope to become bulky or uneven when the glue dries.
- While my vase has the rope glues all the way to the top, depending on the shape of your vase, you may want to stop short of the top of the vase. Stopping short of the top of the vase can prevent the rope from getting wet when flowers are added to the vase.
- You can spray or paint a craft sealant over the rope once it has dried to help keep the rope dry and cleaner. Another option is to spray the rope with spray paint.
How to make a nautical vase even better.
This nautical vase is easy and attractive as is.
However, you can make yours even better.
Try one of these ideas.
- Instead of using a glass vase, you can use a wine or beer bottle, ceramic pot or planter.
- Glue on nautical themed embellishments, such as seashells or sand.
- Double up the rope in areas that your want to accent.
👉Be sure to follow us on Facebook, Pinterest, and Instagram.
Subscribe to our Weekly Newsletter.
Dollar Store Upcycled Jar Nautical Vase
This is a simple project for creating a nautical themed vase using materials that can be found at a dollar or similar store.
To make this project we will use a hot glue gun to attach nautical rope to the vase.
What can you do with a homemade diy nautical vase?
- Display this case with flowers from your garden or beach inspired grass and wildflowers.
- Plant herbs in the vase and give it to someone as a gift.
- Use the vase as a holder for kitchen utensils or pens.
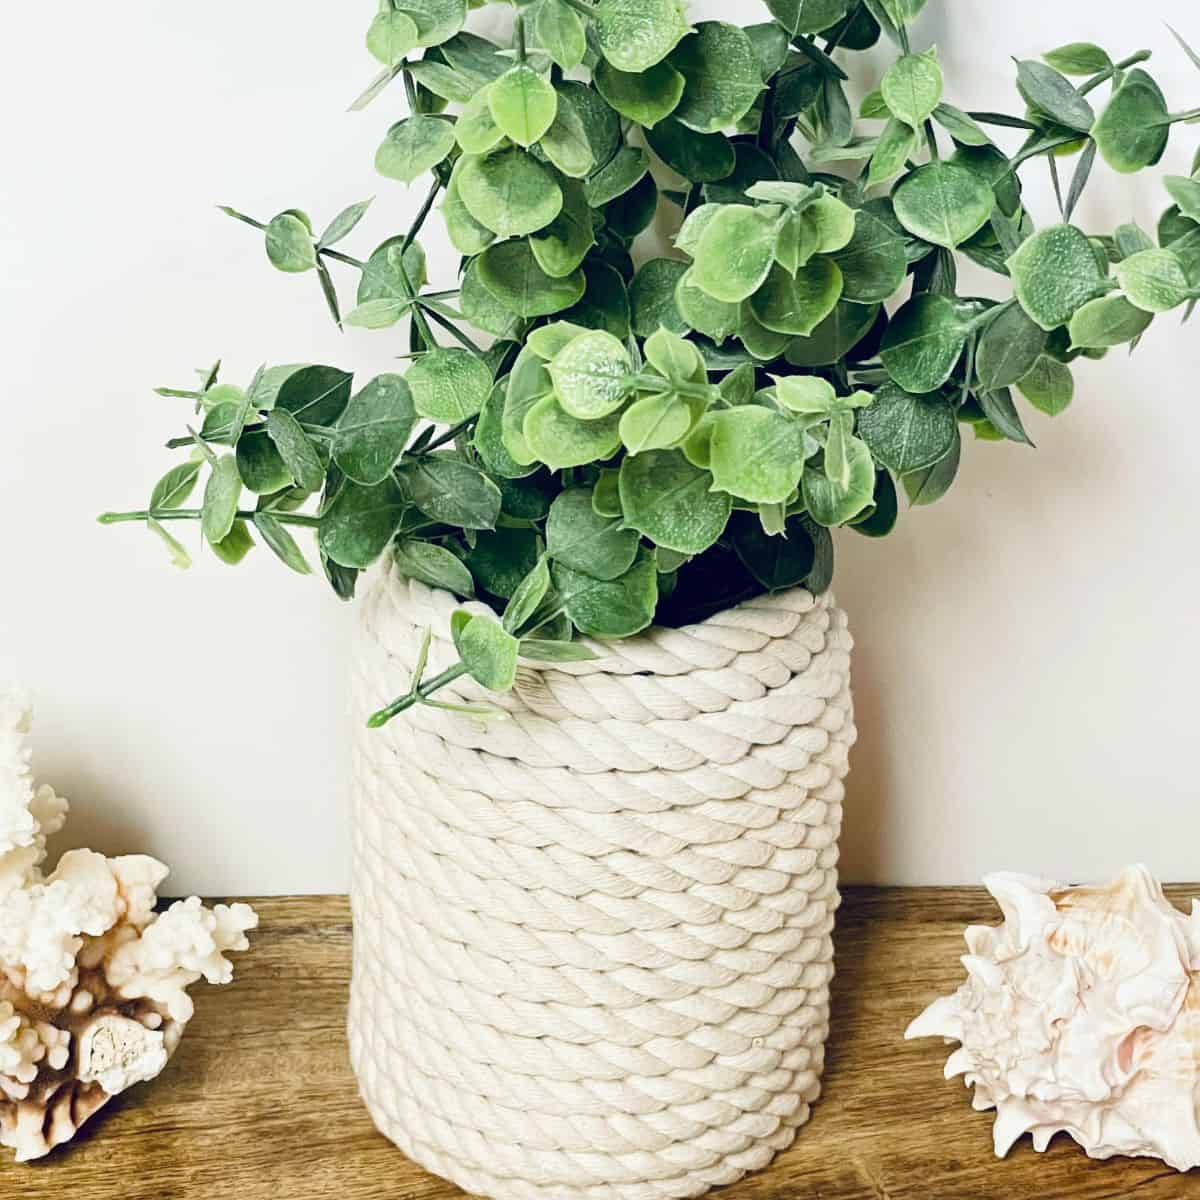
Materials needed to make an Upcycled Vase DIY
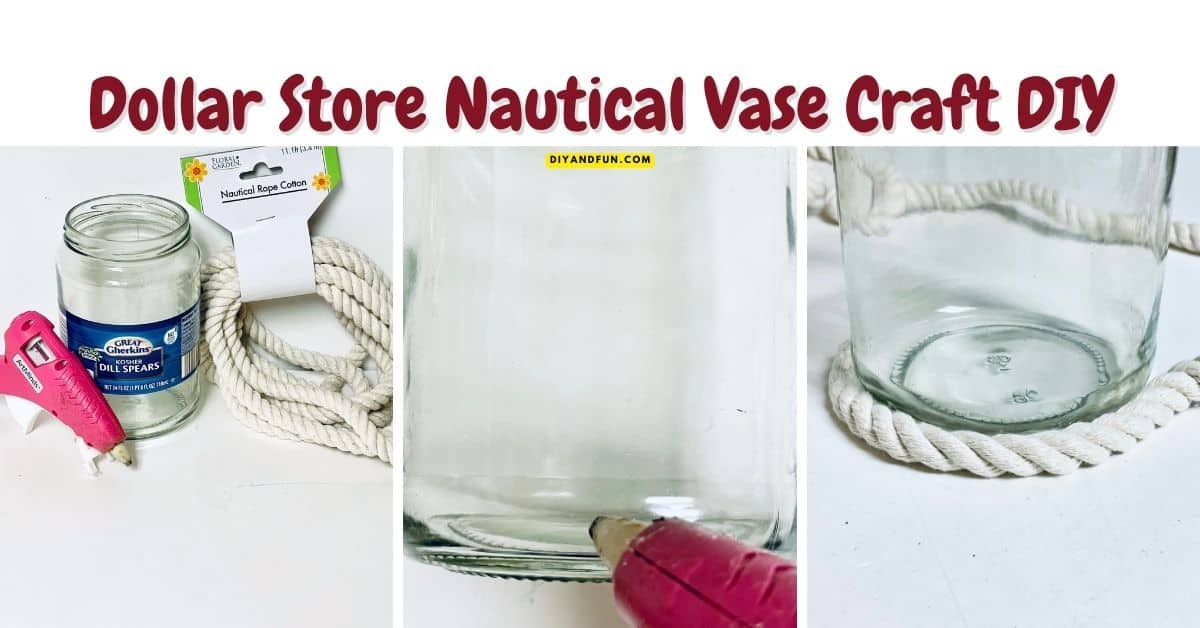
- Jar or Vase. You can upcycle a pickle or similar jar or reuse an old vase. Glass works best for this project.
- Nautical Rope. If you are using dollar store rope, my jar needed two packages. Yours may vary depending on the size of your jar of course.
- Glue gun and glue sticks
- You will also need something to cut the rope with like a scissors.
How to make this Dollar Store Nautical Vase Craft DIY.
Step One: prepare.
Gather your materials and prepare your workspace. Then open up the rope and unwind it as necessary. Also, make sure that your vase, bottle, or jar is free of debris and stickers. Lastly, preheat your glue gun according to the manufacturers directions.
Step Two: attach the rope to the jar.
We will start at the bottom of the vase/jar and work our way up, working our way around the vase/jar glueing the rope on as we go.
- Start by adding a line of hot glue to the bottom edge of the jar, gluing about a third of the circumference at a time.
- Carefully press the nautical rope over the glue.
- Work your way around the vase/jar repeating this process.
- Repeat this around the bottom of the jar.
- When you have hot glued the rope around the entire circumference of the bottom of the vase/jar you can repeat this gluing process over this layer until you have reached the top of the vase/jar.
- When you have reached the top of the vase/jar simply cut the end of the rope and glue it in place.
Expert Tip 👉 While this project is suitable for most ages, some folks may need help while gluing the rope. Regular craft glue can be used but, I would use a glue like a tacky glue.
In case you missed something.
👇You may also be interested in these ideas!👇
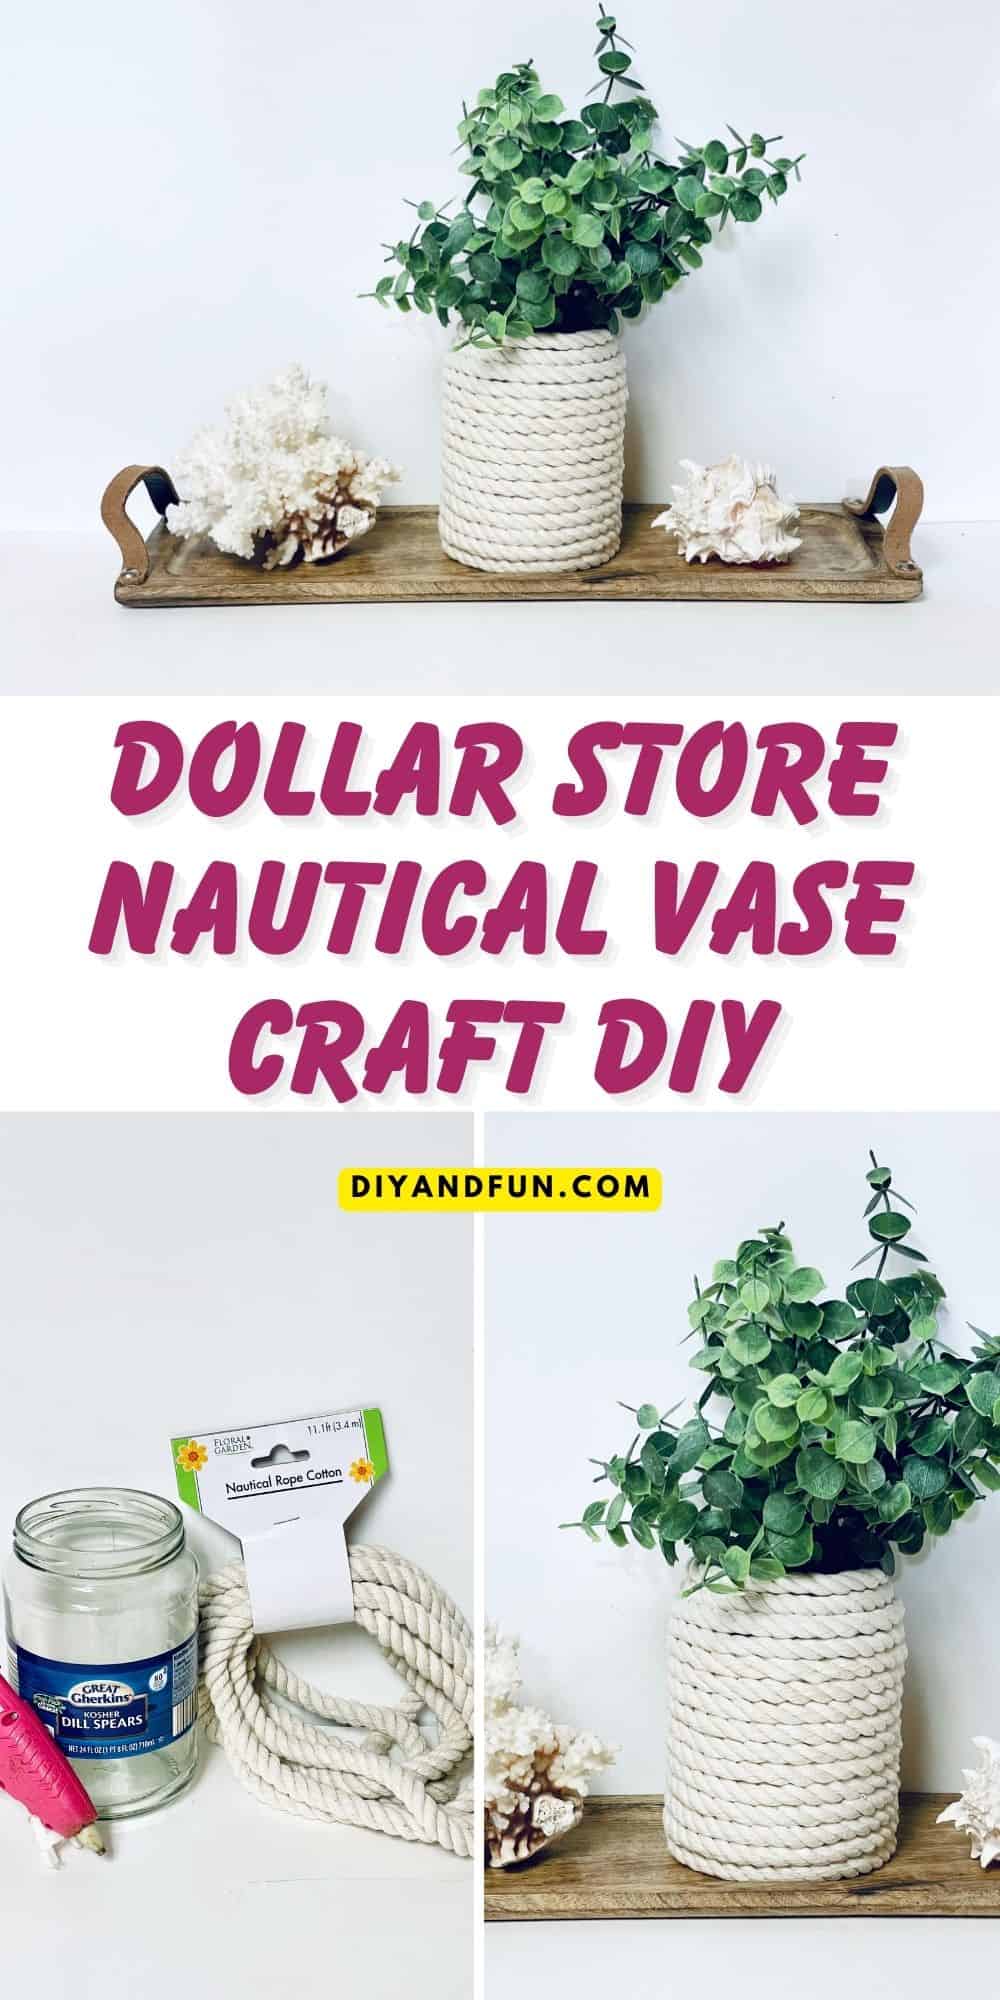
Dollar Store Nautical Vase Craft DIY, a simple and and inexpensive home decor upcycle project that is suitable for many ages.
Dollar Store Nautical Vase Craft DIY
Equipment
Materials
- Jar or Vase
- Nautical Rope
Instructions
- Start by adding a line of hot glue to the bottom edge of the jar, gluing about a third of the circumference at a time. Carefully press the nautical rope over the glue.
- Work your way around the vase/jar repeating this process. Repeat this around the bottom of the jar. When you have hot glued the rope around the entire circumference of the bottom of the vase/jar you can repeat this gluing process over this layer until you have reached the top of the vase/jar.
- When you have reached the top of the vase/jar simply cut the end of the rope and glue it in place.
Thanks so much for visiting!
If you decide to try any of the ideas listed in this article please tag on social media @diyandfun. We like to hear your ideas and suggestions.
DIY and Fun is a website dedicated to providing you with the best DIY projects, crafts, recipes, hiking, and fun ideas that inspire. Whether you're looking for a new way to decorate your home, learn a new skill, or simply have some fun, DIY and Fun has something for everyone.
Here are some additional ways to keep coming back to DIY and Fun:
- Sign up for our email newsletter. We'll send you weekly updates with new projects, inspiration, and more.
- Follow us on social media. We're on Facebook, Twitter, and Pinterest.
- Our community forum is coming soon. Share your projects, ask questions, and get inspired by other DIYers.


