Pine Cone Angel Ornament Craft DIY that is actually not that hard to make.
I really like how cute these angel ornaments are as well!
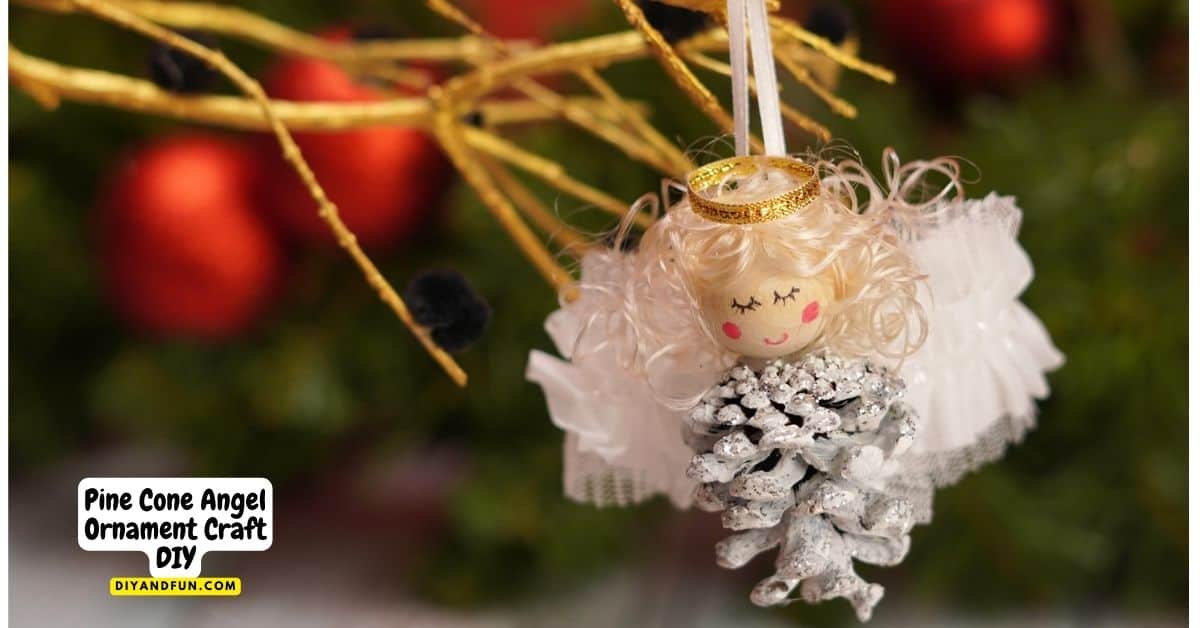
Easy Pine Cone Angel Ornament Craft DIY idea.
This project turns a regular pine cone in to an adorable angel in just a few steps.
The angel can then be used as an ornament or to simply hang elsewhere.
Did you make my Clothespin Poinsettia Ornament DIY ?
That is another easy and cute ornament that you can make in about a half hour. Both this angel ornament and that clothespin ornament would look nice when displayed beside one another.
Make this project even easier to make by using already painted pine cones. You can find painted pine cones here!
Technically, the answer may be both. That is, some folks call it a 'pine cone' while others say 'pinecone'.
If you are not sure which to call it, you can alternatively call it a 'conifer cone'.
A pine cone and a pinecone are both a 'conifer cone'. YAY!😉
Where I live, I see pine cones growing in the spring and fall.
The fall is the best time to find good pine cones, depending on where you live.
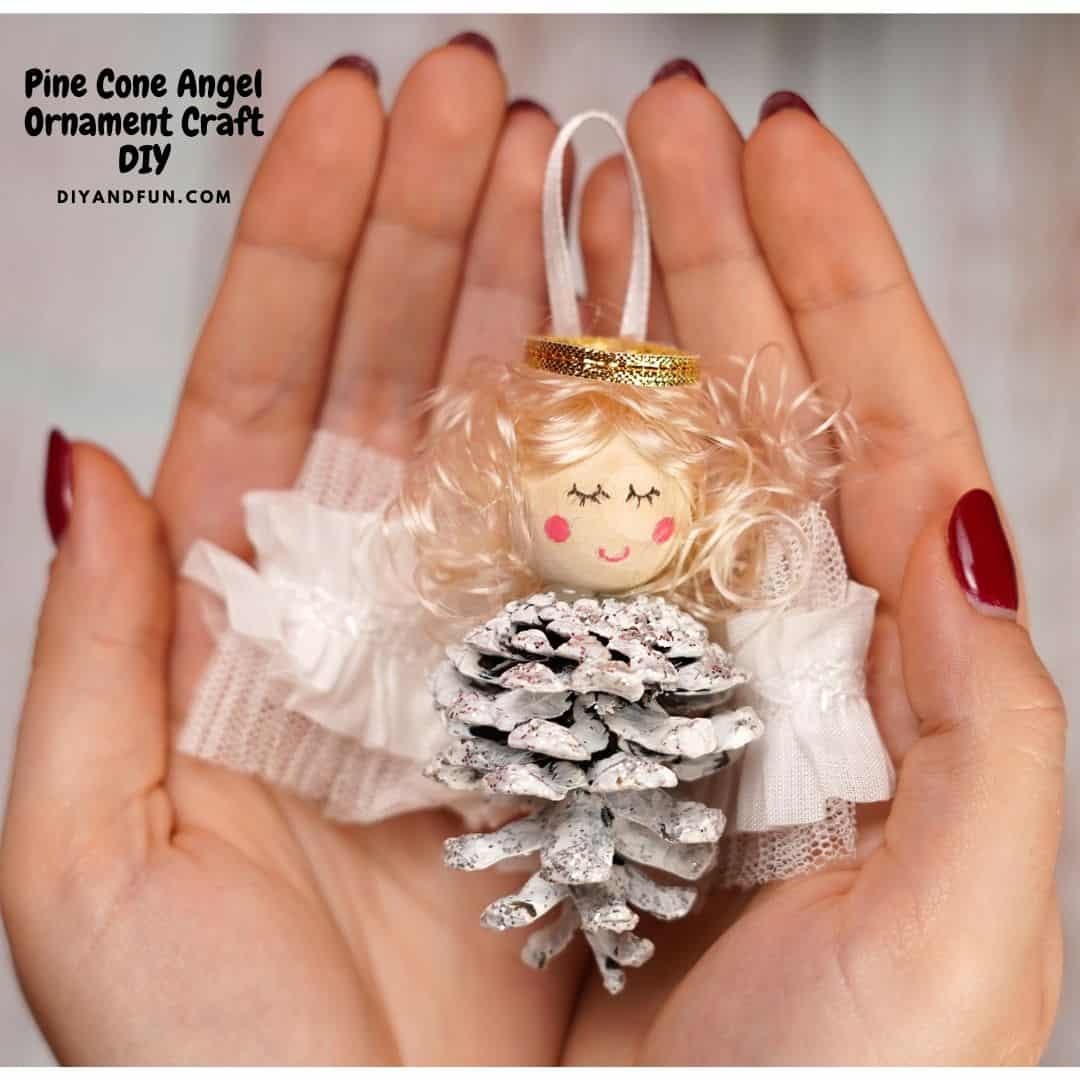
Tips for making a pine cone angel.
Select pine cones that are free of dirt, dry and fully intact. Picking them directly off of the tree may be a good idea.
More tips for you
- When selecting the wooden craft ball for the head, select one that is a good proportion for the cone. This also goes for the width of the ribbon that will be used to make the wings.
- This project is suitable for many ages. However, certain folks may need a bit of assistance especially when it comes to painting and gluing.
- Many, if not most, of the materials in this project can be found at your local dollar store. Pine cones can be purchased as well if needed.
Personalize your angel ornament.
This is a relatively simple project to make.
It is also a cute angel when it is finished.
Here are some ideas on how you can make your pine cone angel even better.
- Instead of painting her white and using white wings, experiment with other colors.
- Use scented pine cones or add a bit of scent to your finished angel.
- Use a clean Golf Ball to make the head instead of the wooden craft bead.
- Write or attach names on your angel to use as a gift tag.
👇You may also be interested in these ideas!👇
👉Be sure to follow us on Facebook, Pinterest, and Instagram.
Subscribe to our Weekly Newsletter.
About this project for turning a pine cone into an angel.
This is a simple project for making a holiday season angel.
The angel can then be used as a tree ornament.
To make this ornament, you will need a pine cone.
We will start by first painting the pine cone. Then we will make and attach the head and the wings.
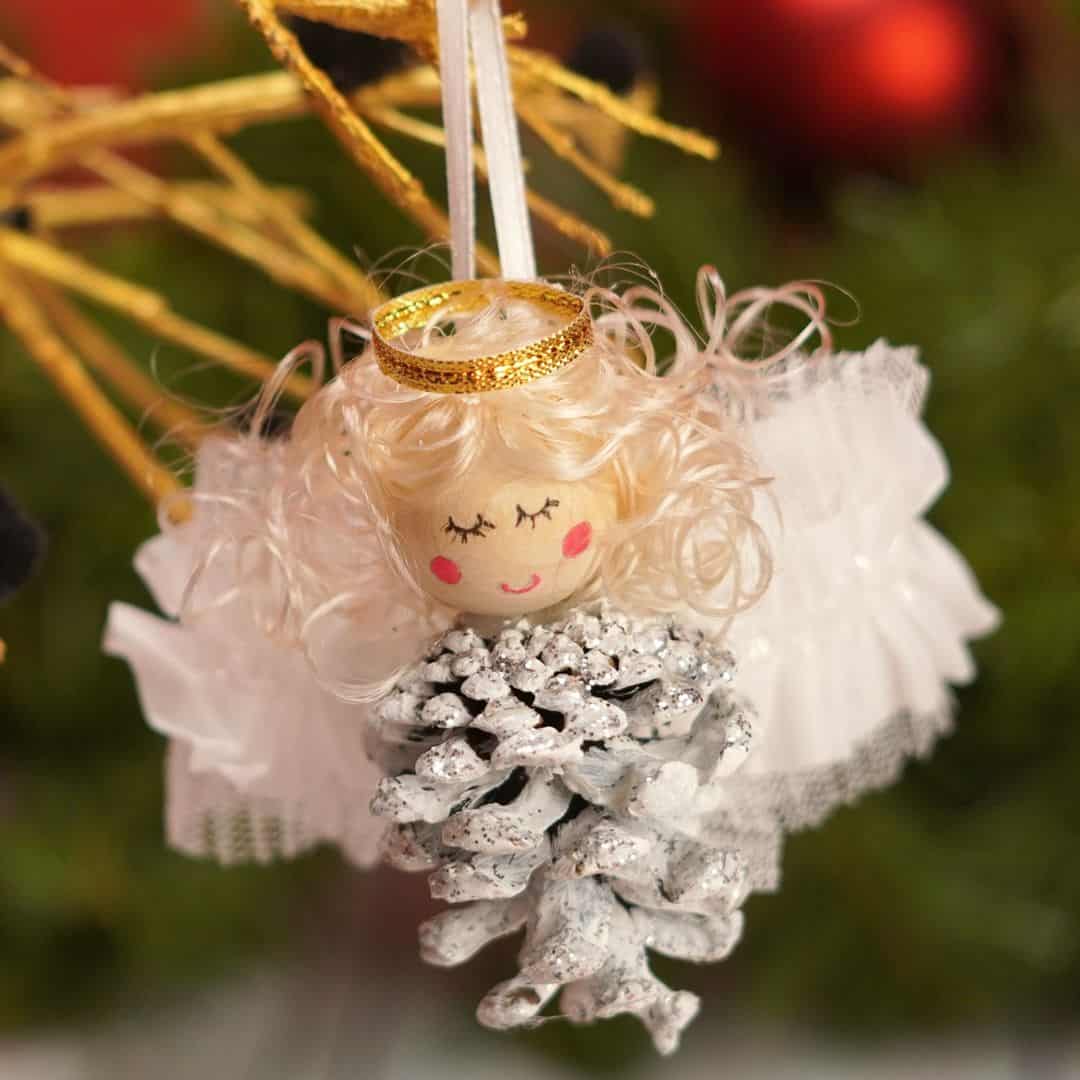
Materials needed to make this project.
- Pine cone Select a pine cone that is in good condition and that has no debris or dirt. The best pine cones for this project are dry, fully intact, and clean.
- White Acrylic Craft Paint or White Spray Paint.
- Glitter. Silver, gold or a combination works well for this angel.
- Wooden Craft Ball. 1 ½ or 2" works well.
- Craft (Doll) Hair. Any color however, mine is light blond.
- Pink marker and fine black marker. To make the facial details.
- Gold Twist Tie or Gold Pipe Cleaner. This is to make the halo.
- To make here wings, ribbon, tulle and lace or craft angel wings ,
- You will also need a glue gun with glue sticks, a paint brush for painting, and a scissors to make this angel project.
Expert Tip👉 If you decide to use spray paint to paint your pine cone, do so in a well-ventilated area and according the directions on the packaging.
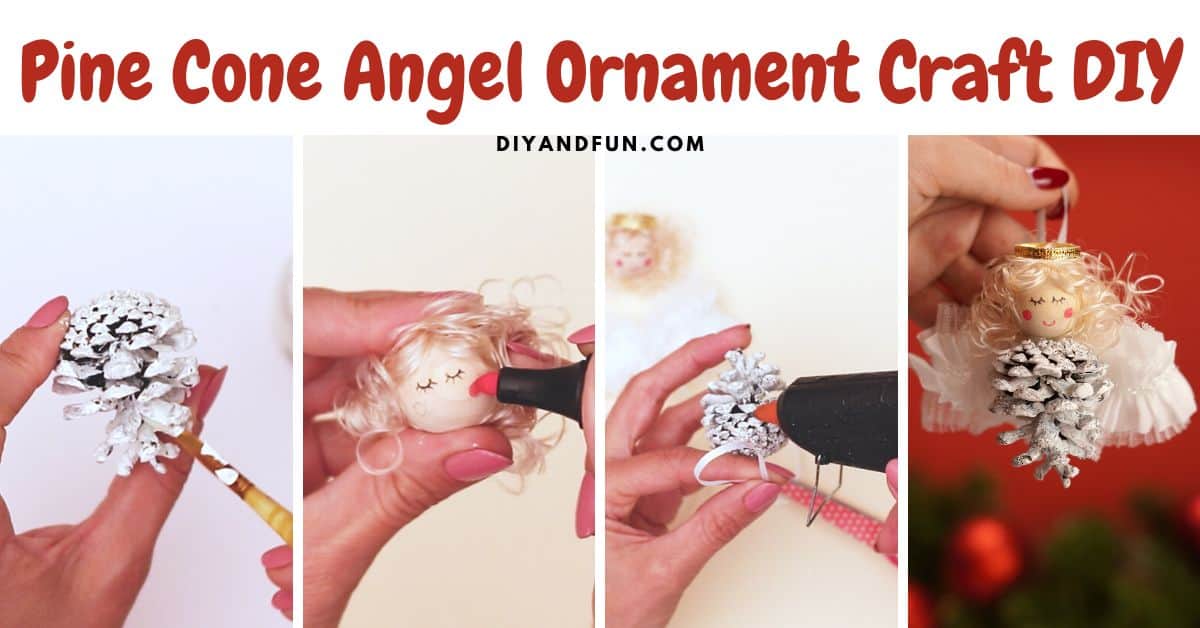
How to make this Pine Cone Angel Ornament Craft DIY
Step One: prepare.
Gather your materials and prepare your work space. Make sure that your pine cone is intact, fully dried out, and is free of debris.
Next, Step Two:paint the pine cone.
- Use craft paint or spray paint to paint the pine cone white. Apply a second coat as needed.
- While the pine cone is still wet from the final coat, sprinkle some glitter over the cone.
- Allow the pine cone to fully dry.
Step Three: make the angel head.
- While the pine cone is drying, you can make the heat.
- Size up the craft hair to the wooden craft ball and trim the hair accordingly. Then glue the hair in place.
- For the halo, simply use your twist tie or pipe cleaner and to make a circle by wrapping it around your finger to the wooden ball.
- Glue the halo on to the hair in place.
- Lastly, use the markers to draw on the facial details.
Lastly, Step Four: finish the angel.
- Glue the finished head on to the bottom of the pine cone, which is nowt the top of the angel.
- Cut two four inch pieces of ribbon.
- To make the wings, simply fold the tulle or lace over as if you were making a bow. Then use one of the ribbon pieces to tie it in the center.
- For the other piece of ribbon, attach the ends to the top third of the back of the angel to make a loop that can be used to hold the ornament on a branch. Then glue the wings over the ends of the ribbon to hide it.
- Allow the glue to set and then enjoy your adorable pine cone angel.
👇👇Related Ideas.👇👇
Table of contents for this project.
Pine Cone Angel Ornament Craft DIY, a simple holiday or Christmas craft idea for turning a pine cone into an angel.
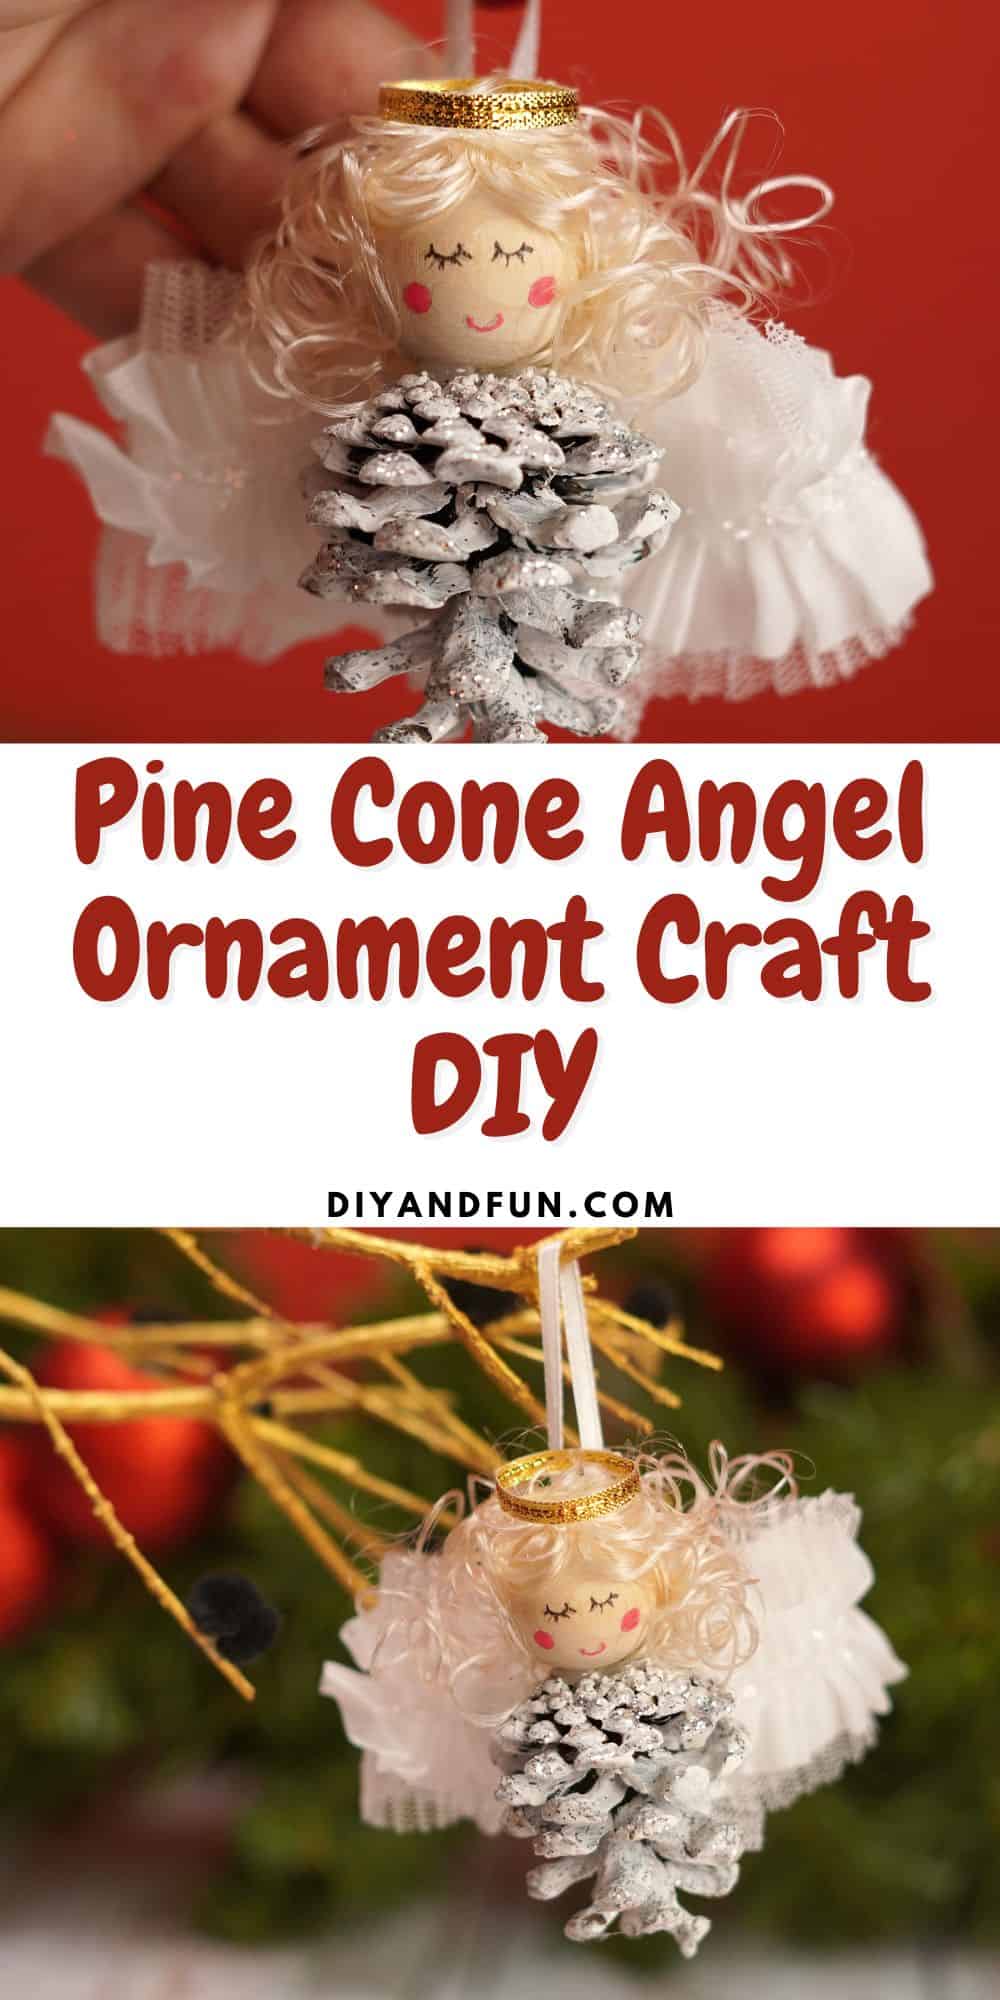
Pine Cone Angel Ornament Craft DIY
Equipment
- pink marker and fine black marker.
- glue gun with glue sticks, a paint brush for painting, and a scissors
Materials
- Pine cone
- White Acrylic Craft Paint
- Glitter.
- Wooden Craft Ball.
- Craft (Doll) Hair.
- ribbon, tulle and lace or craft angel wings
Instructions
- Use craft paint or spray paint to paint the pine cone white. Apply a second coat as needed.While the pine cone is still wet from the final coat, sprinkle some glitter over the cone.Allow the pine cone to fully dry.
- Size up the craft hair to the wooden craft ball and trim the hair accordingly. Then glue the hair in place.
- For the halo, simply use your twist tie or pipe cleaner and to make a circle by wrapping it around your finger to the wooden ball.Glue the halo on to the hair in place. Lastly, use the markers to draw on the facial details.
- Glue the finished head on to the bottom of the pine cone, which is nowt the top of the angel.Cut two four inch pieces of ribbon.To make the wings, simply fold the tulle or lace over as if you were making a bow. Then use one of the ribbon pieces to tie it in the center.
- For the other piece of ribbon, attach the ends to the top third of the back of the angel to make a loop that can be used to hold the ornament on a branch. Then glue the wings over the ends of the ribbon to hide it.Allow the glue to set and then enjoy your adorable pine cone angel.


