Terra Cotta Pot Bunny Craft DIY is the perfect idea for spring and for Easter.
These adorable bunny pots are easy and inexpensive to make as well!
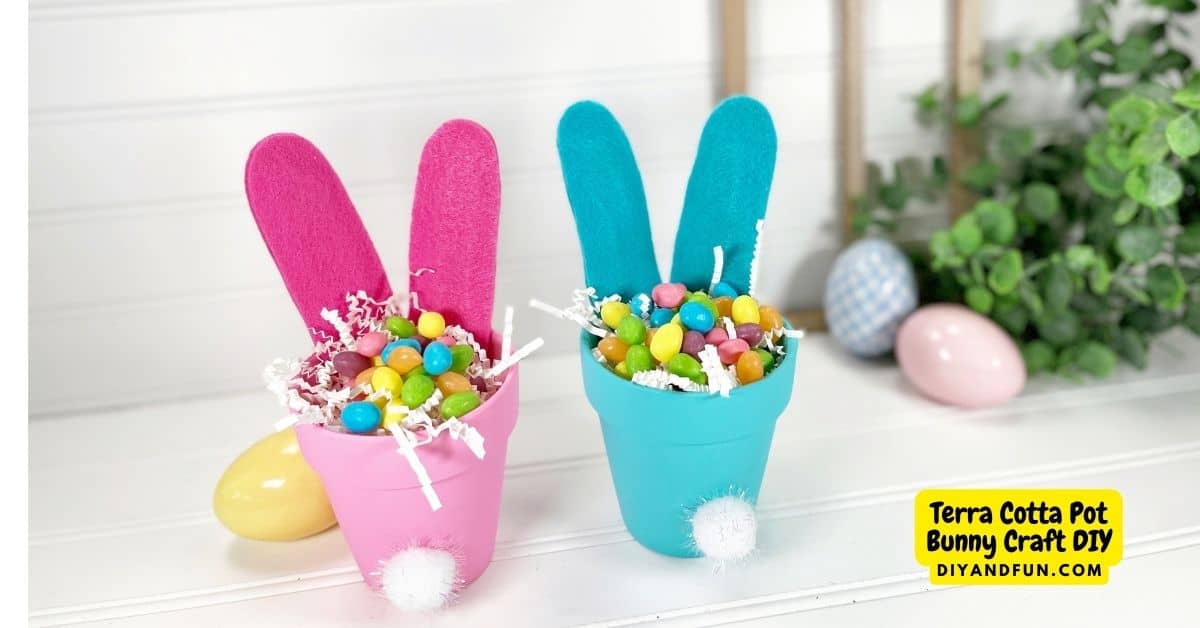
Easy Clay Pot Bunny Craft DIY
This is a simple craft project that is suitable for most ages.
Even better, most of the materials can be found at a dollar or discount store.
Did you try my DIY Bunny Basket Craft idea?
That craft project turns an old milk carton into a cute bunny basket.
Both that project for a bunny basket and this clay pot project are easy and cute craft ideas for spring.
To make this project, you will need 2 ½" terra cotta clay pots.
You can find a selection of terra cotta clay pots here.
Frequently asked questions about terra cotta craft projects.
Terra cotta, sometimes spelled terracotta, is a simple pot made from organic clay.
They are typically orange in color, have a hole in the bottom, and come in different sizes.
Unlike ceramic pots, terra cotta pots have not been finished or glazed.
This is often what makes them perfect for craft projects.
Clay pot have many uses beyond holding plants.
They are also relatively inexpensive which makes clay pot crafting even better (imo).
What you should know is that before you start crafting with a terra cotta clay pot, is that it should be clean, dry, and free of any debris or stickers. This will make painting and decorating your clay pot easier to do.
Tips for making this Terra Cotta Pot Bunny Craft
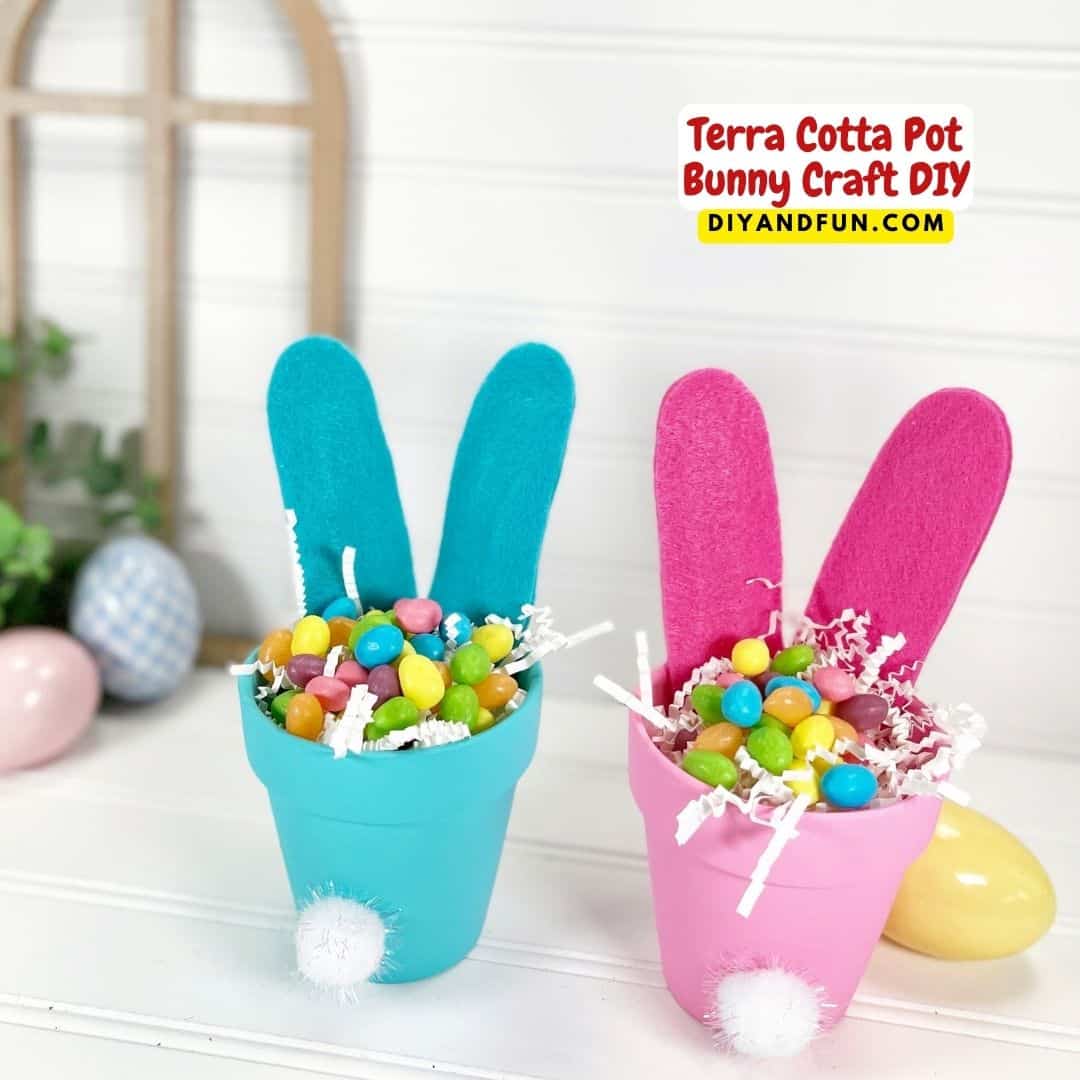
My clay pot bunny craft was made using a 2 ½" sized pot. Feel free to use the clay pot size of your choice if desired.
More tips for you
- Most, if not all, of the materials can be found at a local dollar store or discount store. You can also find candy to fill them with while you are there.
- Hot glue really works best at getting everything to stick quickly. However, you can use a tacky or craft glue instead if you can wait for it to try.
- There is a bit of painting that needs to get done for this project. Make sure that the paint gets fully dry before going on to the next step.
- While this project is suitable for most ages, some folks may need a bit of assistance as needed. This is especially true with the painting and gluing.
Personalize this clay pot craft idea.
These bunny bottom clay pots are adorable the way they are.
You can however make yours even cuter!
Try one of these ideas.
- Use other colors besides the pink and blue that were used to paint my bunnies with.
- Use a marker to write a name or other words on the bunny.
- Add a bunny face under the ears using markers or paint.
👇You may also be interested in these ideas!👇
👉Be sure to follow us on Facebook, Pinterest, and Instagram.
Subscribe to our Weekly Newsletter.
About this Easter Craft Bunny DIY.
This is a simple craft idea for turning basic terra cotta clay pots into 'bunnies'.
The bunny pots can then be used to hold candy, pens, a plant, or about anything that can fit into them.
To make this project you will first need to paint the pots.
Once the pots have dried, you can add the ears, tail, and other elements.
Lastly, you can fill the pots and use them as a display or give them to someone as a gift.
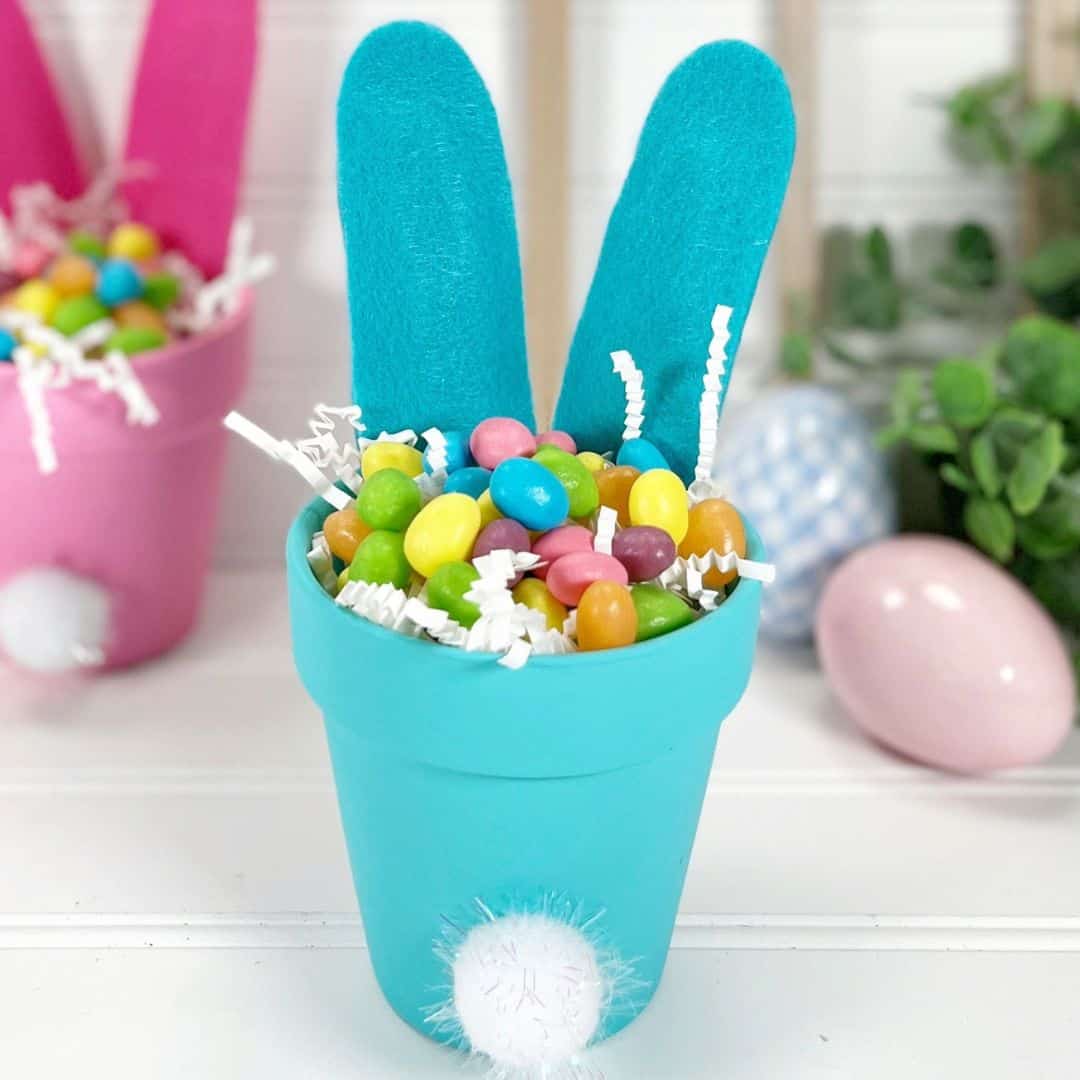
Materials needed to make this Terra Cotta Pot Bunny Craft DIY.
- Terra Cotta Clay Pots – 2.5” in diameter
- Acrylic Craft Paint – Blue, Pink, Purple.
- Craft Felt. Blue, Pink, Purple
- Chenille Stems (pipe cleaner). White
- Pom Poms. White Tinsel.
- Shredded Paper.
- You will also need glue gun, glue sticks, scissors, paper for printing out the ear template, and a black marker.
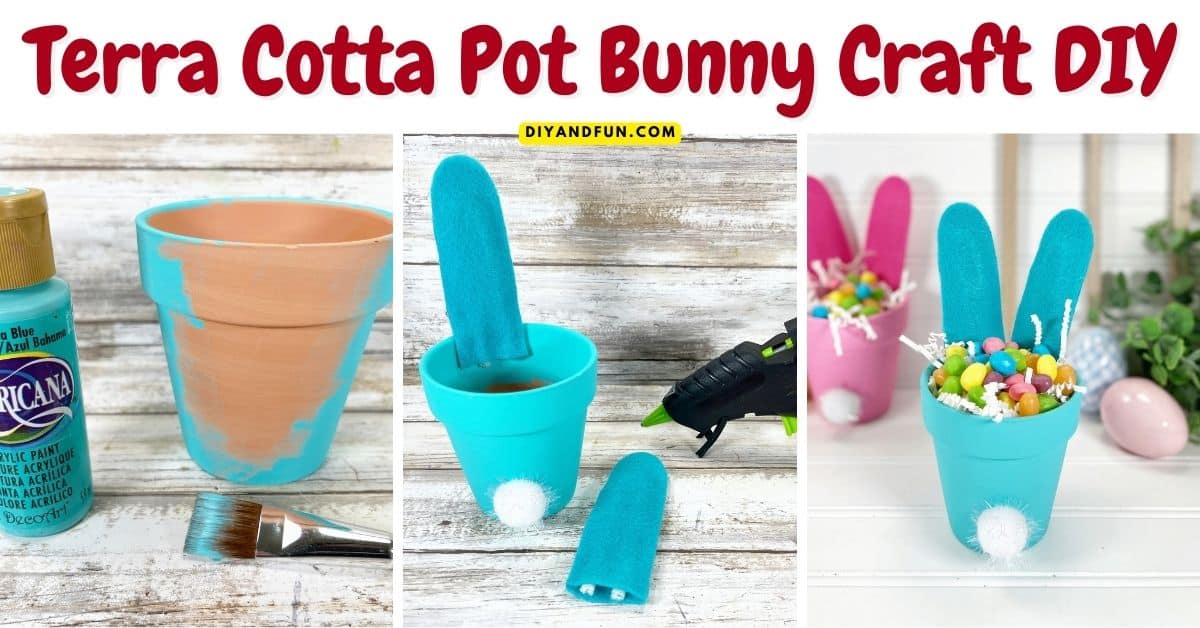
How to make this Terra Cotta Pot Bunny Craft DIY.
Step One: prepare.
Start by downloading the template for the ears. Then prepare your workspace as needed and gather the materials as well. It is also a good idea to make sure that your terra cotta pots are free of debris and labels.
Step Two: paint the pots.
Using a paintbrush, apply a base coat of paint the inside and the outside of the 2.5” clay pots with blue, pink, or purple acrylic craft paint. Then allow the paint to dry. Apply a second coat, if necessary.
Step Three: make the ears.
- Cut out the ear patterns and trace the ear pattern onto blue, pink, and purple craft felt four time each.
- To create the bunny ears, first bend a white chenille stem into a “U” shape and attach to the craft felt ear to it using the hot glue.
- Trim the ends of the chenille stem with scissors.
- Repeat the last two steps for the second ear.
- Attach the completed bunny ears to the top inside edge of the clay pot with a glue gun and glue sticks.
Expert Tip👉 Make sure to cut inside the raced lines, so you end up with a clean, finished project.
Step Four: Finish the bunny.
Glue the pompom on to the bottom outside of the pot that is opposite to the side that the ears were glued on to. You can reference my images as needed. Then make any optional decorations, such as drawing on a face, as desired.
Expert Tip👉 Use my images as a guide if you are unsure of anything from the instructions.
👇👇Related Ideas.👇👇
In case you missed something.
Terra Cotta Pot Bunny Craft DIY, a simple dollar store spring Easter craft idea. Suitable for most ages. 30 minutes.
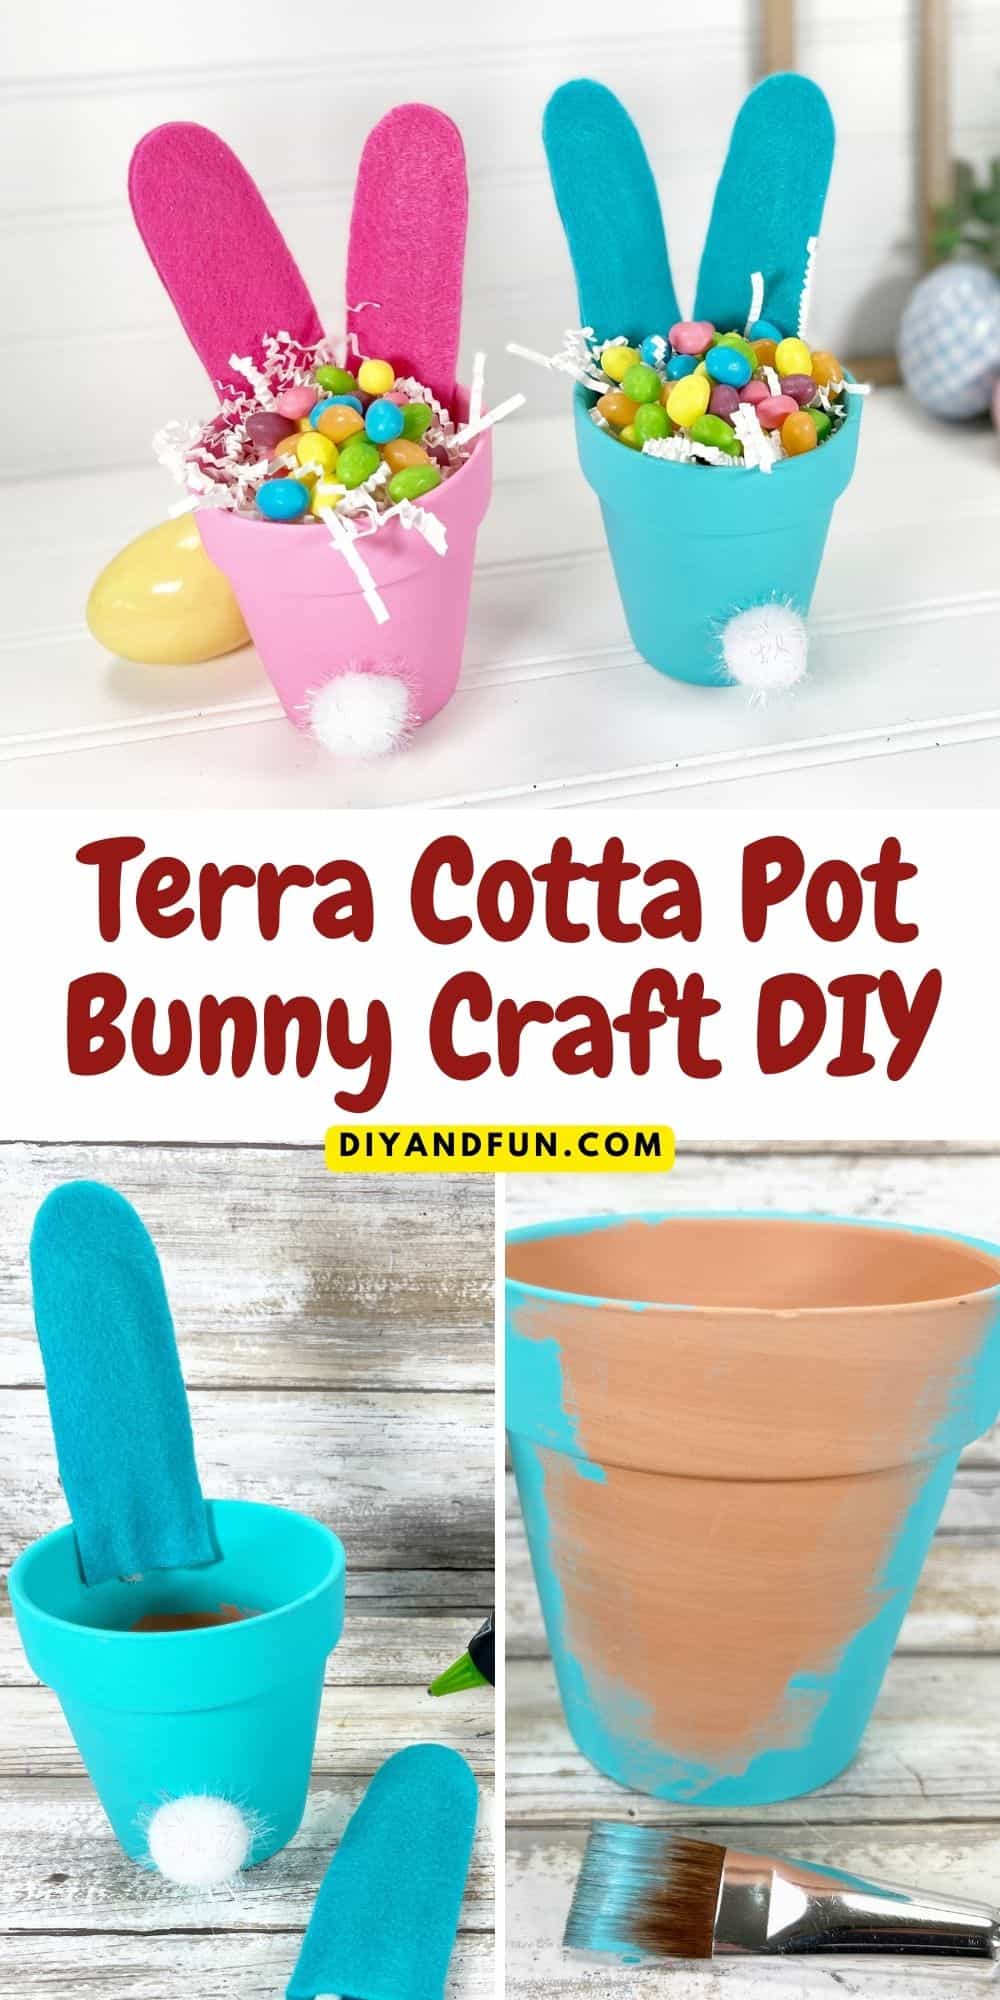
Terra Cotta Pot Bunny Craft DIY
Materials
- 2 Terra Cotta Clay Pots 2 ½"
- 3 Acrylic Craft Paint Blue, Pink, Purple.
- 6 Craft Felt. Blue, Pink, Purple.
- 4 White Chenille Stems (pipe cleaner).
- 2 Pom Poms
You will also need glue gun, glue sticks,s cissors, paper for printing out the ear template, and a black marker. Also, shredded paper for the inside of the pot.
Instructions
- Start by downloading the template for the ears. Then prepare your workspace as needed and gather the materials as well. It is also a good idea to make sure that your terra cotta pots are free of debris and labels.
- Paint the pots. Basecoat the inside and the outside of the 2.5” clay pots with blue, pink, or purple acrylic craft paint. Then allow the paint to dry. Apply a second coat, if necessary.
- To make the ears. Cut out the ear patterns and trace the ear pattern onto blue, pink, and purple craft felt four time each.
- To create the bunny ears, first bend a white chenille stem into a “U” shape and attach to the craft felt ear to it using the hot glue. Trim the ends of the chenille stem with scissors. Repeat the last two steps for the second ear.
- Attach the completed bunny ears to the top inside edge of the clay pot with a glue gun and glue sticks.
- Glue the pompom on to the bottom outside of the pot that is opposite to the side that the ears were glued on to. You can reference my images as needed. Then make any optional decorations, such as drawing on a face, as desired.
Thanks so much for visiting!
If you decide to try any of the ideas listed in this article please tag on social media @diyandfun. We like to hear your ideas and suggestions.
DIY and Fun is a website dedicated to providing you with the best DIY projects, crafts, recipes, hiking, and fun ideas that inspire. Whether you're looking for a new way to decorate your home, learn a new skill, or simply have some fun, DIY and Fun has something for everyone.
Here are some additional ways to keep coming back to DIY and Fun:
- Sign up for our email newsletter. We'll send you weekly updates with new projects, inspiration, and more.
- Follow us on social media. We're on Facebook, Twitter, and Pinterest.
- Our community forum is coming soon. Share your projects, ask questions, and get inspired by other DIYers.


