Easy Rope Basket Craft DIY that can be made by most ages in about a half hour.
I like that these baskets can be used also be personalized for a holiday such as Easter.
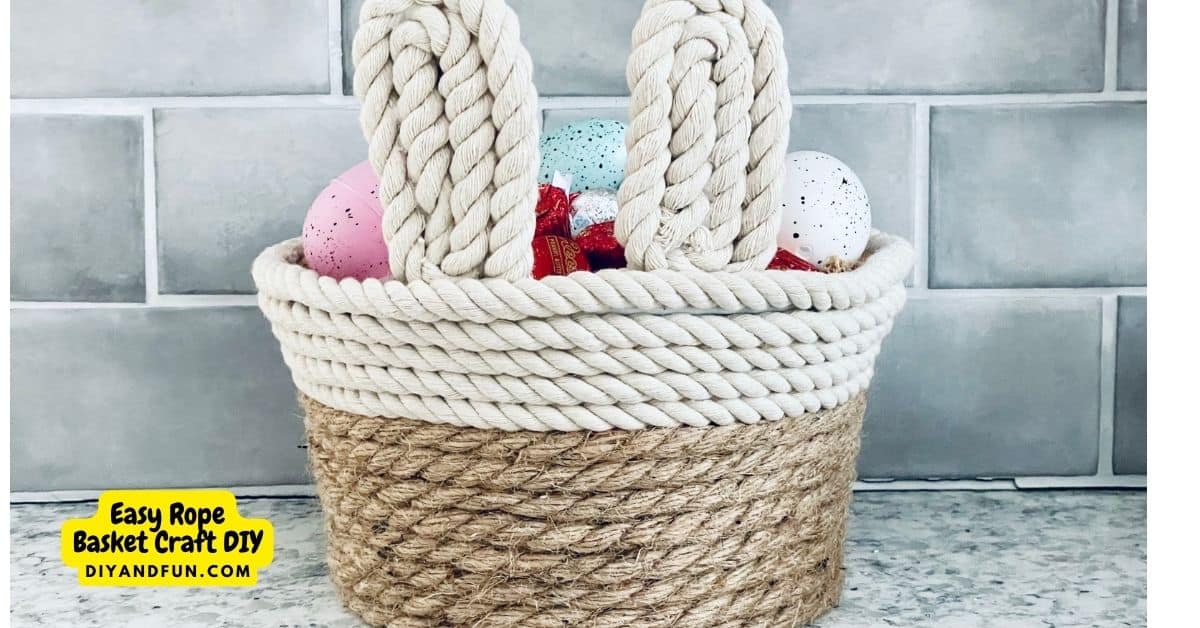
DIY Dollar Store Rope Basket.
This is really a simple project that can be made inexpensively using simple materials.
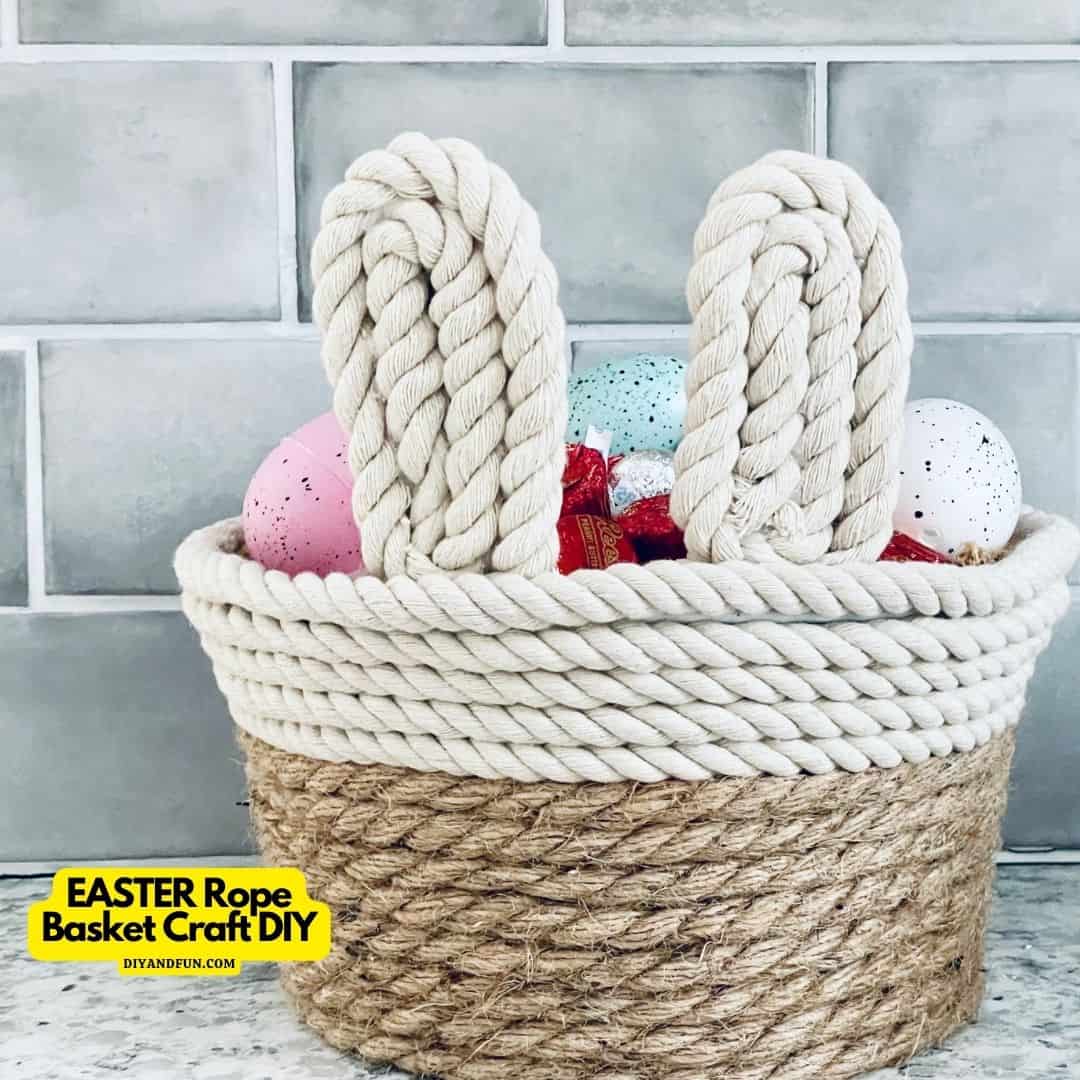
My basket has been personalized for Easter however, your basket can be for general use.
Did you see my DIY Nautical Wreath Craft Idea
That is a similar craft project that is also made with nautical rope. Both this basket project and that wreath project are simple and inexpensive ideas for home decor.
To make this craft project you will need a small wire mesh garbage basket. You can find a selection of wire mesh baskets that you can use here (these are a bit more sturdy than the dollar store basket).
Frequently asked questions about rope baskets.
A 'rope basket' is just as it sounds.
It is a basket made with rope.
Rope baskets are usually made with a sturdy rope such as nautical rope.
To make the basket sturdy enough to hold items, the rope is usually weaved into a base such as a wire basket.
Because they are 'baskets', rope baskets can be used to hold various items.
However, the items the basket should be sturdy enough to hold the items.
Common uses for rope baskets include:
🟡 Holding household items such as towels, magazines, or newspapers.
🟣 Keep a work area tidy by organizing file folders or desktop items.
🟠 Gifts such as for holidays, birthdays, or Easter.
🔵 Hold toys for children or pets (I use mine to hold squeaky balls..).
Tips for making a rope basket diy.
The trick to making this project is to use a hot glue gun and work quickly with the glue before it cools. Take precautions to not burn yourself when doing this.
More tips for you
- You can make it easier to wrap the rope around the basket when you place it on something that can spin. I like to use a lazy Susan, cake spinner, or similar object for a project such as this one.
- Jute rope can sometimes get scratchy when you work with it. You can wear gloves while you are working with this if this becomes a problem for you.
- While this craft project is suitable for most ages, some folks may need assistance. This is especially true when working with a hot glue gun.
How to personalize this rope basket diy basket.
This craft idea is both simple and project.
You can make yours even better however.
Try one of these ideas.
- Use a colored rope instead of white cotton one. You can also dye your rope.
- Use a rectangular or square wire mesh basket instead of a round one. Many come with the handles already attached!
- Add handles by attaching them to the basket before you wrap with rope. Make sure that you attach the handles to the basket to make them useful.
- This basket is perfect for using for holiday or birthday gift giving. Simple place smaller items inside of the basket and top it with cellophane gift basket wrap.
👇You may also be interested in these ideas!👇
👉Be sure to follow us on Facebook, Pinterest, and Instagram.
Subscribe to our Weekly Newsletter.
About this coiled rope basket tutorial.
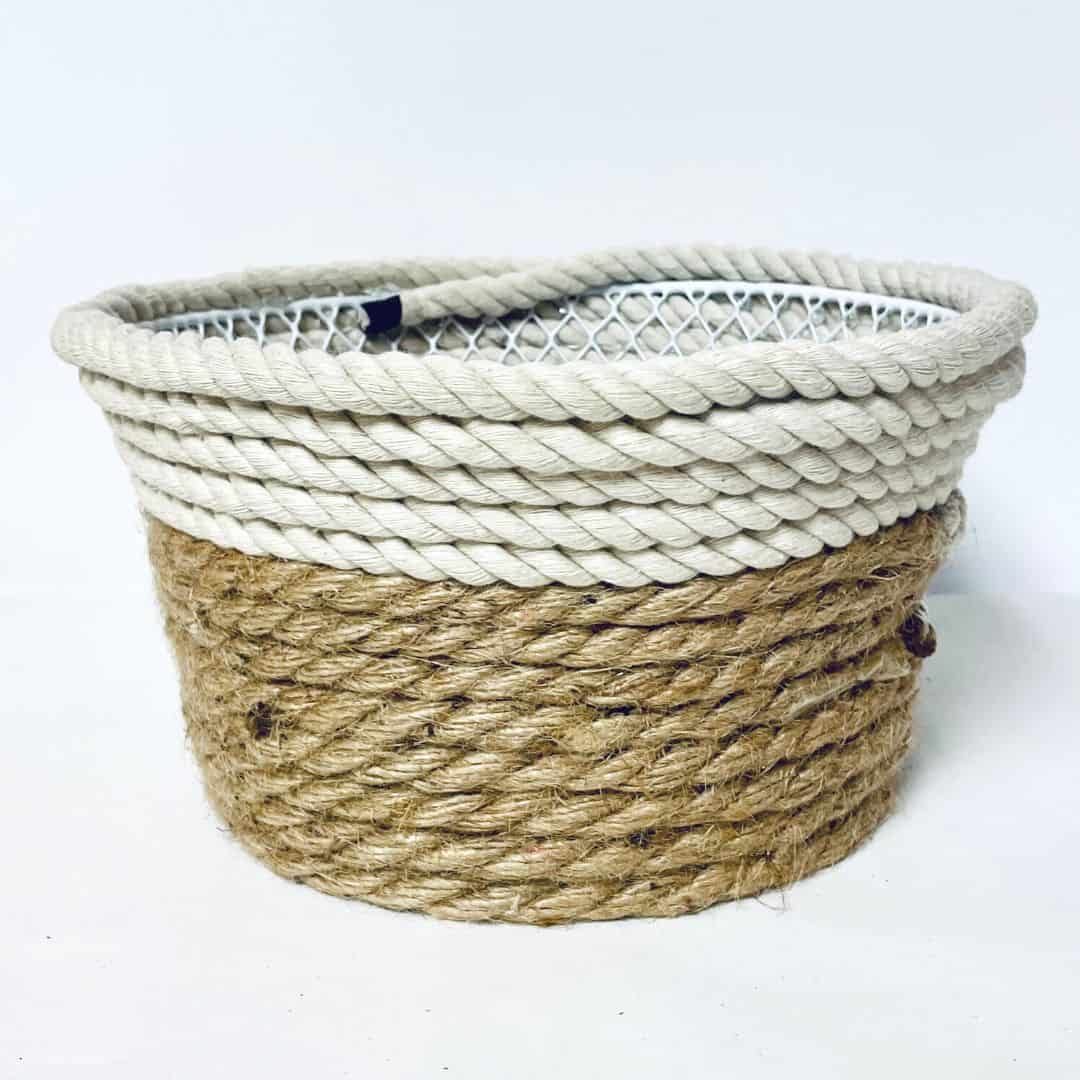
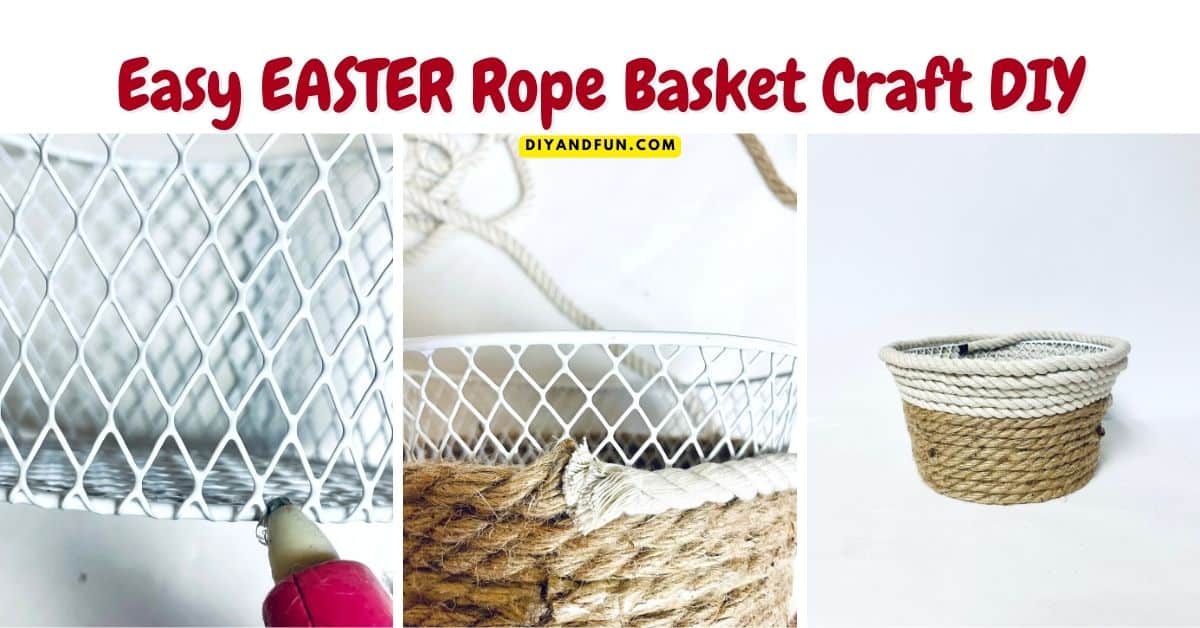
This is a simple project for taking a wire mesh garbage basket and turning it into a stylish rope basket.
It takes just a few materials and about a half an hour to make this project.
To make this project we will start by gluing on the nautical jute rope on the bottom ⅔rds of the basket.
Then we will attach the cotton nautical rope on the top third of the basket. Lastly, we can add a lining and other personalization ideas to complete the project.
Materials needed to make a rope basket.
Note that my basket was made using items from a local dollar store. You can however, find similar materials at a craft store, discount store, or even online.
- Small Wire Mesh Basket. If you are using a dollar store or discount store basket, I suggest that you use two for a sturdier basket.
- Jute Nautical Rope. Depending on the size of your basket and the width of your rope, you may need more or less than my basket.
- Cotton Nautical Rope. If you are making a bunny basket like mine, you will need additional rope to make the ears with.
- You will also need a hot glue gun and glue sticks.
- To make the ears (optional) you will need a large craft stick.
- Fabric can be used to line your basket (optional) with as well.
Expert Tip 👉 After you finish wrapping the basket with rope, attach (glue or with ties for example) a second basket inside of the first basket to make the basket more sturdy.
How to make this Easy Rope Basket Craft DIY.
Step One: wrap the basket with the rope.
- Starting on the outside of the basket, add a dollop of glue where the mesh meets the base of the basket. Then carefully press the end of the jute rope into the dollop of glue to hold it in place.
- Working your way around the bottom of the basket, add a line of glue (working in two inch, or so, increments is suggested) and attach the jute rope in place until you have the bottom row in place.
- For the second row, place a dollop of glue over the end of the jute that you glued into place in the last step to cover it up.
- For the remaining ⅔rds jute portion of the basket, work your way around the basket applying the glue and pressing the jute into place. Leave the top third of the basket open for the cotton rope.
- Next, repeat this process with the white cotton nautical rope until your reach the top of the basket.
- When you reach the top of the basket, apply a line of glue on the top rim of the basket and wrap the rope over the top of the wire mesh basket to hide it. Then glue the remaining end of the rope to the inside of the basket.
Expert Tip 👉 If you have trouble with the ends of the rope unraveling while working, use large tape to tape the ends in place while you work.
Step Two: line the basket.
This is an optional step. If you are adding handles, secure the handles in place before you line the basket to hide the handles on the inside of the basket.
- You will need to measure your fabric and cut it as needed. Push the center of the fabric into the basket to make sure it will fit correctly.
- Start by gluing the center of the basket into the bottom of the basket.
- Work your way around the basket glueing the fabric in place on the inside. You will need to fold or crease the fabric as needed to make it fit.
- Glue the fabric to the top by adding a line of glue to the rim and attaching the fabric.
- You can trim any extra fabric and use additional rope to make the top of the basket look better as needed.
Step Three: To make ears like my bunny has.
- Use the remaining cotton nautical rope to coil it into the shape of an ear. Mine was made by making a line of glue on the rope that was about three inches long. Then the rope was coiled around to attach the glue attach this section into the rope itself. (You will need to press the rope in place.)
- Repeat this one more time around the beginning section that you just made. When gluing, make sure that you are gluing the rope into an 'ear' shape.
- Trim the end of the rope once you are done. Then you can make the second ear.
- Attach each of the ears to a large craft stick (you may need to trim the stick if it is too large).
- To attach the ears to the basket, add a good amount of glue to the bottom section of each popsicle stick and press firmly to the inside of the basket.
- Or, you can make ears using fabric such as felt. 🙂
👇👇Related Ideas.👇👇
In case you missed something.
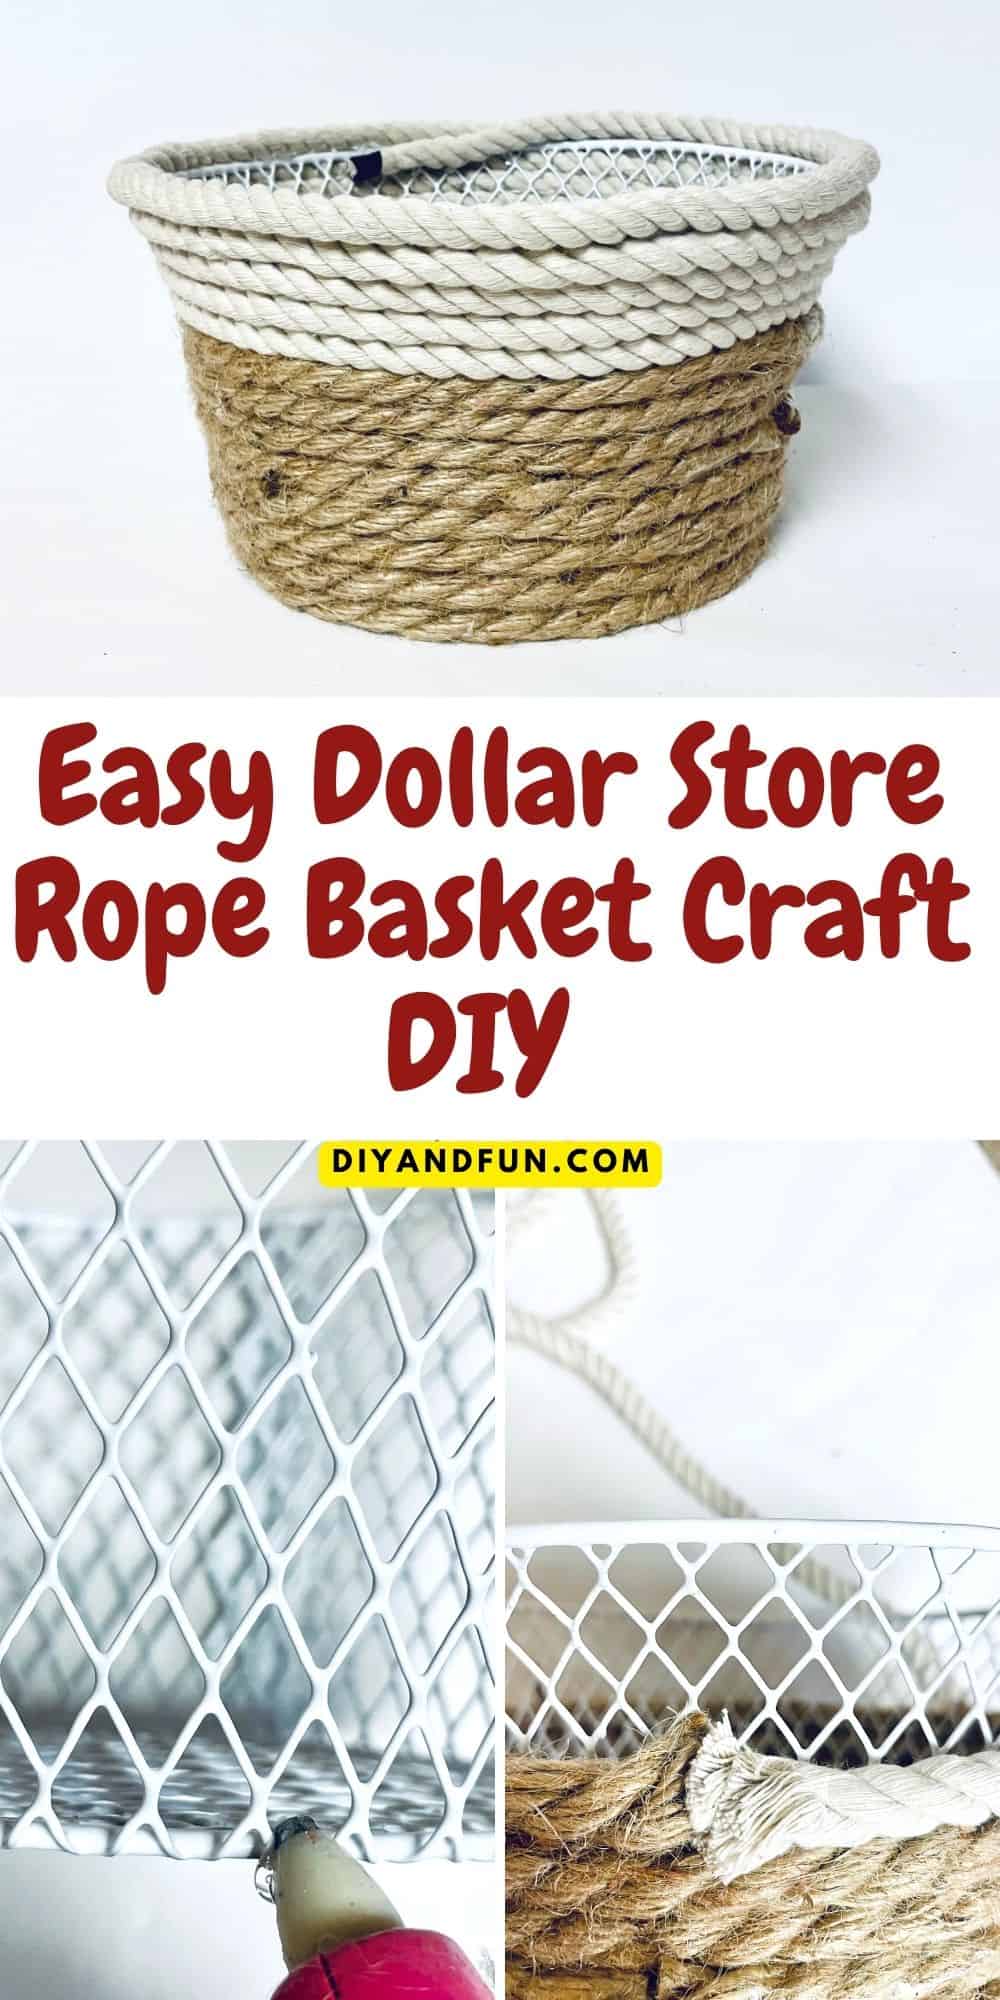
Easy Rope Basket Craft DIY, a simple project for a practical idea that can be made with dollar store materials. Most ages. Holiday/Easter.
Easy Rope Basket Craft DIY
Materials
- 1 Mesh Wire Basket
- 16 feet Jute Nautical Rope
- 11 feet Cotton Nautical Rope
Also needed, glue gun and glue sticks. Optional items such as fabric for lining or handles. See post for details.
Instructions
- Starting on the outside of the basket, add a dollop of glue where the mesh meets the base of the basket. Then press the end of the jute rope into the dollop of glue to hold it in place.
- Working your way around the bottom of the basket, add a line of glue (working in two inch, or so, increments is suggested) and attach the jute rope in place until you have the bottom row in place.
- For the second row, place a dollop of glue over the end of the jute that you glued into place to cover it.
- For the remaining ⅔rds of the basket, work your way around the basket applying the glue and pressing the jute into place. Next, repeat this process with the white rope until your reach the top of the basket.
- When you reach the top of the basket, apply a line of glue on the top rim of the basket and wrap the rope over the top of the wire mesh basket to hide it. Then glue the remaining end of the rope to the inside of the basket
Notes
Thanks so much for visiting!
If you decide to try any of the ideas listed in this article please tag on social media @diyandfun. We like to hear your ideas and suggestions.
DIY and Fun is a website dedicated to providing you with the best DIY projects, crafts, recipes, hiking, and fun ideas that inspire. Whether you're looking for a new way to decorate your home, learn a new skill, or simply have some fun, DIY and Fun has something for everyone.
Here are some additional ways to keep coming back to DIY and Fun:
- Sign up for our email newsletter. We'll send you weekly updates with new projects, inspiration, and more.
- Follow us on social media. We're on Facebook, Twitter, and Pinterest.
- Our community forum is coming soon. Share your projects, ask questions, and get inspired by other DIYers.


