Adorable Wine Cork Gnome Craft DIY that is actually quite simple to make.
I really like that this project is also suitable for most ages too!
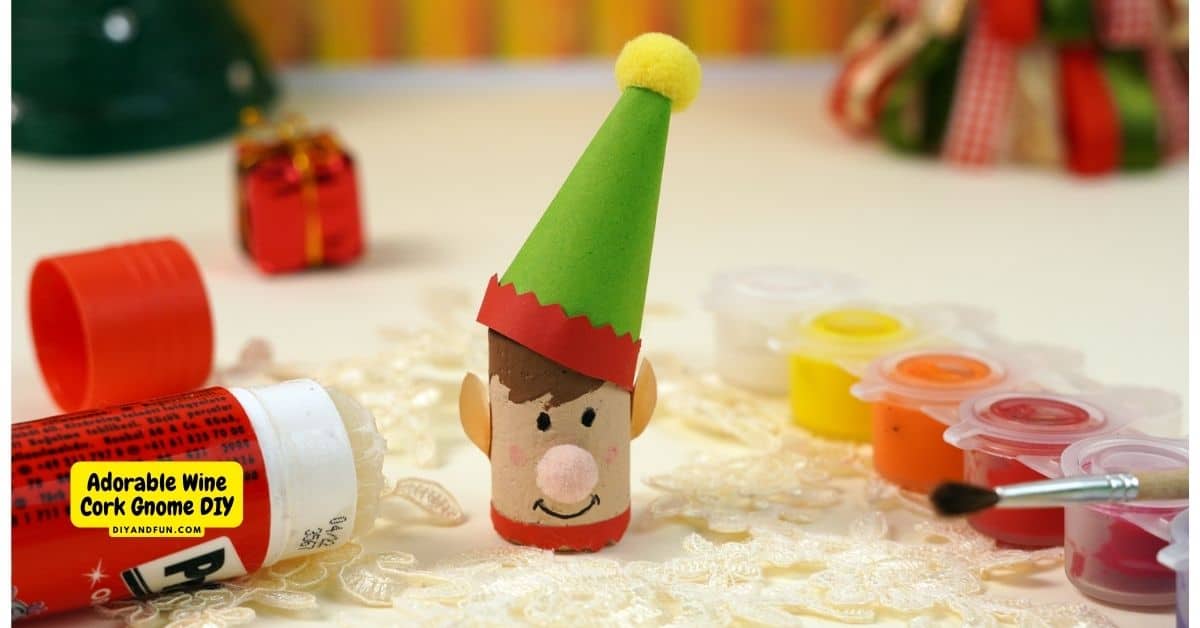
Make this adorable Adorable Wine Cork Gnome Craft DIY.
This cute gnome has many uses including sitting on a shelf or desktop.
This is a project idea that can be made in a group setting or alone.
Did you see my Easy Gnome Clay Pot DIY?
If you are a fan of gnomes, that gnome project may be for you. Both this holiday elf gnome and that clay pot gnome are cute craft ideas.
Did you know that you can purchase unused wine corks in bulk? You can find a good selection of corks here.
Frequently asked questions about Gnomes.
A gnome is a mythical or fictional character or 'creature'.
Some say that gnomes first originated during the Renaissance era via folklore methods.
These days gnomes are gnomes are usually cute or whimsical statues seen in gardens or elsewhere. Most of these gnomes have tall pointy hats.
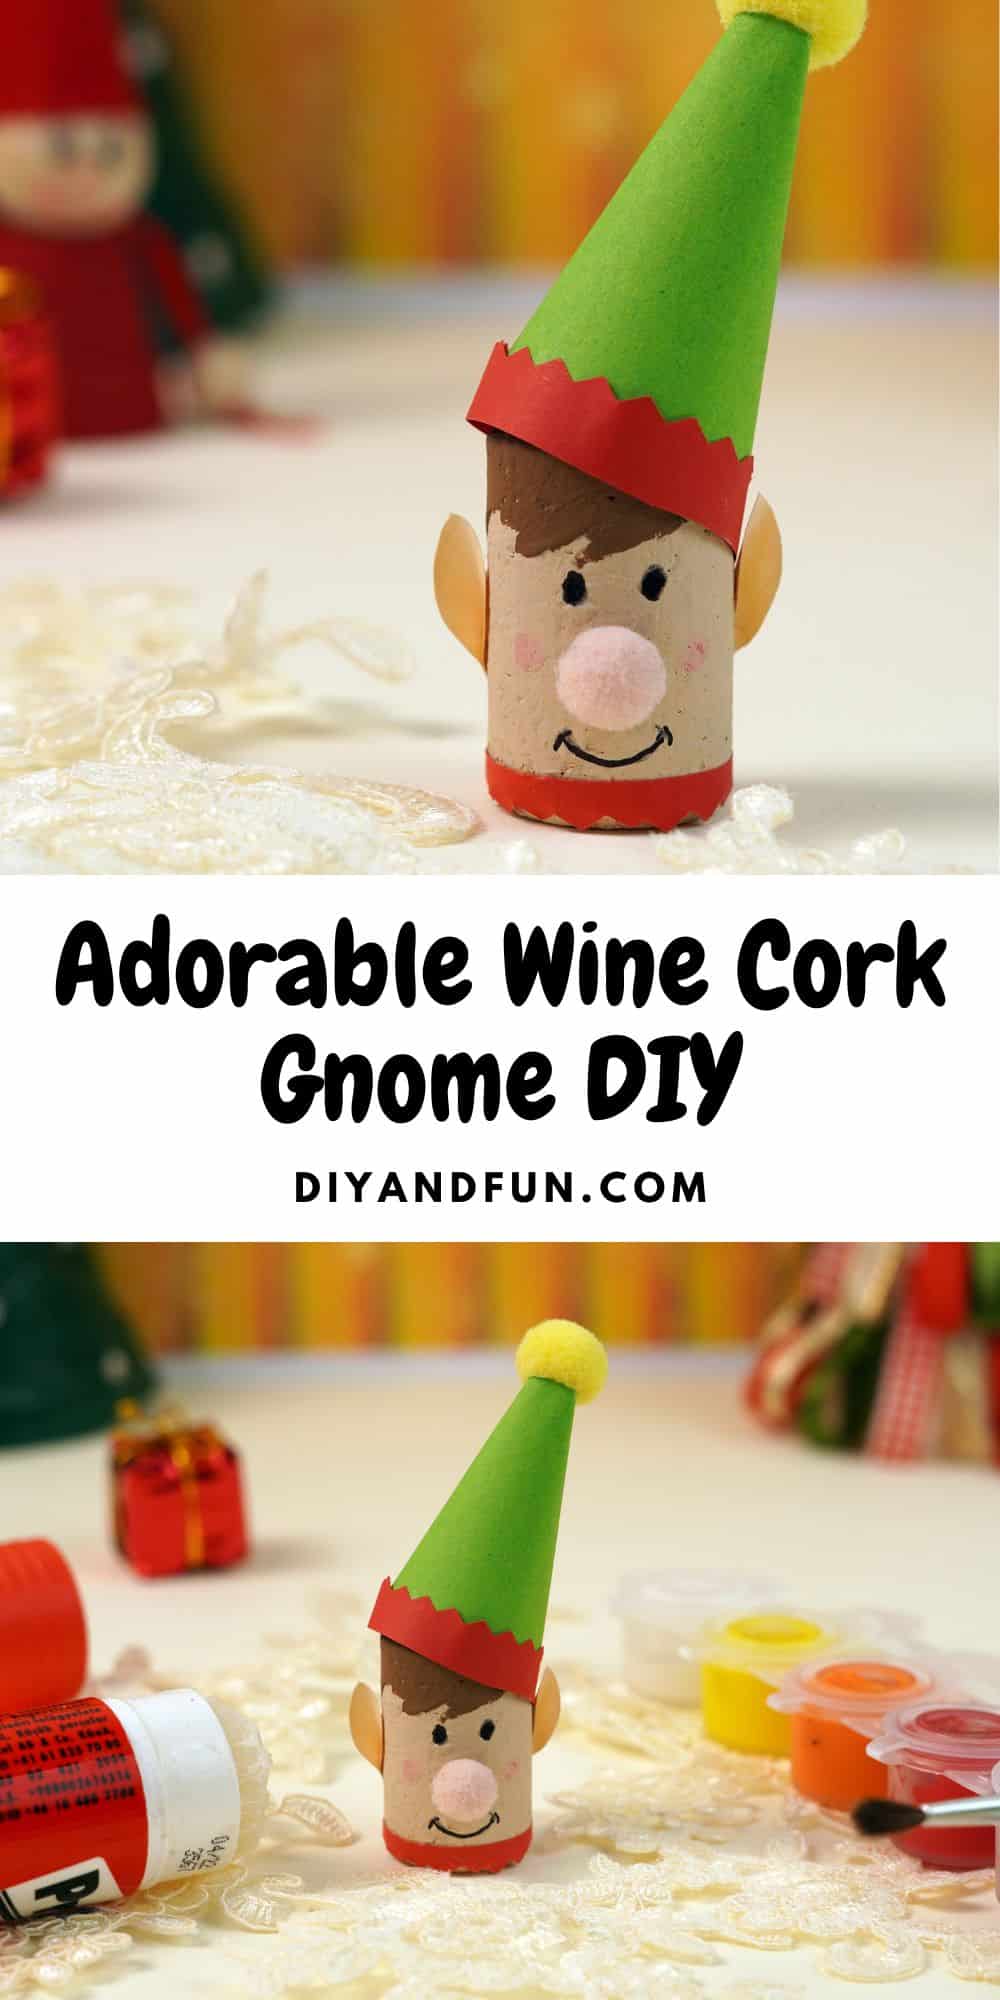
You will notice that the gnome made in this craft diy looks like an elf.
This is primarily because this project is a holiday season idea.
However, some say that gnomes are actually a kind of elf (Tolkien).
So, since this is all mythical anyway, sure, a gnome is an elf. 😉
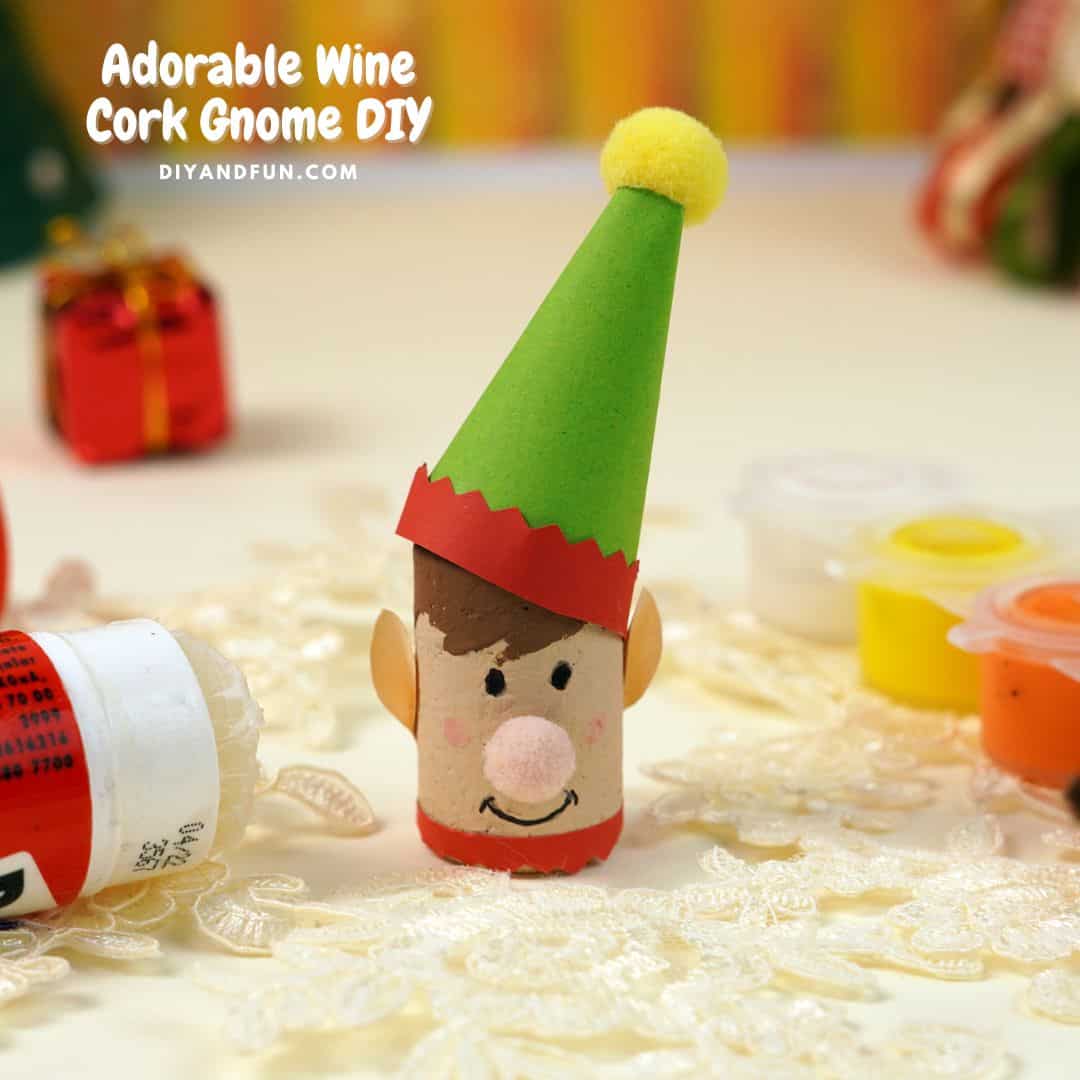
Tips for making this wine cork project.
Most of the materials for this project can be found at you local dollar store. You may even be able to find additional add-ons there for your gnome.
More tips for you
- If you are using a cork that once belonged to a bottle, make sure that the cork is fully intact. For gnomes that will be displayed on a shelf, use a cork that can stand up.
- Using a clean cork is also recommended. Since the corks will be painted and have glue attaching elements to them, using a clean cork is essential.
- Allow the paint to fully dry before adding any of the elements. While the paint is drying you can make the hat for the gnome.
- Lastly, while this project is suitable for most ages, some folks may need assistance as needed. This is especially true when cutting and tracing is done.
Personalize your gnome elf craft diy.
These gnomes are super cute just the way they are.
However, you can also make yours even better.
Try one of these ideas.
- Glue a looped ribbon on the back to make your gnome into an ornament.
- Make your gnome a girl by adding longer hair and other details.
- Have someone handy with a drill make a hole in the bottom of the gnome to make it into a pencil or pen topper.
👇You may also be interested in these ideas!👇
👉Be sure to follow us on Facebook, Pinterest, and Instagram.
Subscribe to our Weekly Newsletter.
About this holiday gnome craft diy.
This is a cute and easy project for turning a wine cork into a gnome.
The gnome can then be used as a display for the holiday season.
You can use any kind of wine cork as long as it is clean and intact.
We will first paint the corks in a skin tone color. Then we will add the elements to the gnome.
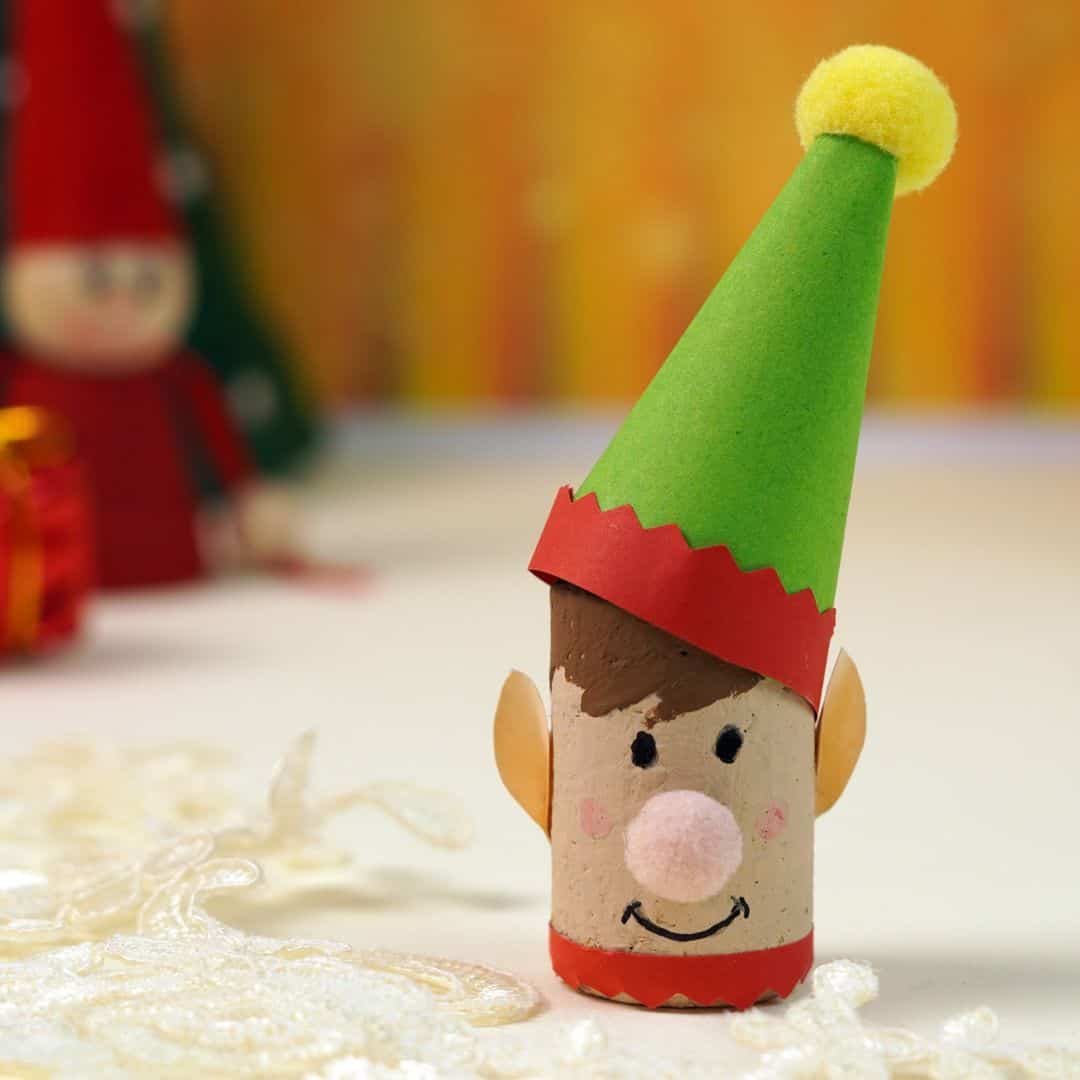
Materials needed to make a wine cork gnome.
- Wine Cork. Your cork should be clean from debris and dry.
- Acrylic Craft Paint. Beige (or skin color) and brown (or hair color).
- Construction Paper. Green and red for the hat, skin toned for the ears.
- Craft Pom poms. For the tip of the hat and for the nose. The one on my hat is a bit larger than the nose pom pom.
- Markers. My gnome has pink cheeks made with a pink marker and a black mouth made with a black marker.
- Also needed, ''zigzag' scissors, paint brush, and a glue stick or other glue of choice.
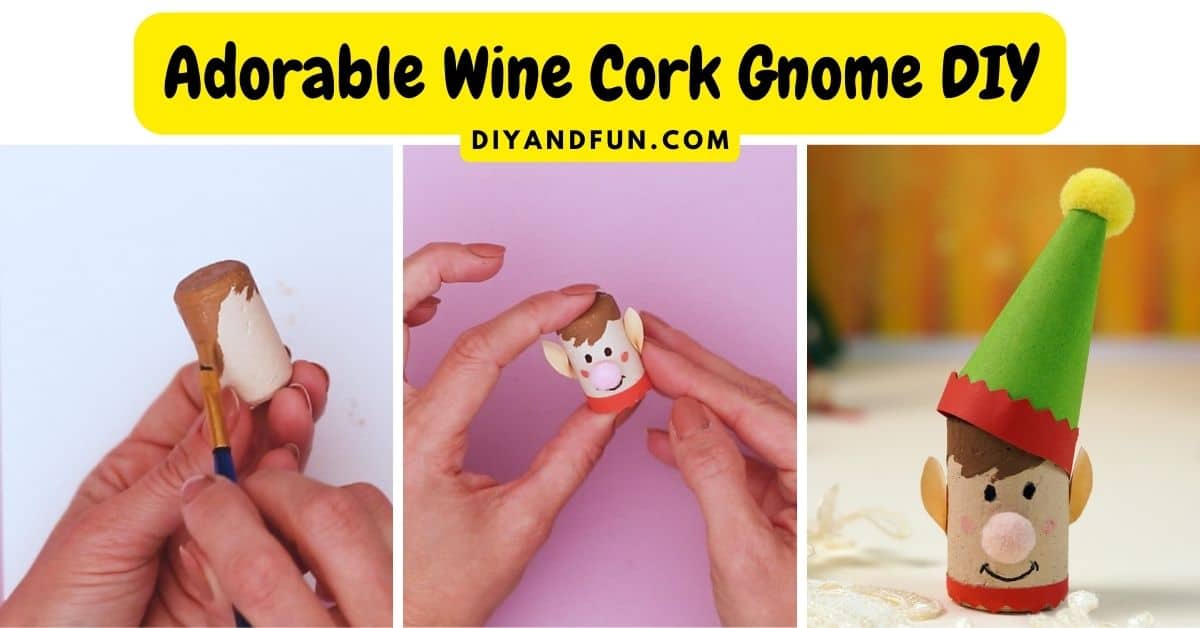
How to make an Adorable Wine Cork Gnome Craft DIY
Step One: prepare the cork.
Brush off any debris from your cork. Paint the cork in a skin tone color and allow it to dry. Then paint the top of the cork to make the hair and allow that to dry.
Expert Tip👉 Refer to my images and the video for assistance as needed in making this project.
Step Two: Make the hat. (you can do this while the cork paint is drying)
- For the cone part of the hat, place a can or something round so that half of it covers the edge of the green paper.
- Trace the can half in order to make a semi-circle on the paper and then cut the semi-circle out.
- Glue the edges of the semi-circle together to make a cone for the hat.
- For the red portion of the hat, use the zig-zag scissors to cut a strip of red paper that will serve as the brim and then glue it on to the hat.
- Lastly, glue a pom pom in to the tip of the hat. Set the hat aside.
Step Three: finish making the gnome.
- Once the paint has dried, you can use your markers to draw on the eyes and the mouth (as well as any desired freckles etc). Make sure that you have left room to glue on a pom pom for the nose.
- Now you can glue the nose pom pom in place.
- Cut another strip of the red paper and glue it on to the bottom of the cork.
- Glue the hat on to the top of the gnome, leaving room for the ears.
- Glue the that on top of the gnome, leaving space for the ears.
- Then cut out two ears from the skin colored paper and glue those in place.
👇👇Related Ideas.👇👇
Table of contents for this craft diy.
Adorable Wine Cork Gnome Craft DIY, a simple Holiday season craft idea for turning a wine cork into a gnome. Most ages, Dollar Store.
Adorable Wine Cork Gnome Craft DIY
Materials
Also needed, ''zigzag' scissors, paint brush, and a glue stick or other glue of choice.
Instructions
- Paint the cork in a skin tone color and allow it to dry. Then paint the top of the cork to make the hair and allow that to dry.
- For the cone part of the hat, place a can or something round so that half of it covers the edge of the green paper.Trace the can half in order to make a semi-circle on the paper and then cut the semi-circle out.Glue the edges of the semi-circle together to make a cone for the hat.
- For the red portion of the hat, use the zig-zag scissors to cut a strip of red paper that will serve as the brim and then glue it on to the hat.Lastly, glue a pom pom in to the tip of the hat. Set the hat aside.
- Once the paint has dried, you can use your markers to draw on the eyes and the mouth (as well as any desired freckles etc). Make sure that you have left room to glue on a pom pom for the nose.
- Now you can glue the nose pom pom in place.Cut another strip of the red paper and glue it on to the bottom of the cork.Glue the hat on to the top of the gnome, leaving room for the ears.Glue the that on top of the gnome, leaving space for the ears.Then cut out two ears from the skin colored paper and glue those in place.


