Easy Gnome Clay Pot DIY craft project that takes little time to make.
I really like that this project is doable for many ages!
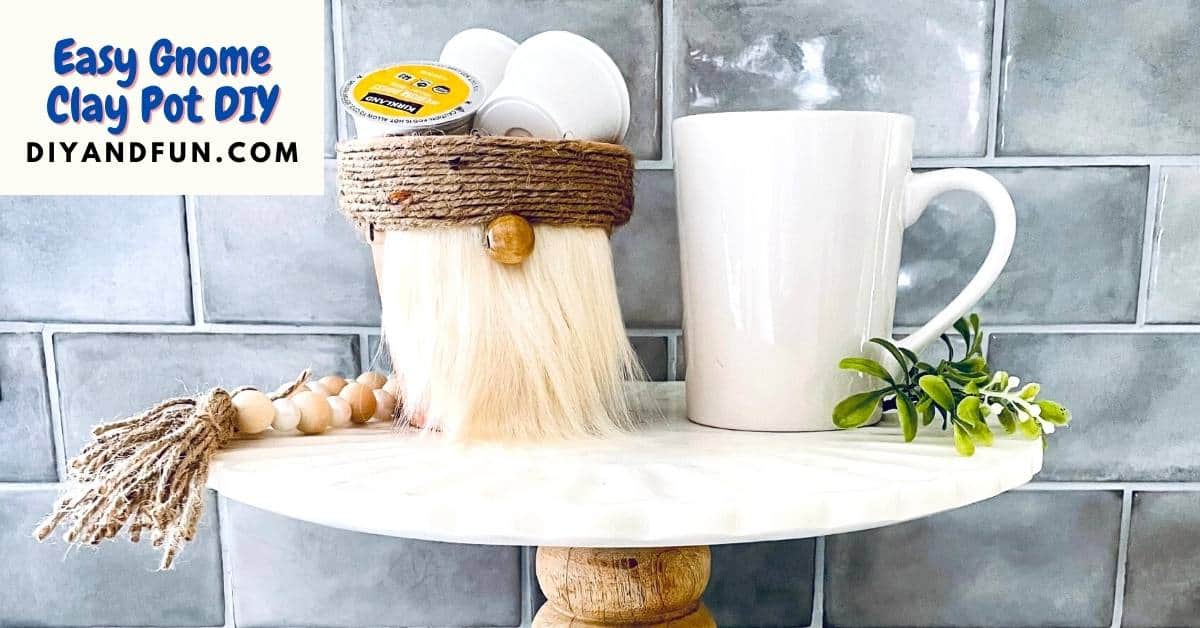
Easy Gnome Clay Pot DIY
This is a simple do it yourself craft project that can be done in less than an hour.
The Gnome pot can then be use to hold things!
Did you try my project for How to Decorate Pots with Seashells?
That seashell project also uses a terracotta clay pot.
Both this Gnome idea and that seashell project are inexpensive and easy to do!
To make this Gnome project you will need a terracotta clay pot. You can find a variety of terracotta clay pots here.
This project is especially for anyone looking for a simple clay pot craft.
I am always amazed by the things that can be done with a clay pot that do not include plants.
While you could put a plant in this pot, you could also put about anything else in it as well.
Finding a clay pot to use is relatively easy.
I suggest that you use a simple terracotta clay pot for this project.
Your pot does not have to be painted or finished to use.
Here is why this easy clay pot project is good for many ages.
There are three steps in this project, making it a quick craft project.
Also, this is an inexpensive project as most of the materials can be easily found in a dollar or similar store.
This project does use a hot glue gun however.
The glue gun is especially needed for attaching the yarn that makes the brim for this Gnome.
If you are concerned about the hot glue, you can try using tacky glue or a similar product. You may have a bit longer to wait for the glue to set however.
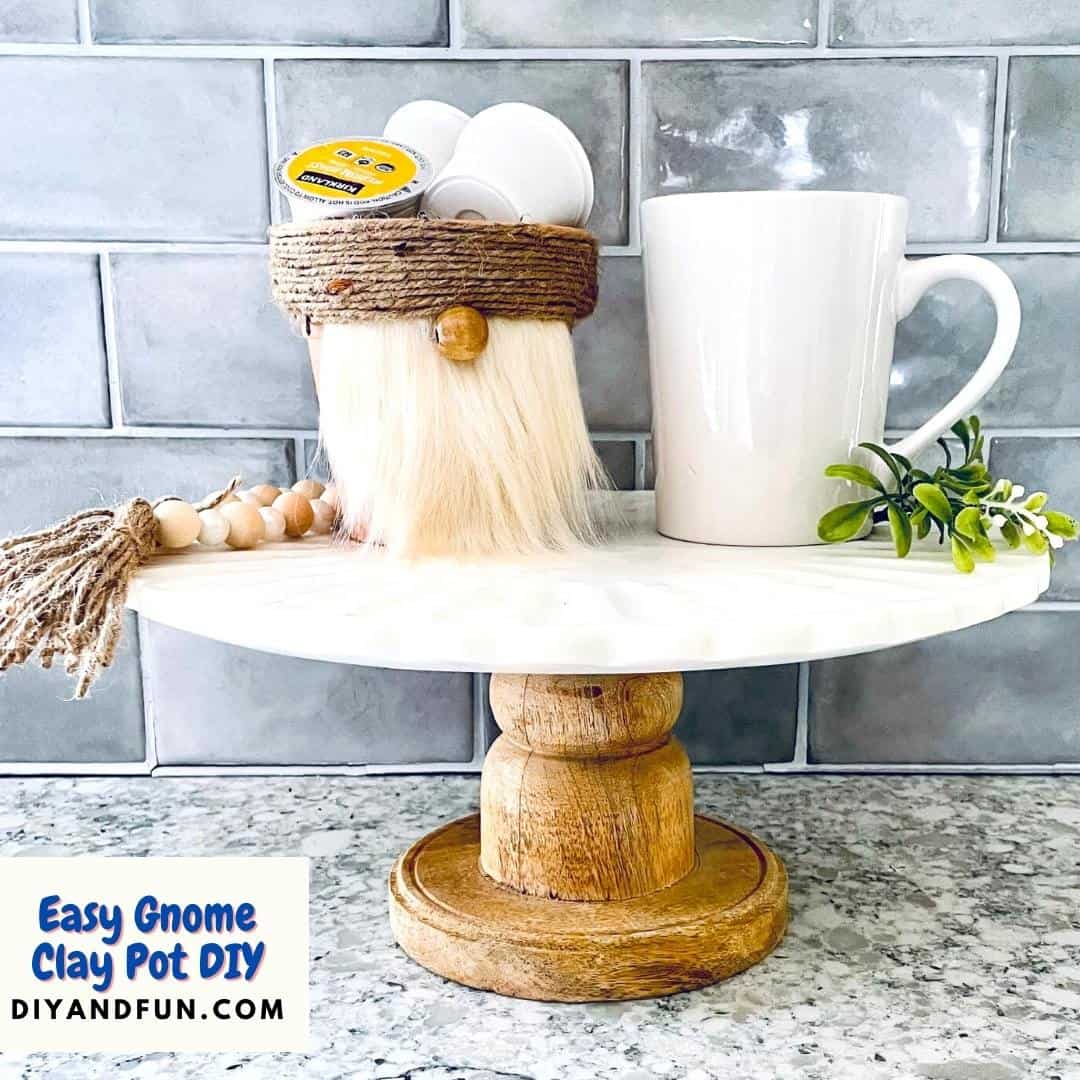
Tips for making a clay pot Gnome.
I have seen all of the needed materials at my local dollar store. But, since they are inexpensive to begin with, you can probably find the materials at a craft store, big box store, or following my links to purchase them online.
More tips for you
- My clay pot is a four inch one. However, you can really make this project using any size pot. You may need to adjust the amount or sizes of the other materials needed.
- When you wrap and glue the twine, start in the back of the pot with the end of the twine glued turn up. You can then easily glue the remaining twine if the glued end to cover it up.
- Really, the easiest way to cut the beard to size is to use an Utility Craft Knife. Please be careful when using the knife and do not allow children to use it without supervision.
Personalize this clay pot craft project.
Yes, this gnome is simple and cute just the way it is.
But, you can take yours up a notch to make it even better.
Try one of these ideas!
- Turn this decorated holder to use as a gift idea. I like this idea for plants for neighbors, pencils for teachers, or even coffee for an office!
- Paint the pot be for glueing on the nose and beard. Then you will have two cute sides instead of just one.
- Make your pot a colorful pot by using fun colors for the beard, twine, and bead nose.
👉Be sure to follow us on Facebook, Pinterest, and Instagram.
Subscribe to our Weekly Newsletter.
You may also be interested in these ideas.
About this terracotta pot craft project.
This is a simple craft project idea for turning a terracotta clay pot into a cute gnome that can hold things. Using an inexpensive simple pot that is unglazed works well in this project.
To make this project we will first wrap the twin around the rim of the pot.
Since we need the twine to stick to the pot, it is best to use a glue gun as you wrap the twine. Doing so will help keep the twine in place where you want it to be.
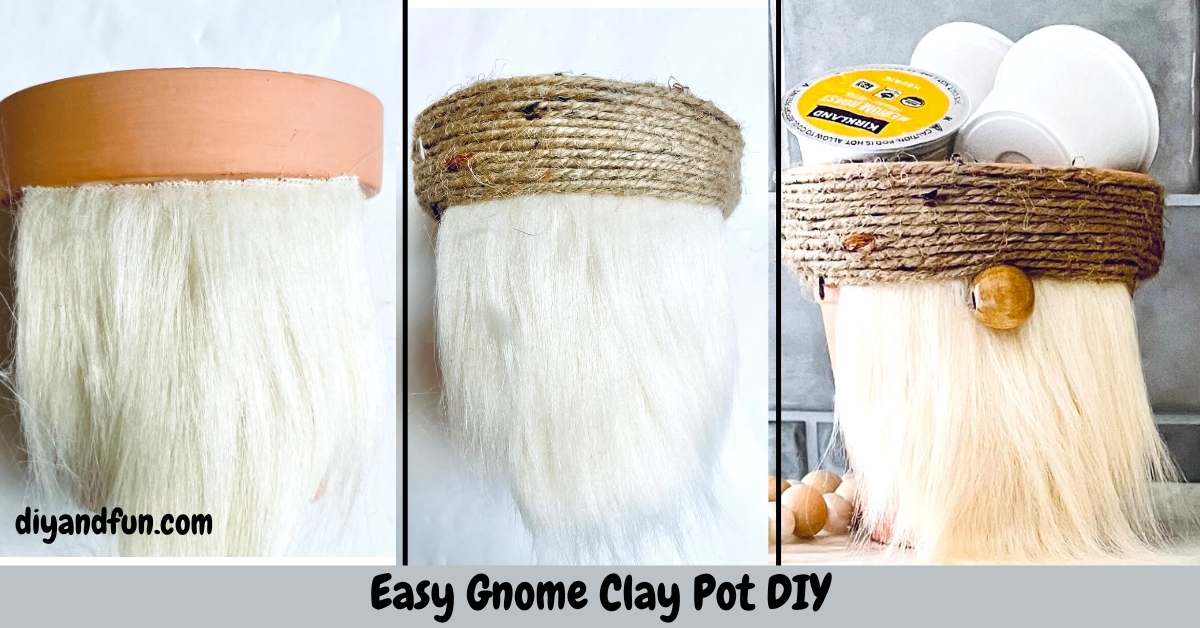
Materials needed to make this gnome pot.
- Terracotta flower pot. My pot is four inches. Really, any sized pot can work in this project.
- Wooden Bead - this is for the nose. My bead is round as it looks like a cute round nose.
- Craft Faux Fur- for the beard. This can be found at any craft store or you may already have some on hand.
- Optional- googly craft eyes, felt that can be used to cut out hands and feet to glue on, and/or a cup to use as a liner for the pot if you plan on putting something in it.
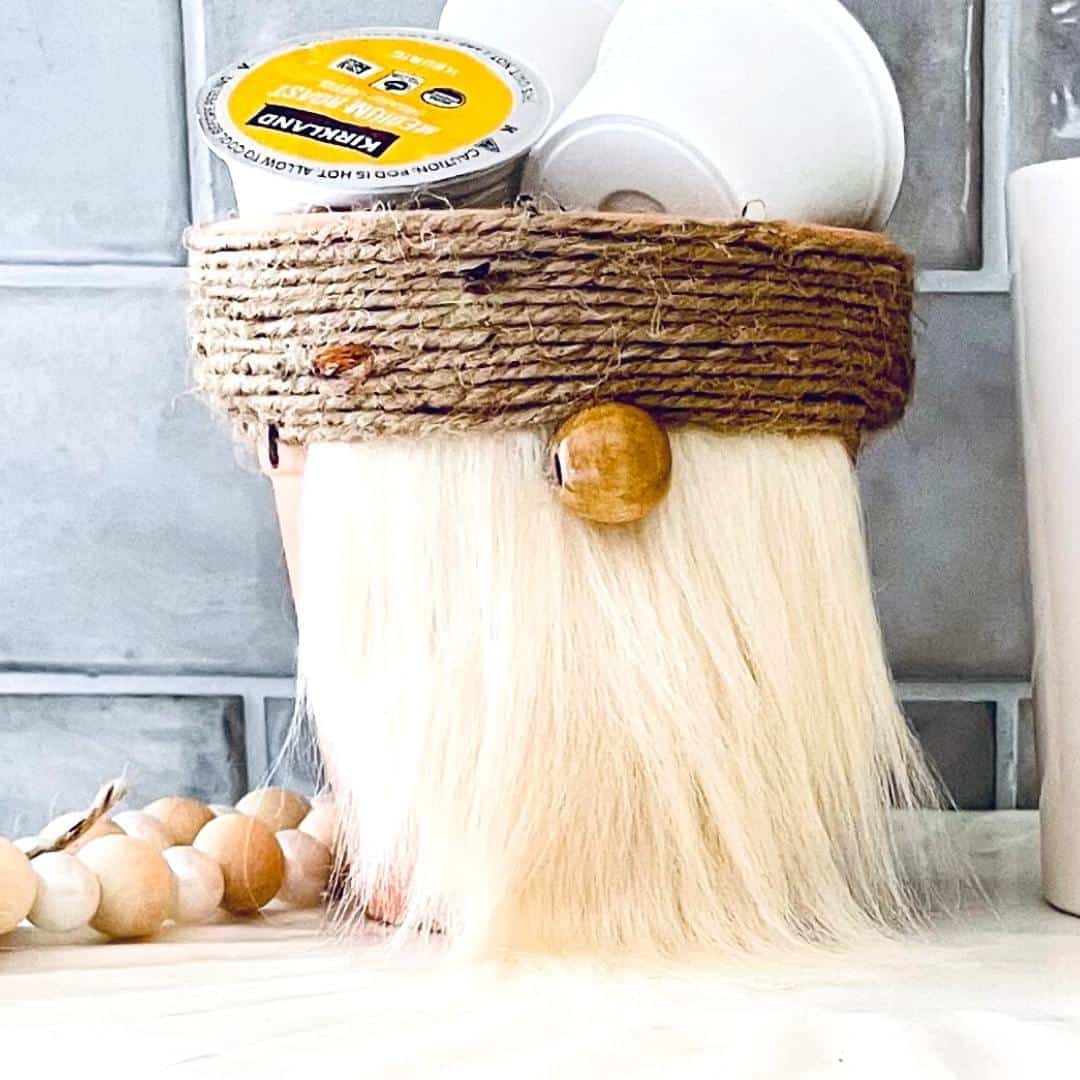
How to make this Easy Gnome Clay Pot DIY.
Step One: prepare.
Gather you materials and prepare your workspace.
Step Two: get the materials ready.
Make sure that the clay pot is free of debris and that there is nothing attached to it (like a sticker).
Cut the beard to size. My pot is 4 inches so the beard was cut to 3 X 3". You can trace the pot on the backside of the beard material if needed. Also, it is easiest to cut the material on the backside. Shape the beard as needed (mine has the edgest cut to shape).
Step Three: attach the materials to the pot.
Start attaching the beard to the pot just under the rim.
Apply the glue to the top of the beard to create movement of the beard later on. Then press the beard into the pot.
Next you can attach the twine to the pot by wrapping the twine around the rim of the pot. Glue the end of the twine to the backside of the rim. Then in four spots, run a line of glue from the top to the bottom of the rim. Wrap the twine around the rim, pressing it into the lines of glue as you go. Tuck and glue the end into the wrapped twine when you are finished.
Lastly, attach the nose using the glue.
Easy Gnome Clay Pot DIY, dollar store craft, a simple DIY dollar store craft idea for turning a clay pot into a cute Gnome.

wp
.....


