

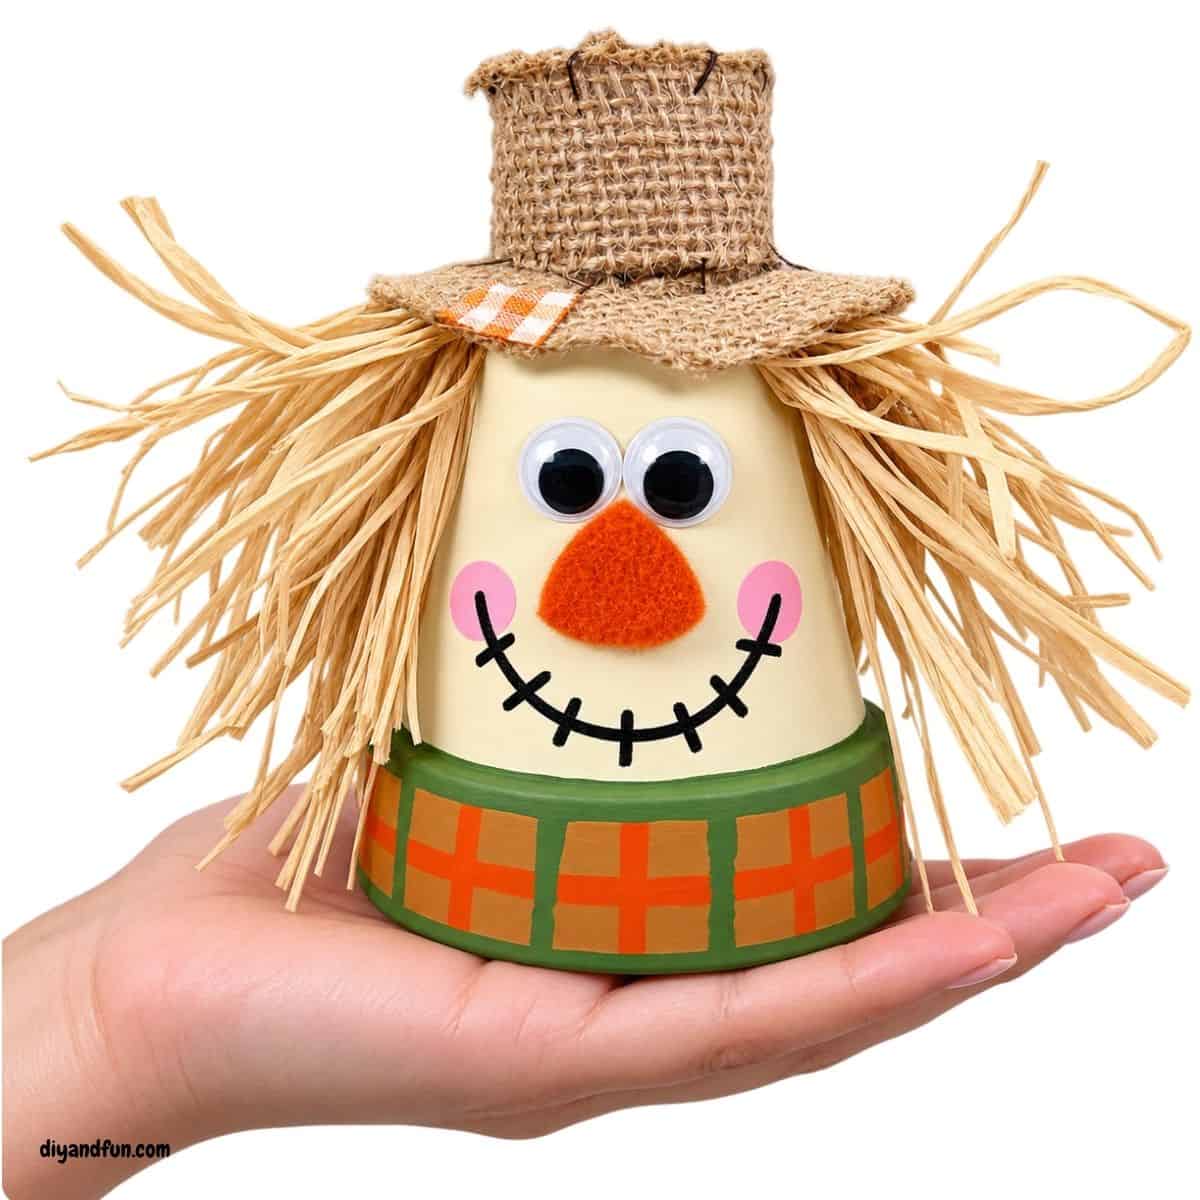
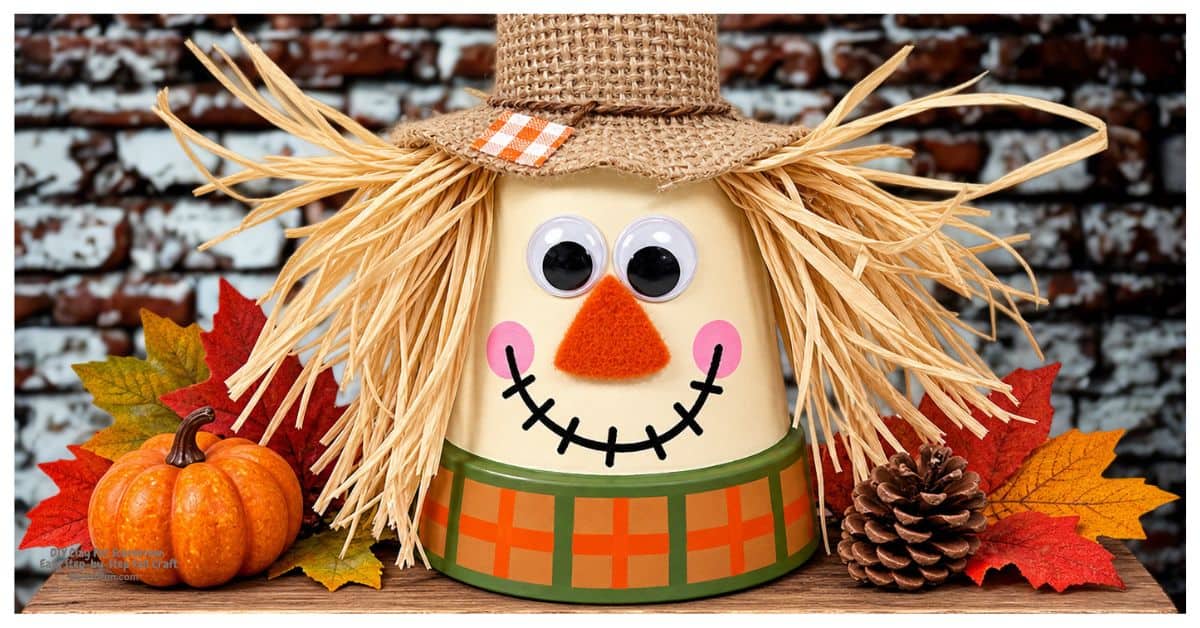
This DIY Clay Pot Scarecrow is an easy fall craft that turns a simple mini clay pot into an adorable autumn decoration.
Made with colorful craft paint, raffia hair, wiggle eyes, and a tiny burlap hat, you can create a cheerful scarecrow that is perfect for displaying on a tiered tray, shelf, mantel, or fall table.
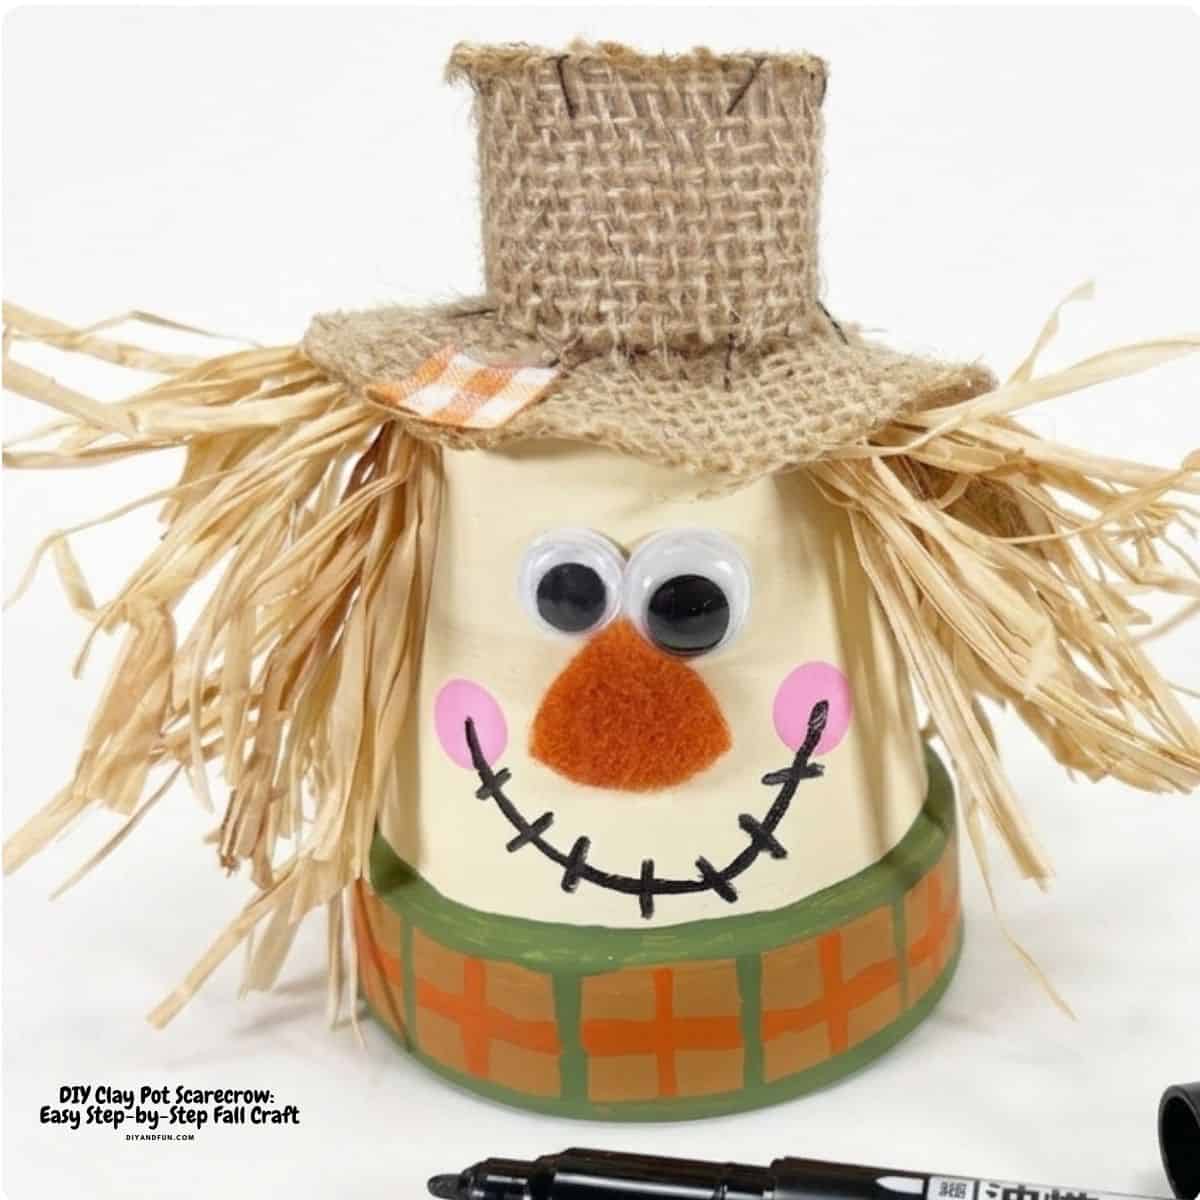
What you will read about.
Why you will like this fall craft idea.
This is an inexpensive and easy to follow project that takes about a half hour of active time to make.
Here is what else you will like about this recipe.
- Budget-friendly. Many of the materials, including the clay pot and mini hat, can be found at a Dollar Store or similar store.
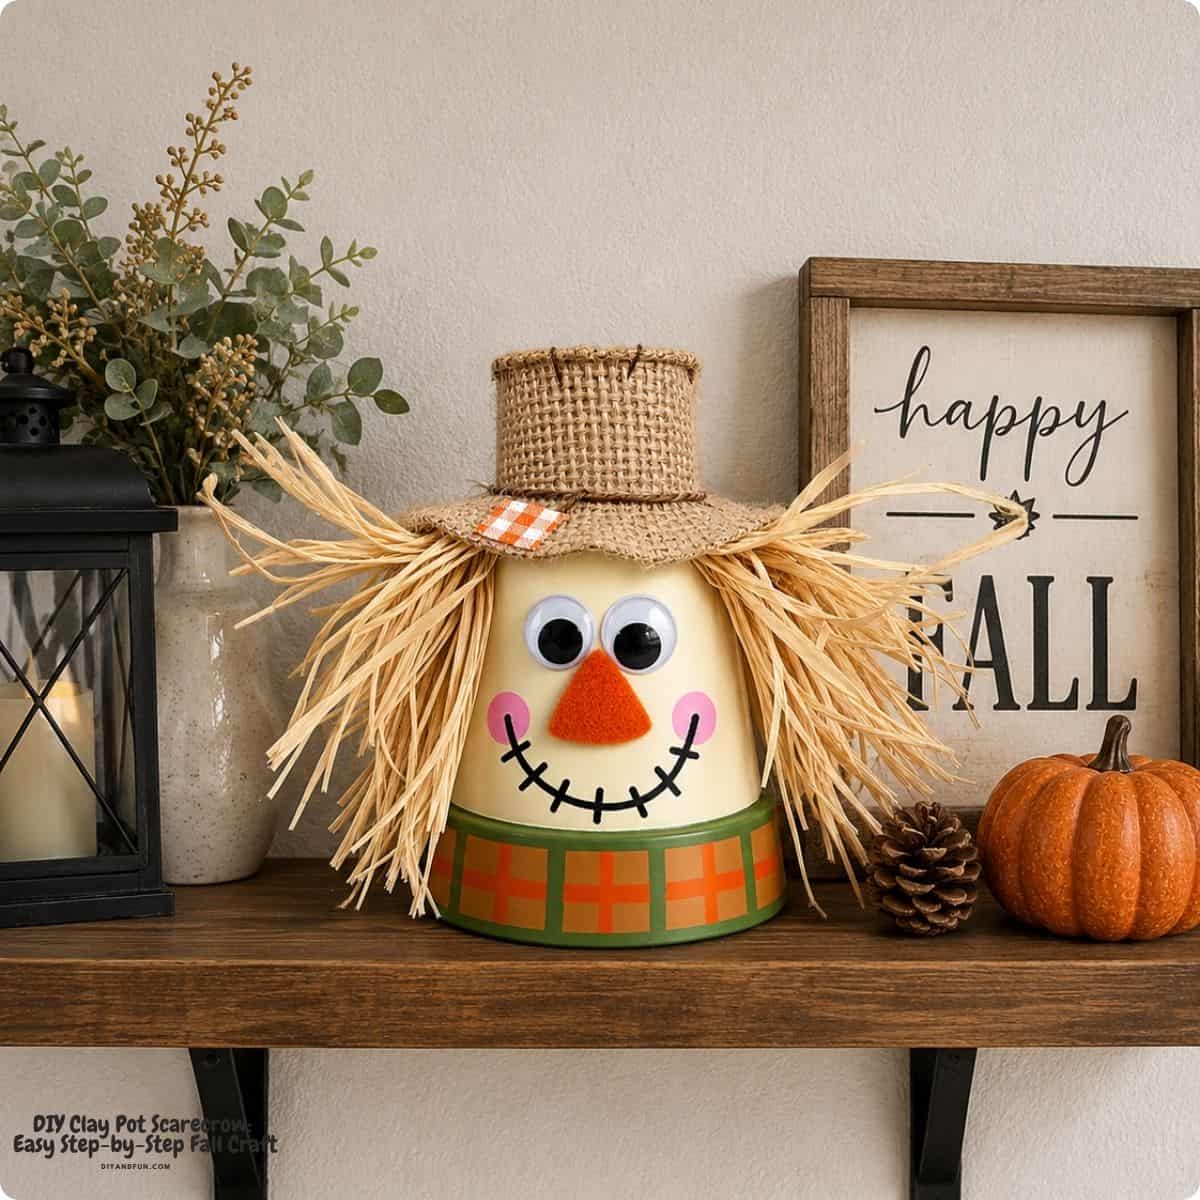
- Perfect for decorating. The small size of this scarecrow makes it especially cute on tiered trays, shelves, mantels, and tabletops.
- Easy to customize. Personalizing this scarecrow is easy a changing the paint colors, facial features, hat, or raffia to give each scarecrow its own personality.
- Fun for family project. Kids can help with many of the steps with appropriate adult supervision, especially when using scissors or a hot glue gun.
Materials Needed.
- Clay Pot A small 2.5-inch terracotta clay pot works perfectly for this scarecrow."
- Mini Burlap Hat A small burlap scarecrow or doll hat gives the craft its rustic fall look. Choose one that fits comfortably over the top of the pot and raffia hair.
- Wiggle Eyes Two small wiggle or googly eyes create the scarecrow's playful expression. You can use slightly different sizes for an extra whimsical look.
- Natural Raffia Raffia is used to create the scarecrow's straw-like hair. Natural-colored raffia works best, although other fall colors can also be used.
- Natural Jute Twine A short piece of twine holds the raffia together before it is attached to the pot. Any thin natural twine should work.
- Craft Felt Pumpkin spice or orange felt is used for the scarecrow's triangular nose. Craft foam or orange cardstock can be substituted.
- Craft Paint You will need off-white, tan, orange, green, and pink. The off-white creates the face, while the tan, orange, and green form the plaid design around the rim. Pink is used for the cheeks.
- Glue Gun and Glue Sticks Hot glue provides a quick, secure hold for the raffia, hat, eyes, and felt nose. Liquid craft glue can be used instead, but it will require additional drying time.
- Paint Brushes A flat paintbrush makes it easier to apply the base coats, while a small detail brush works well for painting the plaid lines.
- Scissors. Sharp craft scissors are helpful for trimming the raffia and cutting out the felt nose.
- Pencil with new Eraser The unused eraser makes an easy round stamp for creating evenly shaped pink cheeks.
- Permanent Marker, Black Use a fine or medium-tip permanent marker to draw the smile and stitched details on the scarecrow's face.
- PATTERN CLAY POT SCARECROW This is optional for the face. If you feel talented enough, you can draw your own face without using my pattern. Download PATTERN CLAY POT SCARECROW
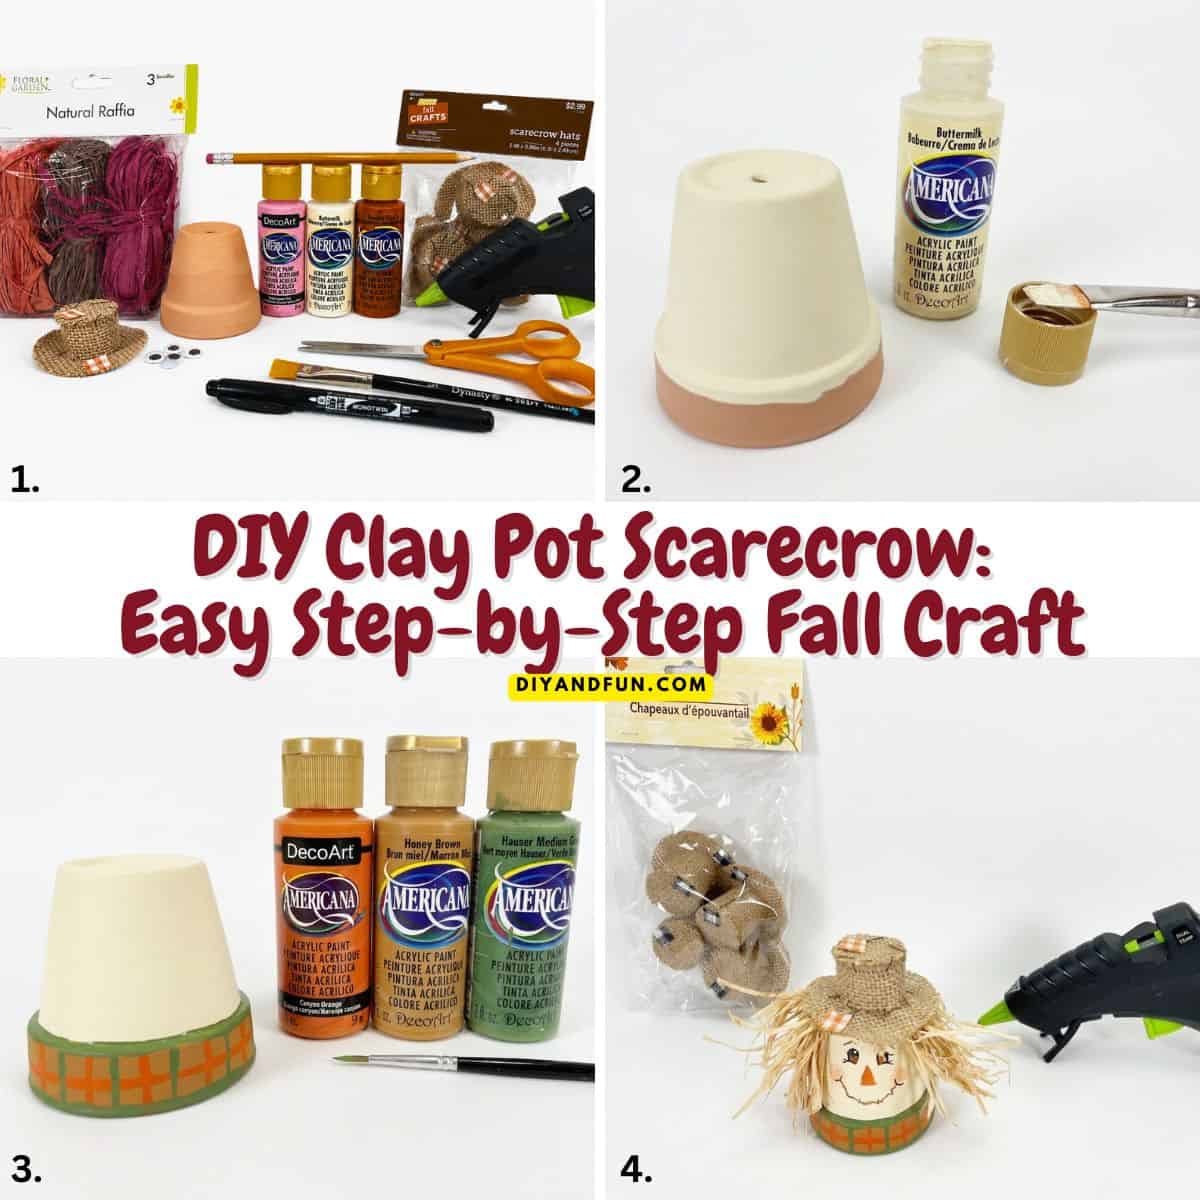
How to make DIY clay pot scarecrow.
Step One: Paint the Clay Pot.
Remove any tags or stickers from the clay pot. Turn the pot upside down and basecoat the main section with off-white acrylic craft paint. Allow the paint to dry, then apply a second coat if needed. (#2 above)
Step Two: Paint the Plaid Rim.
Paint the rim of the pot with tan acrylic craft paint and allow it to dry. Using a detail brush, paint horizontal and vertical stripes with orange paint. Once dry, add horizontal and vertical green stripes to create the plaid pattern. Allow the paint to dry completely. (#3 above)
Step Three: Make the Scarecrow Hair.
Cut a 6-inch section of raffia and tie it securely in the center with natural jute twine. Hot glue the center of the raffia bundle to the top of the clay pot. Add small amounts of glue along the sides to help the hair lay in place, then trim any extra-long pieces with scissors.
Step Four: Add the Scarecrow Hat.
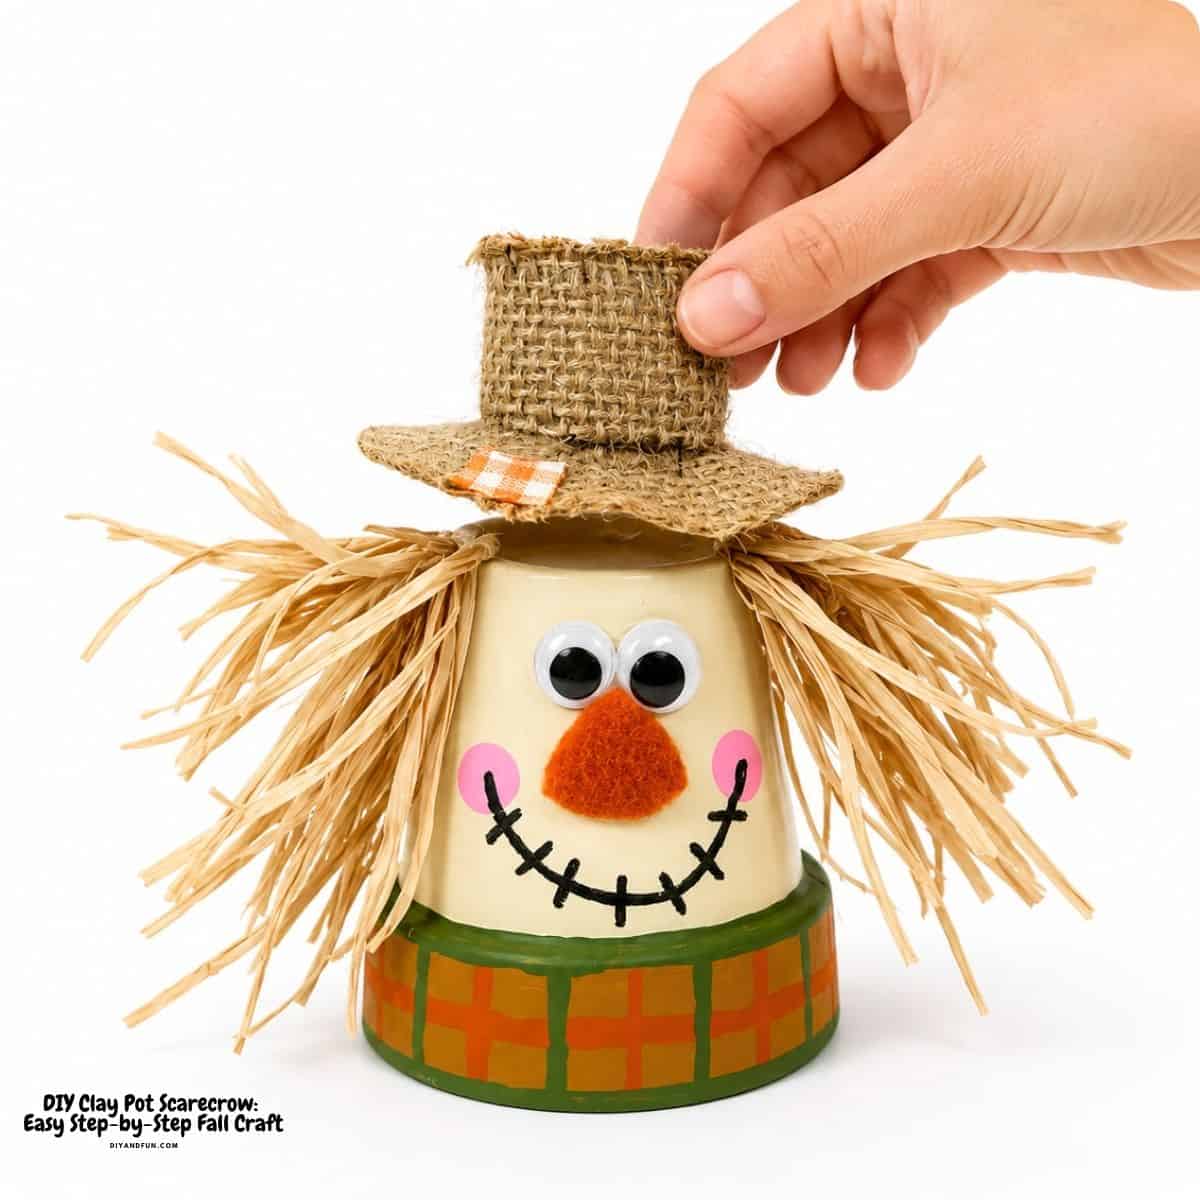
Position the mini burlap hat over the raffia hair and secure it with hot glue. Adjust the raffia around the hat as needed so some of the hair extends from each side.
Step Five: Create the Scarecrow Face.
Print and cut out the nose pattern. Trace it onto pumpkin spice felt and cut out the nose. Hot glue two wiggle eyes to the front of the pot, then attach the felt nose directly underneath. Dip the eraser end of a new pencil into pink acrylic paint and make one round cheek on each side of the face.
Step Six: Finish the Face.
Once the pink paint is dry, use a black permanent marker to draw a curved smile from cheek to cheek. Add short lines across the smile to create the scarecrow's stitched mouth. Allow everything to dry and your clay pot scarecrow is ready to display.
Tips for making the best DIY scarecrow craft,.
Subscribe to DIYandFun
Look for a clay pot that is clean, free of dirt, and has no stickers (or anything else) attached to it. This will make it easier for the paint to stick to the pot. While my scarecrow was made with a small pot, you can use the clay pot size of your choice. Note that pots that have been painted will probably not work in this project as we are painting the pot.
More helpful tips for you.
- When you paint your pot, apply thin coats of paint. Two thin coats will usually give you a smoother, more even finish than one heavy coat. Then allow each paint color dry first before painting over it. Allow the tan base and each set of plaid stripes to dry before adding the next color to prevent smearing. Tip: I like to place a small fan by my clay pot to help it dry faster.
- When you make the hair, secure the raffia in the center of the jute first. Tying the bundle with jute twine makes the hair much easier to position and glue to the pot. Once the hat and raffia are in place, you can see exactly where the hair needs trimming.
- The clean pencil eraser is used to dab the pink circles on the cheeks. Use the pencil eraser lightly. Dab off any excess pink paint before stamping the cheeks to keep the cheeks from becoming too large or heavy.
FAQ
- What size clay pot works best for this scarecrow?
A 2.5-inch terracotta clay pot works well for this project and creates a small scarecrow that is perfect for tiered trays and tabletop displays. You can use a larger pot, but you may need to adjust the size of the hat, eyes, nose, and raffia. - Can I use regular craft glue instead of a hot glue gun?
Yes. Liquid craft glue can be used to attach the raffia, hat, eyes, and felt nose. Keep in mind that it will take longer to dry and the pieces may need to be held in place while the glue sets. - What can I use instead of raffia for the scarecrow's hair?
Try natural jute, yarn, thin strips of burlap, or even shredded kraft paper. Choose something with a slightly rustic texture to maintain the scarecrow look. - Can kids make this clay pot scarecrow?
Yes, this can be a fun fall craft for kids of most ages to make with adult supervision. Children can help paint, arrange the face, and create the cheeks. An adult should handle the hot glue gun and any cutting when appropriate. Keep in mind that this is age-specific which means that you will need to use your best judgment. - How can I display my finished scarecrow?
The small size makes this scarecrow especially cute on a tiered tray, bookshelf, mantel, entryway table, or fall centerpiece. You can also display it alongside mini pumpkins, autumn leaves, pinecones, and other seasonal decorations
Variations.
- Change the plaid colors. You can use own design instead of using my plaid design on the base. Feel free to swap the orange and green for burgundy, mustard yellow, brown, or other autumn-inspired colors.
- Personalize the Face. Use more raffia for a fuller hair, create short or long hair, or substitute yarn or thin strips of burlap. Give each scarecrow a different smile, eyebrow shape, or placement of the wiggle eyes for added personality. Use a fine-tip marker or the end of a small paintbrush to add a few freckles across the cheeks and nose.
- My favorite, make a scarecrow family. Use clay pots in several sizes to create a group of scarecrows with different faces, hats, and hairstyles.
You may also be interested in these fall ideas.
Print the directions for this clay pot scarecrow craft.
DIY Clay Pot Scarecrow
Materials
- 1 Clay Pot A small 2.5-inch terracotta clay pot works perfectly for this scarecrow.
- 1 Mini Burlap
- 2 Wiggle Eyes
- 1 Natural Raffia Raffia
- 1 Natural Jute Twine
- 1 Craft Felt --Pumpkin spice or orange felt is used for the scarecrow's triangular nose.
- 3 Craft Paint --You will need off-white tan, orange, green, and pink.
- 1 Glue Gun and Glue Sticks
- 2 Paint Brushes --A flat paintbrush makes it easier to apply the base coats while a small detail brush works well for painting the plaid lines.
- 1 Scissors.
- 1 Pencil with new Eraser
- 1 Black Permanent Marker --fine or medium-tip
- 1 Download PATTERN CLAY POT SCARECROW -- see post for download details
Instructions
- Step One: Paint the Clay Pot. Remove any tags or stickers from the clay pot. Turn the pot upside down and basecoat the main section with off-white acrylic craft paint. Allow the paint to dry, then apply a second coat if needed.
- Step Two: Paint the Plaid Rim. Paint the rim of the pot with tan acrylic craft paint and allow it to dry. Using a detail brush, paint horizontal and vertical stripes with orange paint. Once dry, add horizontal and vertical green stripes to create the plaid pattern. Allow the paint to dry completely.
- Step Three: Make the Scarecrow Hair. Cut a 6-inch section of raffia and tie it securely in the center with natural jute twine. Hot glue the center of the raffia bundle to the top of the clay pot. Add small amounts of glue along the sides to help the hair lay in place, then trim any extra-long pieces with scissors.
- Step Four: Add the Scarecrow Hat. Position the mini burlap hat over the raffia hair and secure it with hot glue. Adjust the raffia around the hat as needed so some of the hair extends from each side.
- Step Five: Create the Scarecrow Face. Print and cut out the nose pattern. Trace it onto pumpkin spice felt and cut out the nose. Hot glue two wiggle eyes to the front of the pot, then attach the felt nose directly underneath. Dip the eraser end of a new pencil into pink acrylic paint and make one round cheek on each side of the face.
- Step Six: Finish the Face. Once the pink paint is dry, use a black permanent marker to draw a curved smile from cheek to cheek. Add short lines across the smile to create the scarecrow's stitched mouth. Allow everything to dry and your clay pot scarecrow is ready to display.
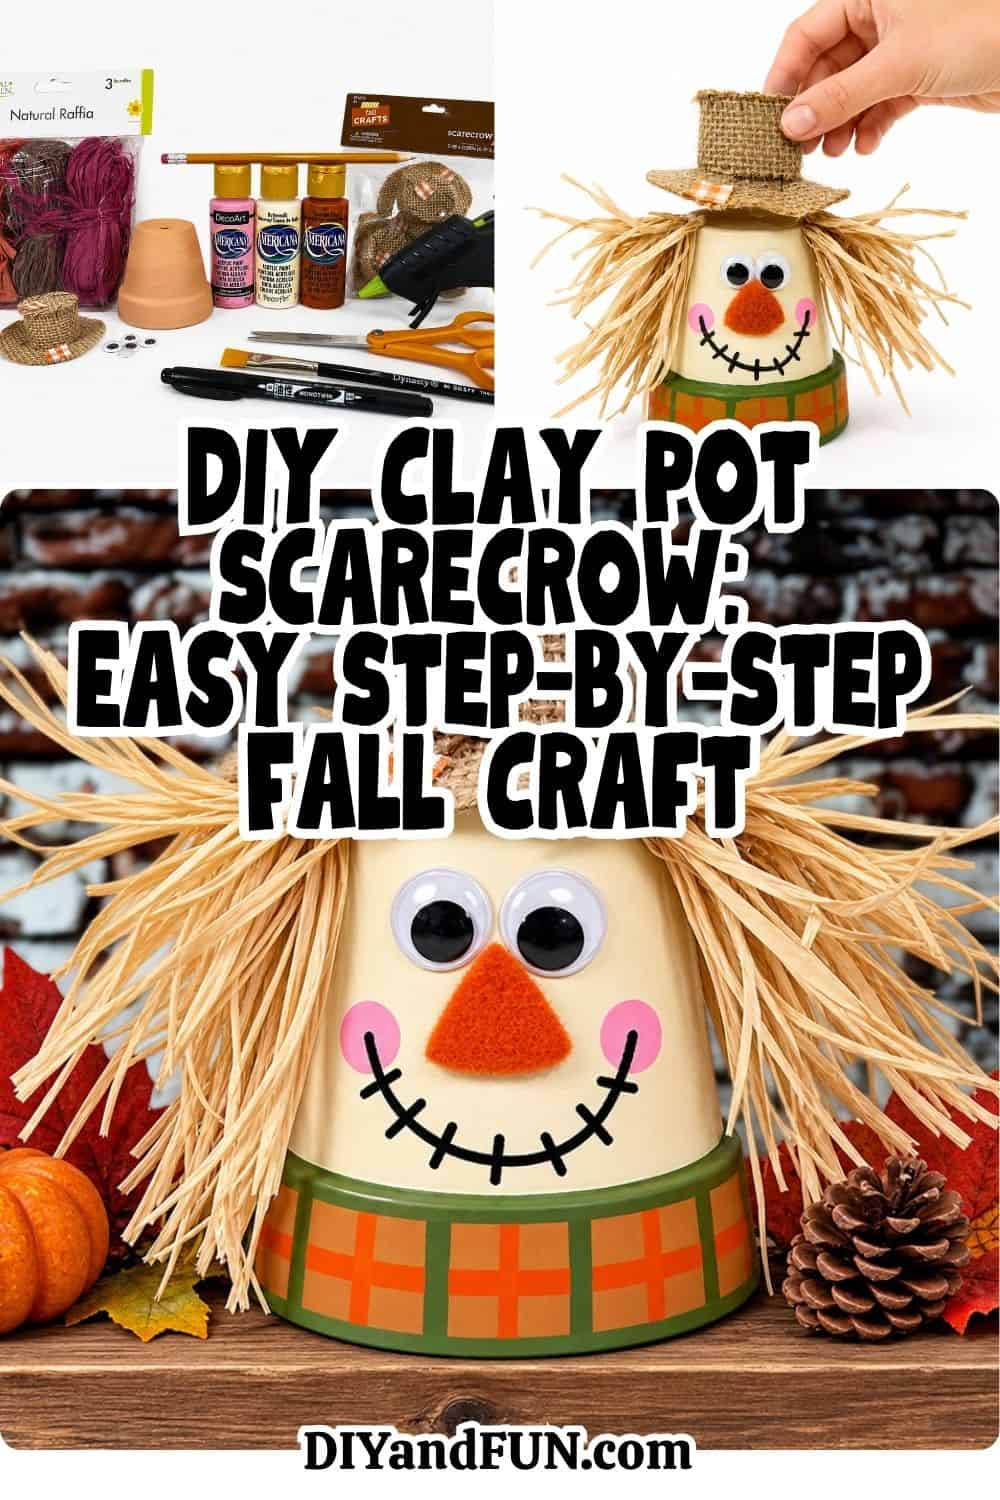
Make an adorable DIY Clay Pot Scarecrow with simple Dollar Store supplies. Easy step-by-step fall craft is perfect for autumn decorating.
Make this adorable DIY Clay Pot Scarecrow for fall! 🍂 This easy Dollar Store craft transforms a small clay pot, raffia, paint, wiggle eyes, and a mini burlap hat into a cute scarecrow. A fun step-by-step autumn craft for kids and adults and the perfect size for tiered trays, shelves, and fall displays
Lila
Incredibly adorable
Mary_Hartman
It really is and it is easy to make too!