Homemade Thin Mint Cookie Recipe are a tasty cookie treat.
I really enjoy these chocolaty and minty wafer cookies that are covered in chocolate.
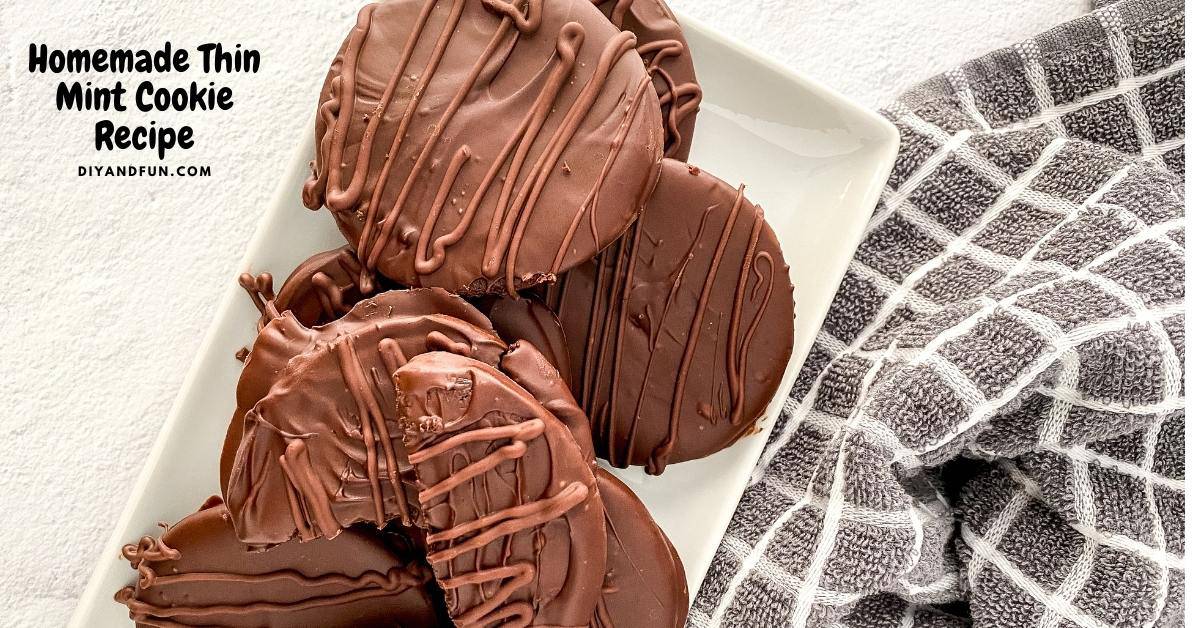
Homemade Thin Mint Cookies Recipe
This is a popular cookie idea inspired by the girls who sell them every year.
However, these cookies are available all year long.
Did you try my Nutella Stuffed Chocolate Chip Cookies
That is another tasty cookie idea that has chocolate in it.
Both this minty cookie recipe and that cookie recipe would go nicely together on a dessert or cookie plate.
To make this cookie you will need a round cookie cutter. You can find a good selection of round cookie cutters here.
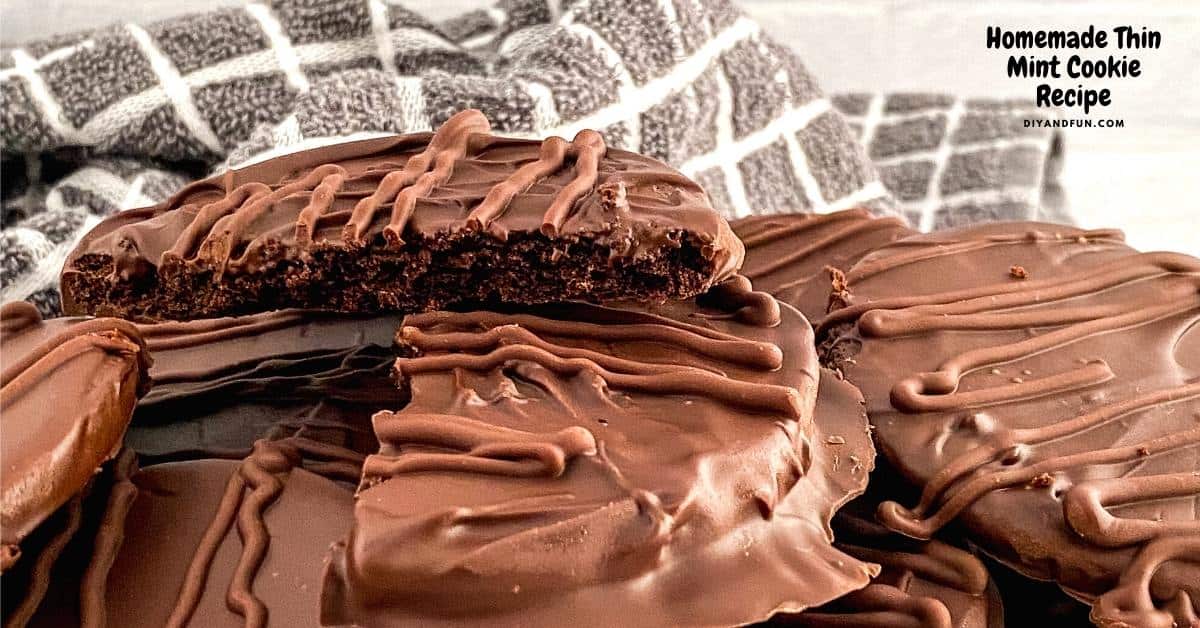
You may be wondering what is in a thin mint cookie.
A thin mint cookie is really a chocolate covered chocolate wafer cookie.
The cookie is flavored with mint.
While this cookie may sound impressive, it is easier to make than you may think it to be.
You start by making the minty flavored wafer cookies.
Then you simply cover the min chocolate.
What make thin mints so good?
This is definitely a popular cookie.
It is a cookie flavor that comes out every year.
What makes this cookie taste so good could be that it is the perfect size.
Being a 'thin' cookie means that you get a perfect crunch.
Because of that size, this cookie is also easier to eat.
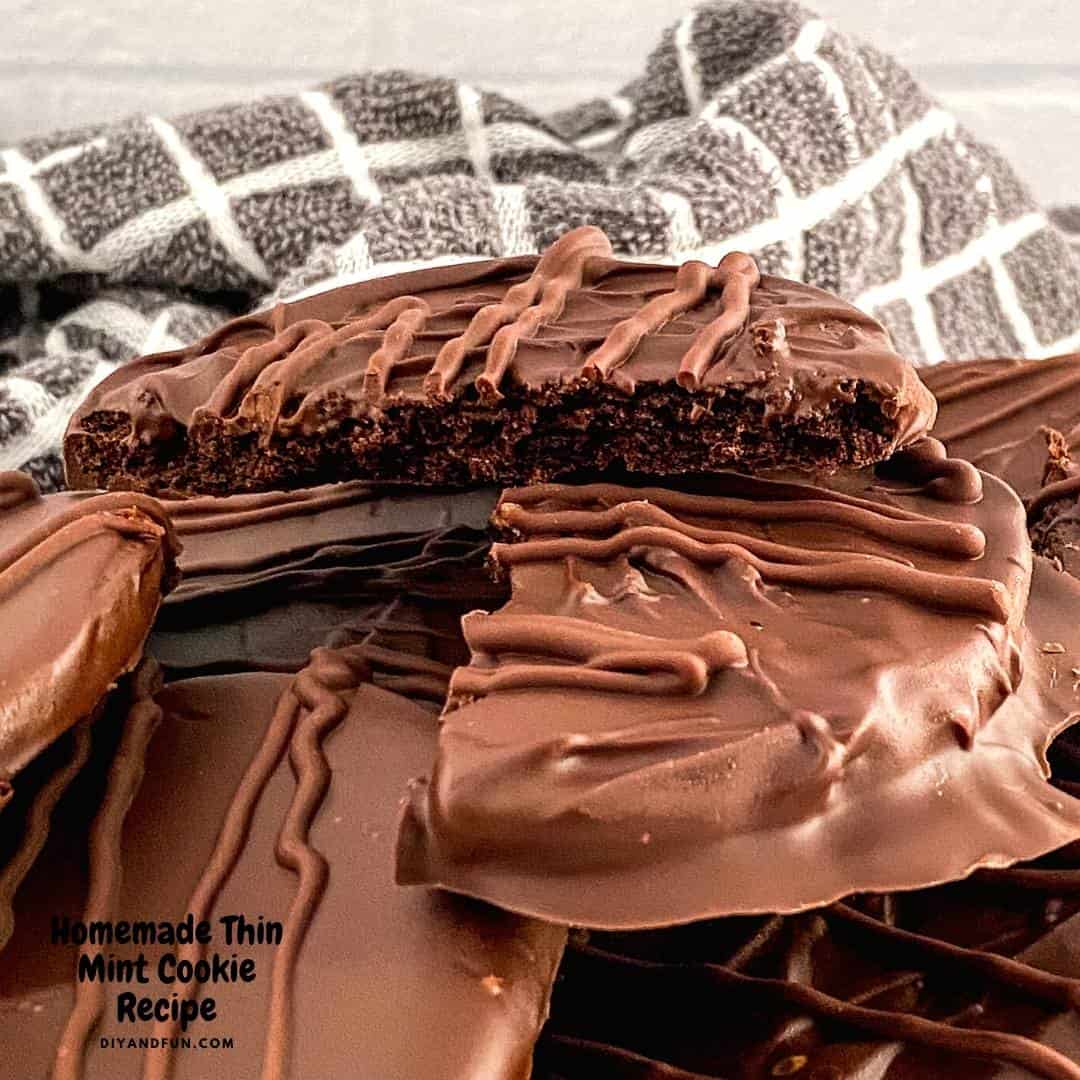
Tips for making this thin mint cookies recipe.
While this cookie recipe is made using a baked chocolate wafer, you could use something else.
Consider using a store bought cookie, cracker, or even candy instead of baking a cookie wafer.
More tips for you
- Refrigerating the dough is important to this recipe. This will make it easier to cut out the shapes of the cookies for baking.
- To dip the cookies, in order to coat them with chocolate, use a shallow bowl for your melted chocolate. Then a fork can be used to dip them into the chocolate.
- Coconut oil is used for the chocolate coating because it is able to harden correctly as a covering for the cookie. While you could use another oil, coconut oil really is the best choice.
Personalize these chocolate mint cookies.
Yes, these cookies are fine just the way they are.
However, you can make yours even better.
Try one of these ideas.
- Use white chocolate chips instead of regular chocolate chips.
- Add sprinkles to your cookies.
- Break up the baked cookies and use them as an ice cream or cake topping.
👉Be sure to follow us on Facebook, Pinterest, and Instagram.
Subscribe to our Weekly Newsletter.
You may also be interested in these ideas.
About this recipe for copycat thin mint cookies.
This is a copycat version of a popular cookie.
Our version tastes as least as good as that one...opinion.
There are two parts to this recipe.
In the first part we will make the chocolate wafer cookie.
Once those chocolate wafer cookies have hardened and cooled, we will dip the cookies into melted chocolate.

Ingredients needed to make thin mint cookies.
- Flour- 1 ½ cups. Use all purpose flour or an alternative that measures and bakes like all purpose flour.
- Unsweetened Cocoa Powder - ¾ cup.
- Baking Powder- ½ teaspoon.
- Butter- ¾ cup. You butter should be softened to room temperature.
- Sugar- 1 cup.
- Egg- 1 at room temperature
- Vanilla Extract- 2 teaspoons
- Peppermint Extract- ½ teaspoon.
- For the chocolate coating- Chocolate Chips- 2 cups, coconut oil- ½ teaspoon, peppermint extract- ½ teaspoon.
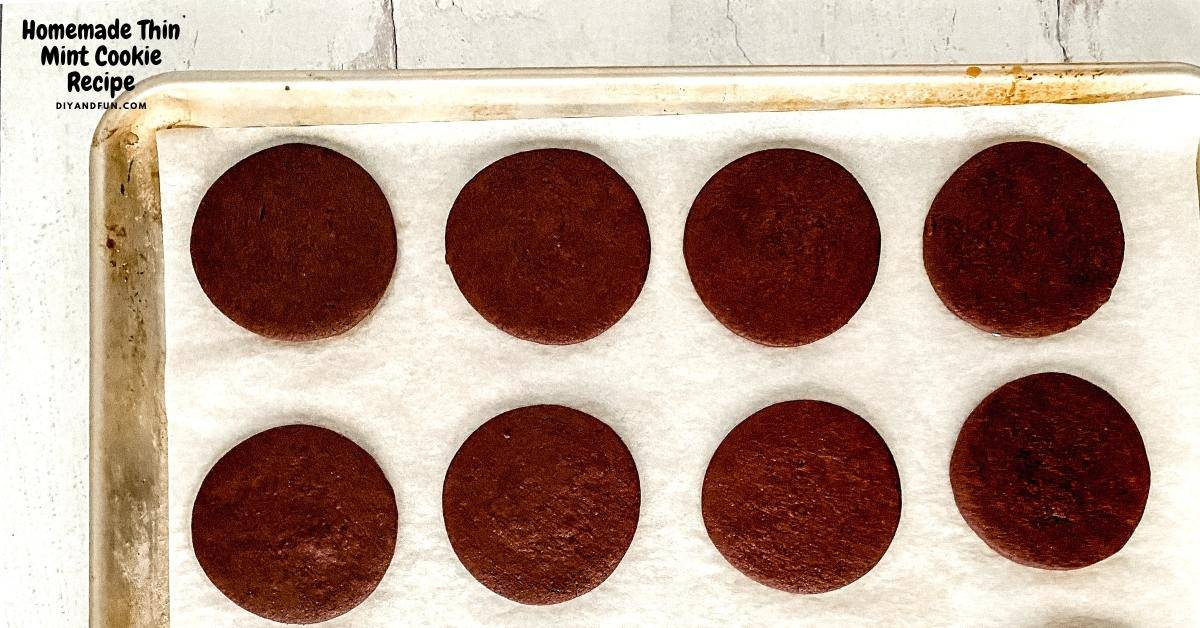
How to make Homemade Thin Mint Cookie.
Step One: make the chocolate cookies wafers.
- In a medium bowl, use a whisk to mix together the almond flour, unsweetened cocoa powder, and baking powder.
- Next, in a mixing bowl with a mixer outfitted with a paddle attachment, beat together the butter and sugar until light and fluffy (about three to four minutes) . Then add in the egg, vanilla, and peppermint extracts and mix on medium speed until fully incorporated.
- Turn the mixer down to low and slowly add the dry ingredients. Mix this until just combined.
- Line a cookie sheet with parchment paper. Place the cookie dough on the parchment paper and then place another piece of parchment paper on top of the dough. Use a rolling pin (on top of the top layer of parchment paper) to roll the dough to ½". Use a round cookie cutter (two to three inch diameter) to cut cookies out. You may need an extra baking sheet lined with parchment paper to have enough room. Refrigerate the cut cookies for at least a half hour.
- When you are are ready to bake the cookies, preheat the oven to 350 and take the cookies out of the refrigerator.
- Bake the cookies until edges are set ( about 10-12 minutes, the center will still look soft).
Then allow the cookies to cool on the cookie sheet(s) for 10 min before transferring to a cooling rack. Keep the parchment paper on the cookie sheets to use again.
Step Two: cover the cookie with chocolate.
For the chocolate dip, use a microwave safe bowl to melt the chocolate chips. Microwave the chips with the coconut oil until smooth, stopping every 30 seconds to stir.
Stir in the mint extract after the chocolate and the coconut oil have melted. Then use a fork or a spoon to dip each wafer cookie into the melted chocolate and place on to the parchment paper to set. Refrigerate the cookies until fully set.
Step Three: serve the cookies.
Some folks (me) like these cookies frozen rather than at room temperature.
You can store these cookies at room temp in an air-tight container for up to three days or refrigerated for up to a week.
Store these cookies in a freezer for two months.
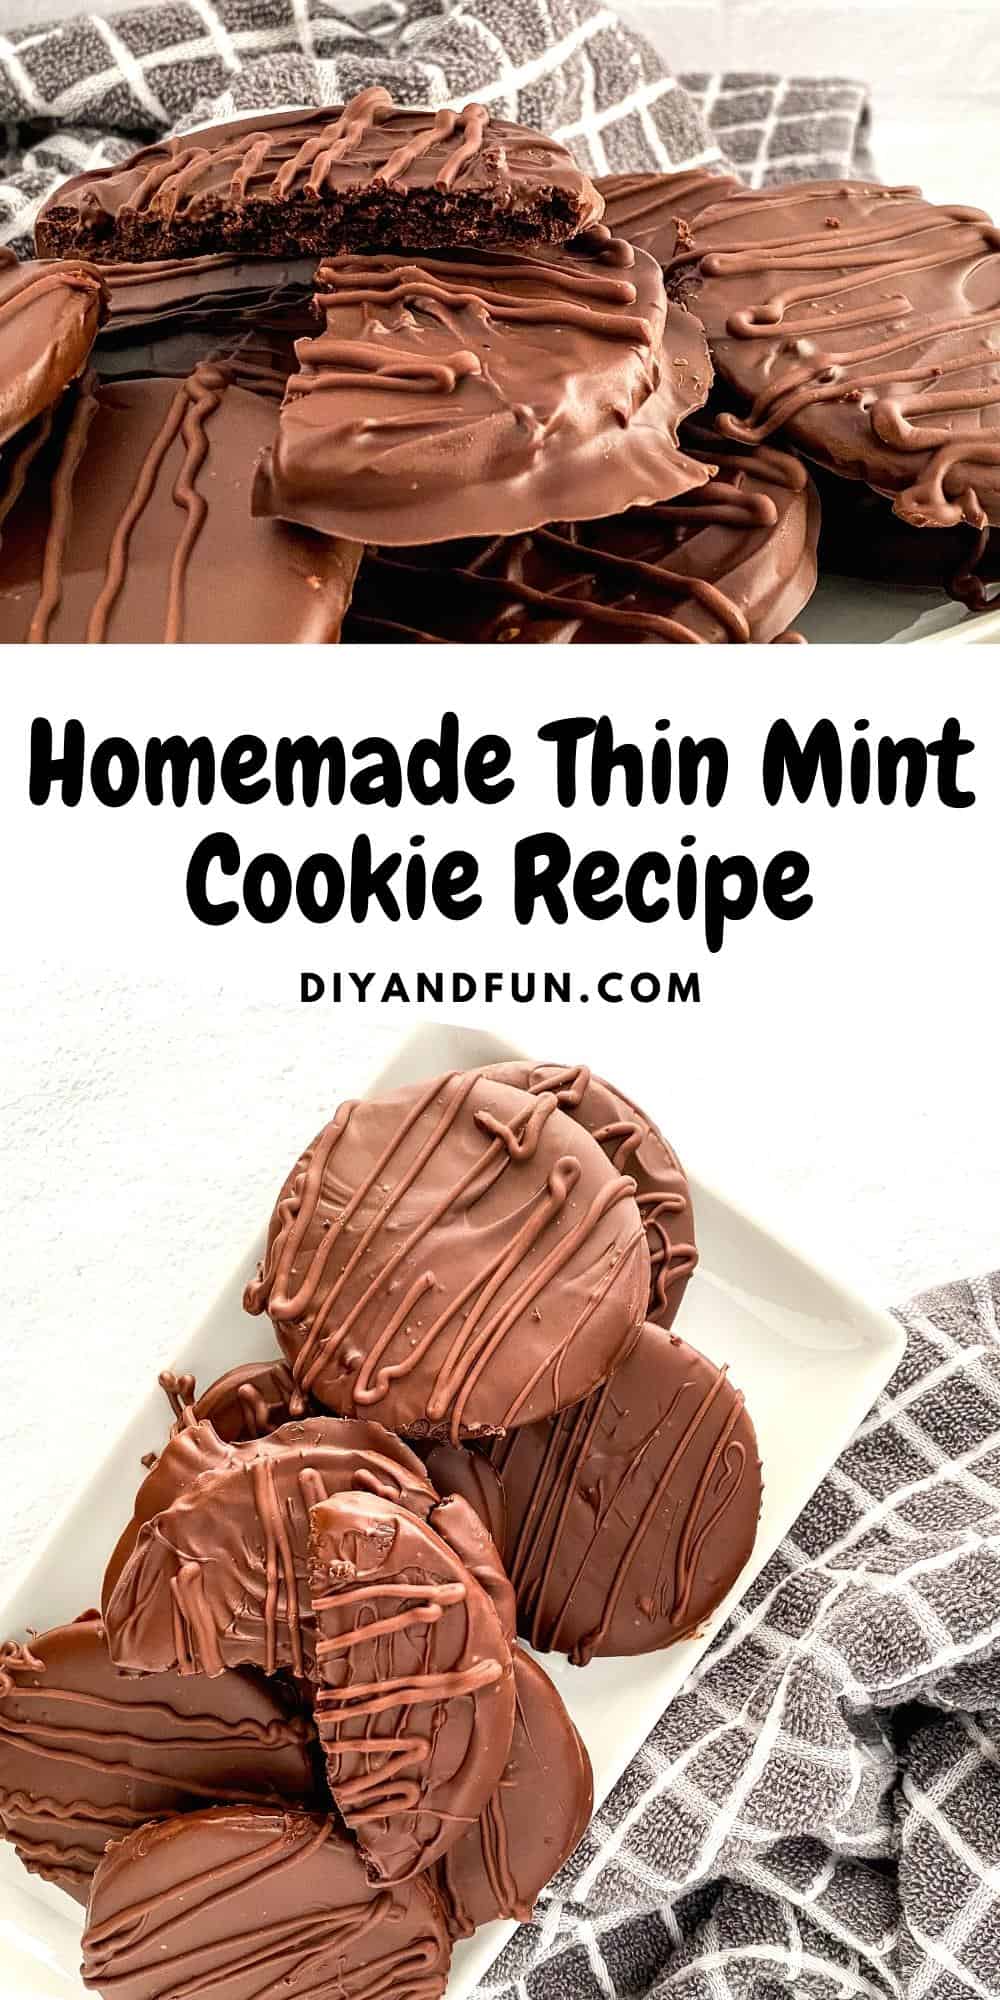
Homemade Thin Mint Cookie Recipe, a delicious recipe for making homemade copycat chocolate covered minty cookies.
Homemade Thin Mint Cookie Recipe,
Ingredients
- 1 ½ cups Flour
- ¾ cups Unsweetened Cocoa Powder
- ½ tsp Baking Powder
- ¾ cup Butter
- 1 cup Sugar-
- 1 Egg
- 2 tsp Vanilla Extract
- ½ tsp Peppermint Extract
For the chocolate coating- Chocolate Chips- 2 cups, coconut oil- ½ teaspoon, peppermint extract- ½ teaspoon.
Instructions
- In a medium bowl, use a whisk to mix together the almond flour, unsweetened cocoa powder, and baking powder.Next, in a mixing bowl with a mixer outfitted with a paddle attachment, beat together the butter and sugar until light and fluffy (about three to four minutes) . Then add in the egg, vanilla, and peppermint extracts and mix on medium speed until fully incorporated.Turn the mixer down to low and slowly add the dry ingredients. Mix this until just combined.
- Line a cookie sheet with parchment paper. Place the cookie dough on the parchment paper and then place another piece of parchment paper on top of the dough. Use a rolling pin (on top of the top layer of parchment paper) to roll the dough to ½". Use a round cookie cutter (two to three inch diameter) to cut cookies out. You may need an extra baking sheet lined with parchment paper to have enough room.
- Refrigerate the cut cookies for at least a half hour.When you are are ready to bake the cookies, preheat the oven to 350 and take the cookies out of the refrigerator.Bake the cookies until edges are set ( about 10-12 minutes, the center will still look soft). Then allow the cookies to cool on the cookie sheet(s) for 10 min before transferring to a cooling rack. Keep the parchment paper on the cookie sheets to use again.
- For the chocolate dip, use a microwave safe bowl to melt the chocolate chips. Microwave the chips with the coconut oil until smooth, stopping every 30 seconds to stir.Stir in the mint extract after the chocolate and the coconut oil have melted. Then use a fork or a spoon to dip each wafer cookie into the melted chocolate and place on to the parchment paper to set. Refrigerate the cookies until fully set.
Recipe Notes
originally posted:
March 30, 2022*As an Amazon Associate I earn from qualifying purchases. This means that the links on this website, and specifically on this post, that lead to other sites may be affiliate links.
Nutrition
Please note: Nutritional data has been calculated using a tool that comes with this recipe card and not by me. This means that Nutritional Information is only an estimate and can vary especially with ingredients that you use. The accuracy of this tool may differ from other tools as expected. Also note that there is no instructional value to the video that may be attached to this recipe. It is only there for visual pleasure. For more information about the images in this recipe, please refer the the recipe instructions. Thank you!
Follow Me


