

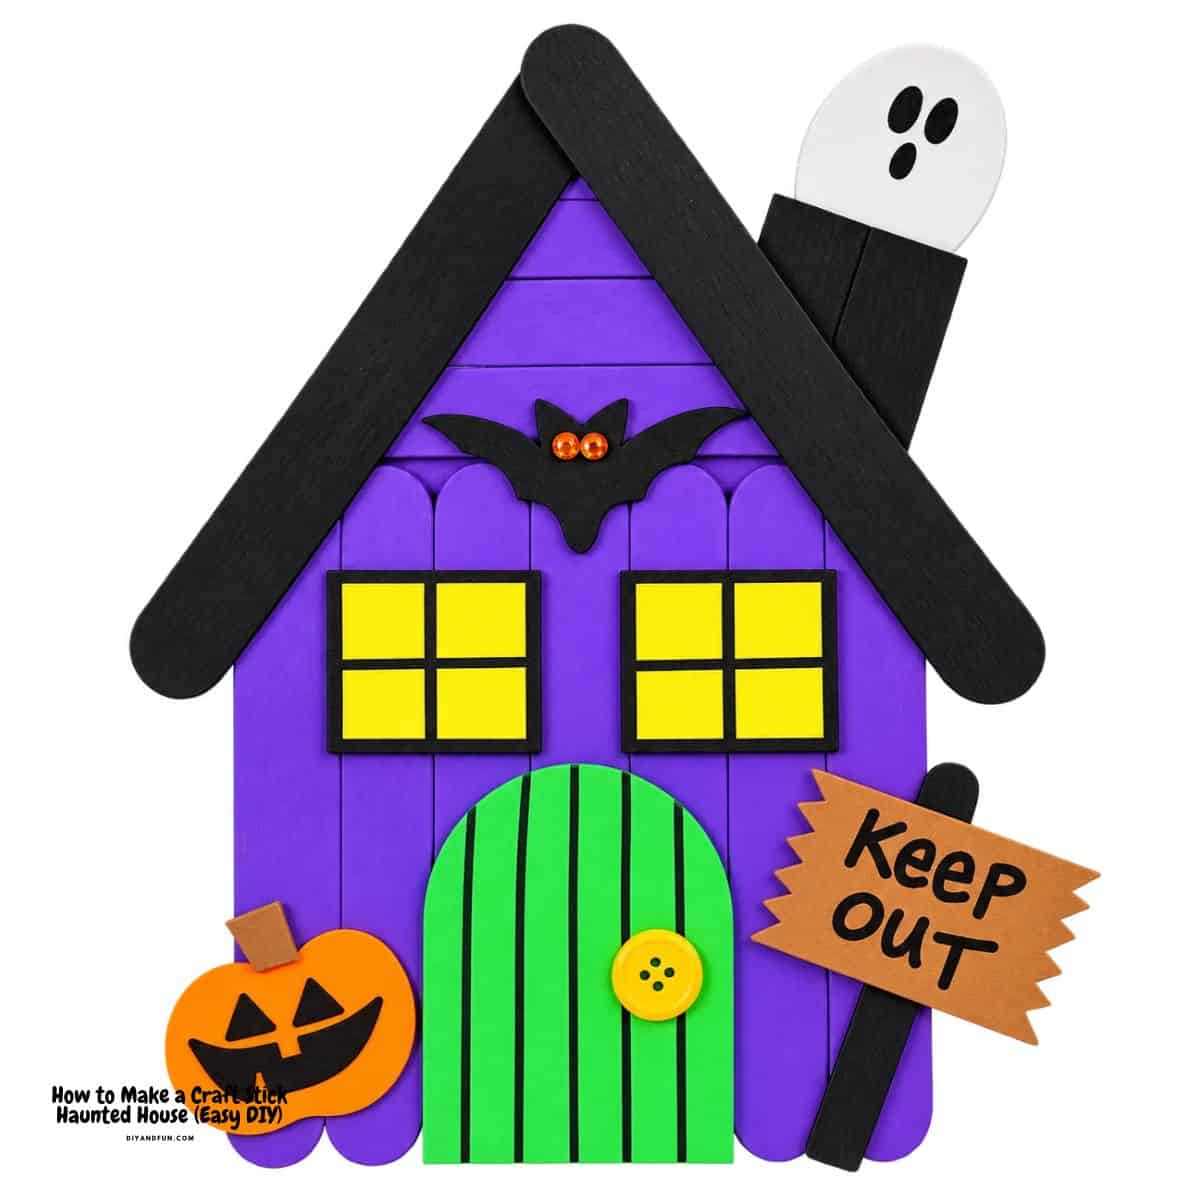
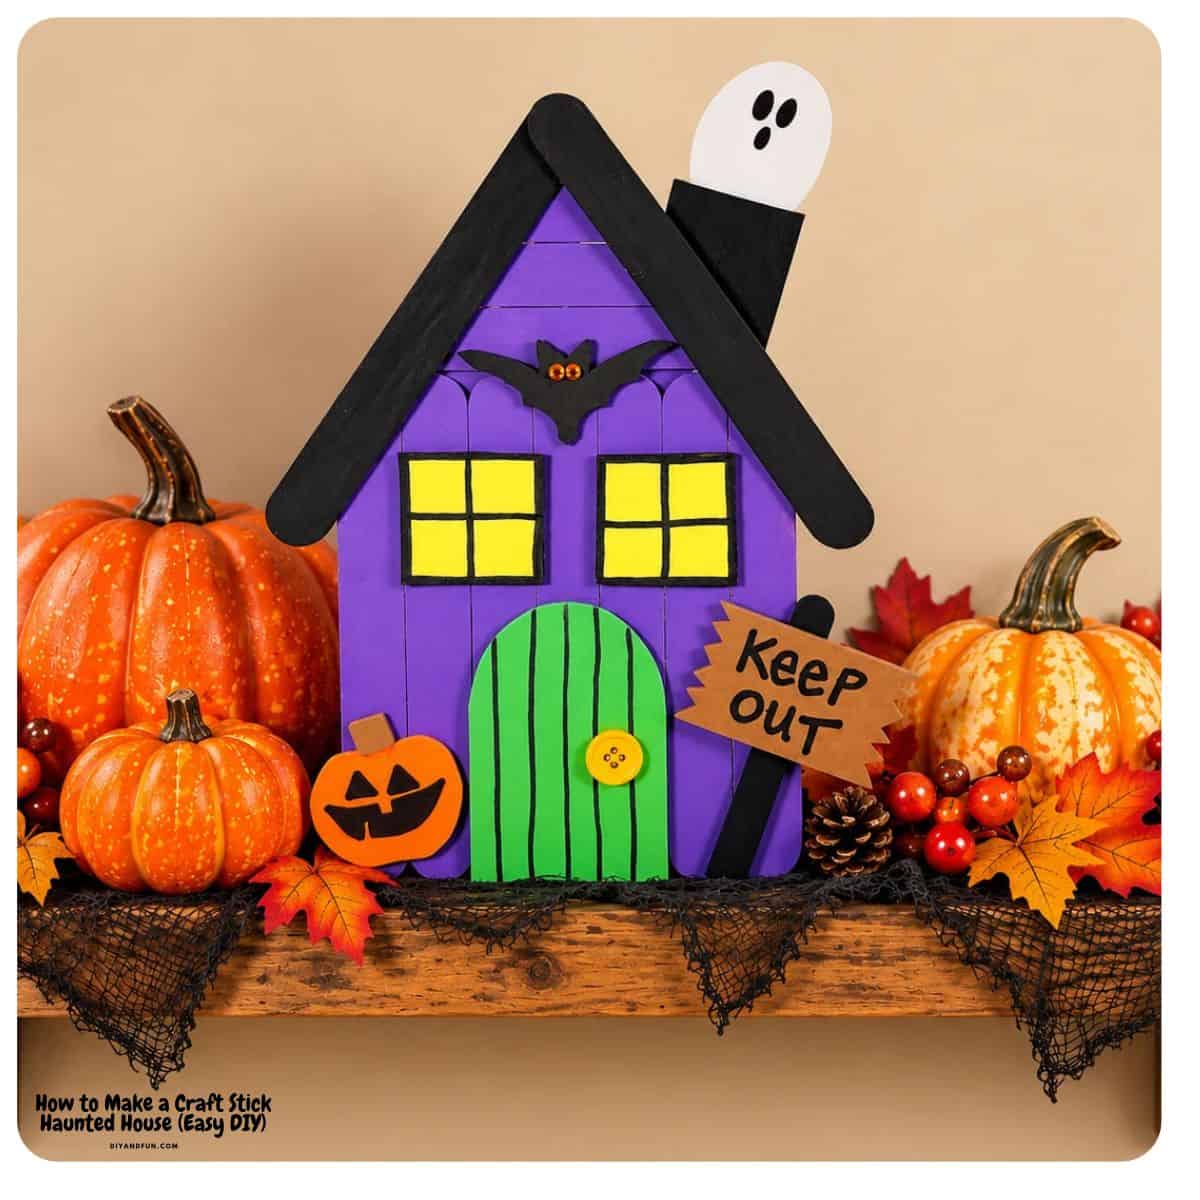
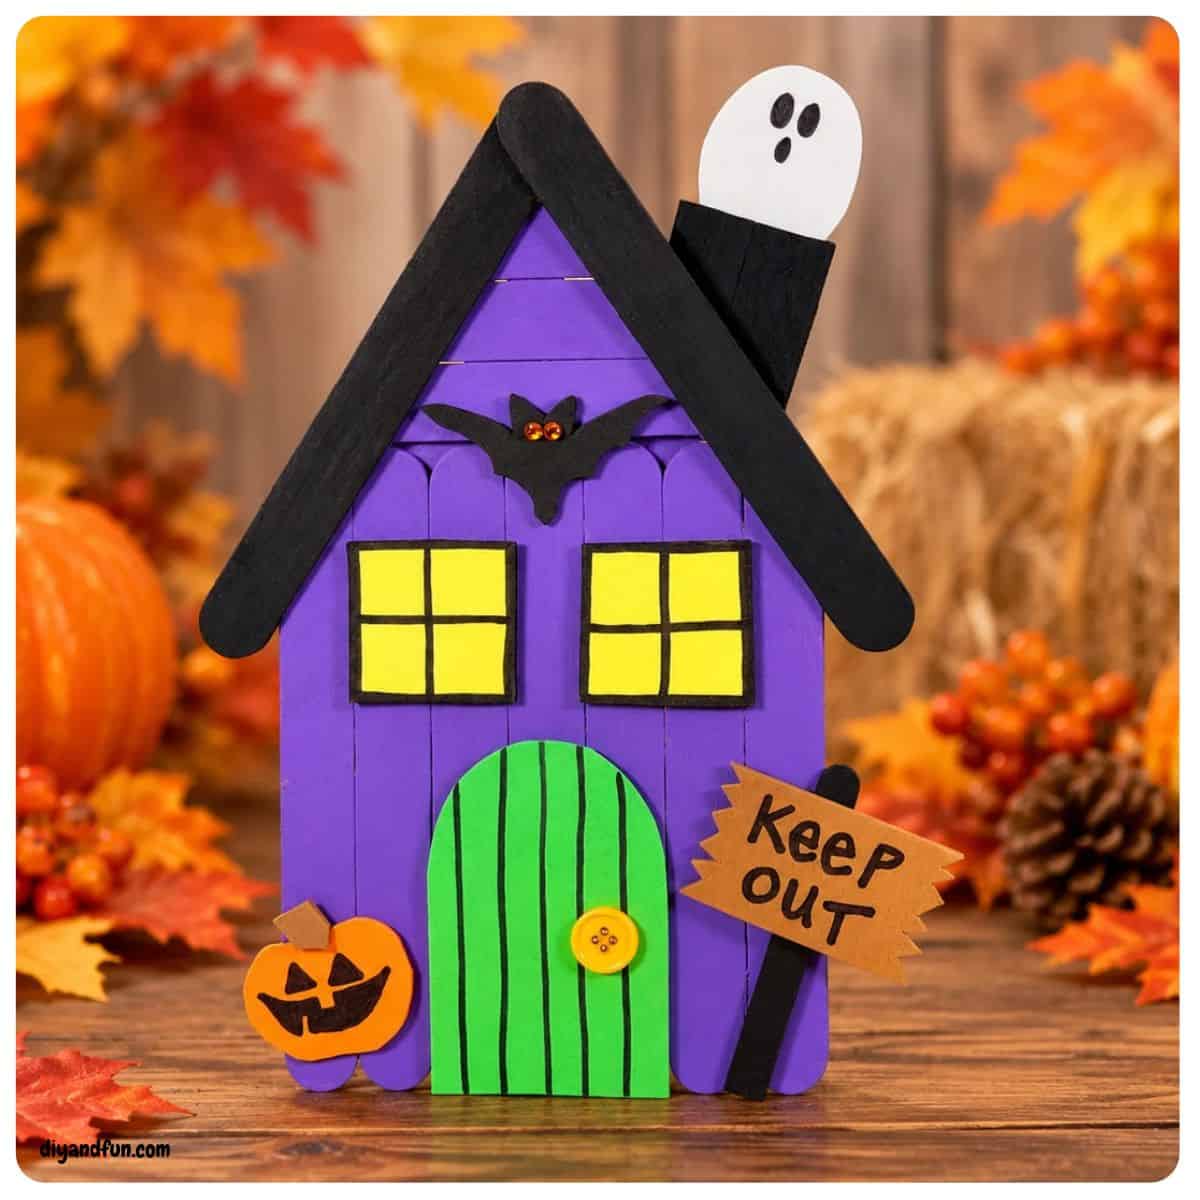
This Craft Stick Haunted House is a fun and easy Halloween craft that you can make with the kids using inexpensive supplies from the Dollar Store.
Colorful craft paint, foam pieces, buttons, and a few spooky details transform ordinary wooden craft sticks into an adorable haunted house that is more cute than creepy.
What you will read about.
Why you will like this DIY idea.
This budget-friendly Halloween DIY can be completed in about an hour (or less), making it perfect for an afternoon craft, classroom activity, or festive addition to your Halloween decor.
Here is what else you will like about this recipe.
- Uses simple craft supplies. Wooden craft sticks, craft paint, foam sheets, buttons, and glue are all you need to create an impressive seasonal project.
- Kid-friendly. Kids can help paint the house and choose the decorations that make their haunted house unique.
- Easy to customize. Change the paint colors, windows, door, ghost, bats, pumpkins, or other embellishments to create your own design.
- Great for Halloween decorating. Display the finished haunted house on a shelf, mantel, windowsill, or Halloween-themed table.
Materials Needed
- Craft Sticks Jumbo Craft Sticks and Regular Craft Sticks.
- Craft Foam White, Green, Yellow, Orange, Brown, Black craft foam were used for the detailing on the house.
- Rhinestones Orange rhinestones were used for my bat's eyes.
- Button. For the door.
- Black Permanent Marker. Such as a Sharpie.
- Glue Gun and Glue Sticks.
- Acrylic Craft Paint Purple and Black were used for the detailing on my house. Yellow, Orange, and Green for added detail (optional).
- Tools. Paintbrush, Pencil and Scissors.
- Patterns. Patterns for Craft Stick Haunted House. The pattern is optional but, if you want my bat, pumpkin, etc. you can download the pattern and them to make yours.
How to Make a Craft Stick Haunted House
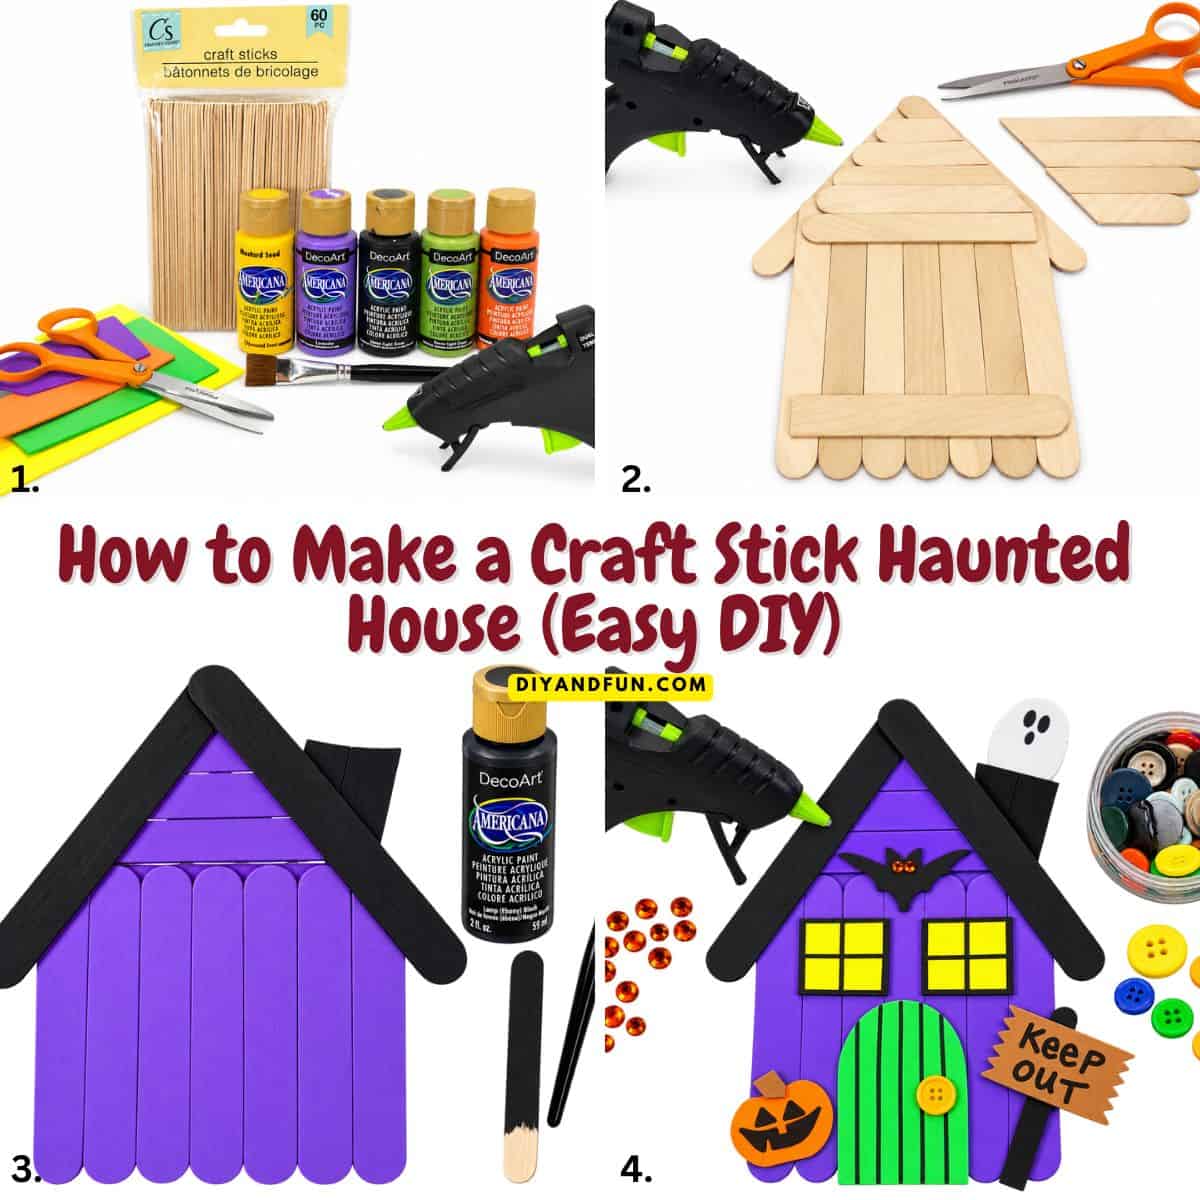
Step One – Build the Base of the House
Gather your supplies and protect your work surface with newspaper or a sheet of scrap paper.
Line up seven jumbo craft sticks vertically, side by side, to form the front of the haunted house. Trim additional jumbo craft sticks to fit across the width of the house. Hot glue the trimmed sticks horizontally across the back to secure the seven vertical sticks together.
To begin the roof, glue two jumbo craft sticks at an angle at the top of the house, allowing them to meet at the peak to create a triangle-shaped roofline.
Step Two – Finish the Roof and Make the Chimney
Flip the house over so the back is facing up. Arrange four jumbo craft sticks horizontally across the triangular gable area. Use a pencil to trace the angled edges of the roof onto the sticks.
Trim the sticks along the pencil lines with scissors, then hot glue them in place to fill in the triangular gable.
To make the chimney, cut two 2-inch sections from a jumbo craft stick. Place the pieces side by side and secure them together using a small piece of leftover craft stick glued across the back. Hot glue the finished chimney to one side of the roof.
NOTE: Liquid craft glue can be used instead of hot glue; however, you will need to allow additional drying time between steps.
Step Three – Paint the House
Paint the front and sides of the house with purple acrylic craft paint. Set it aside to dry completely. Apply a second coat if needed for even coverage.
Step Four – Paint the Roof and Sign Post
Paint the roof, chimney, and one regular-size craft stick with black acrylic craft paint. Allow the paint to dry completely, then apply a second coat if necessary.
Step Five – Cut Out the Haunted House Decorations (if using mine).
Download, print, and cut out the Craft Stick Haunted House Patterns from the materials list above..
Using a pencil, trace each pattern onto the appropriate color of craft foam:
- Ghost – white
- Door – green
- Two windows – yellow
- Pumpkin – orange
- Sign and pumpkin stem – brown
- Bat – black
Cut out each shape with scissors, cutting just inside the pencil lines for clean edges.
NOTE: Colored cardstock can be substituted for the craft foam. Craft felt is not recommended because it will not provide the same crisp shape and structure.
Step Six – Add the Details
Use a permanent black marker to add the decorative details to the foam pieces. Draw a face on the ghost and jack-o'-lantern, write KEEP OUT on the sign, add vertical lines to the door, and draw the frames and panes on both windows. Avoid using washable markers, as they can smear on craft foam.
Subscribe to DIYandFun
Step Seven – Assemble the Haunted House
Hot glue the KEEP OUT sign to the black-painted regular craft stick. Trim the craft stick to the desired length to create the sign post.
Using the finished project photo as a placement guide, hot glue the door, windows, ghost, pumpkin, sign, and bat onto the haunted house.
Step Eight – Add the Finishing Touches
Attach two orange self-adhesive rhinestones to the bat to create its eyes.
Finish the haunted house by hot gluing an orange button onto the green door for the doorknob. Allow all of the glue and paint to dry completely before displaying your Craft Stick Haunted House.
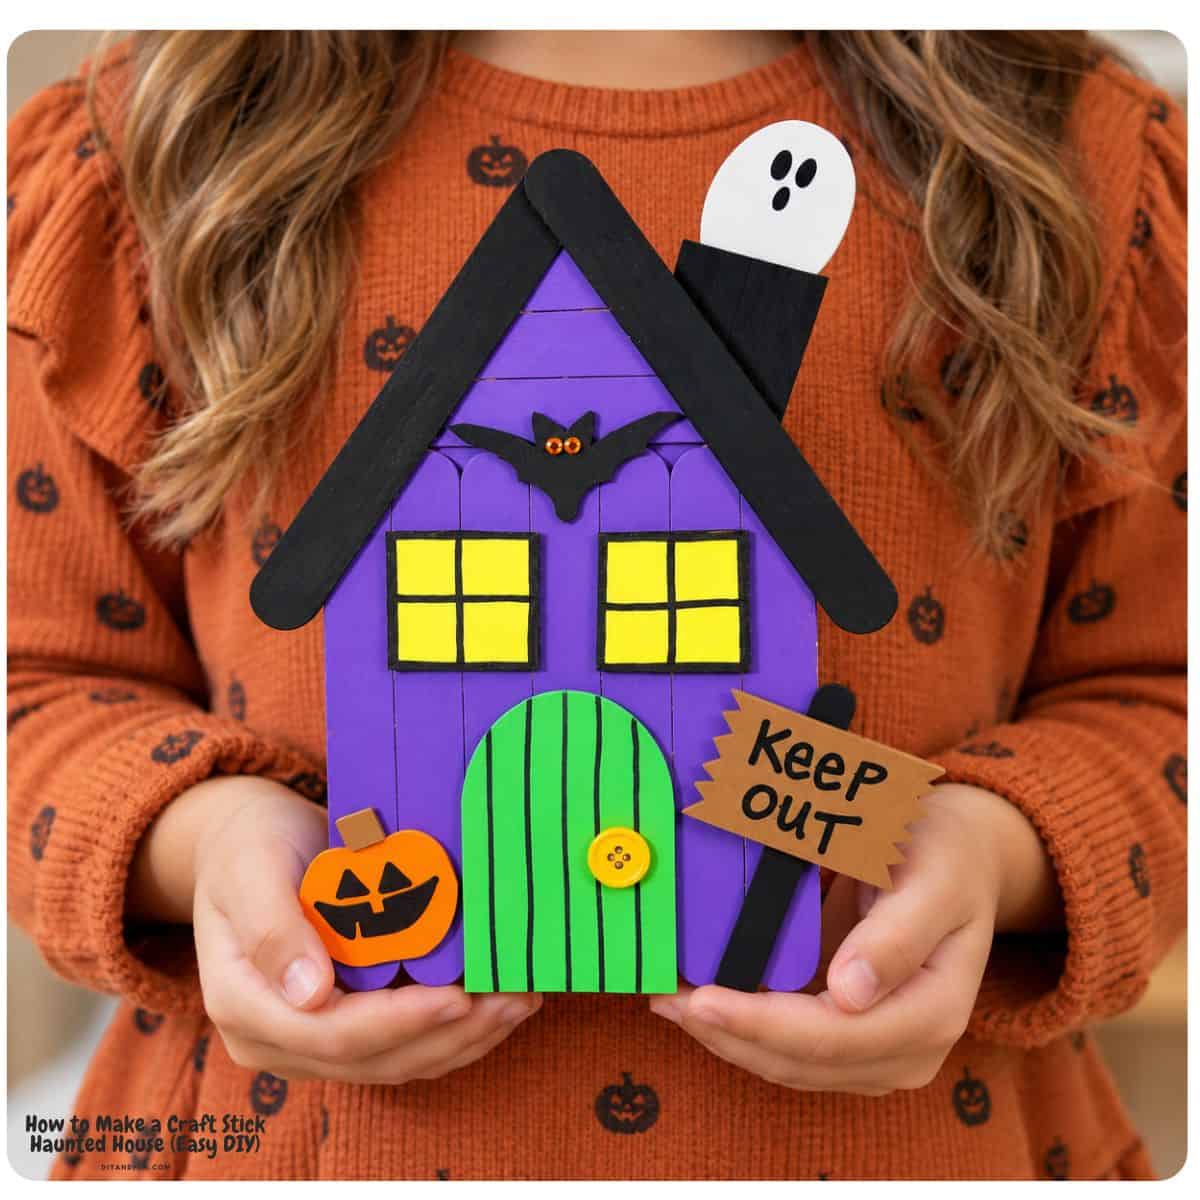
Tips for making the best Popsicle Stick House.
While this project is suitable for many ages, some folks may need some assistance. Children under a certain age may need adult assistance (glueing, cutting, etc.) in this project.
More helpful tips for you.
- Protect your work surface. Place newspaper, parchment paper, or scrap paper underneath the project before painting and gluing.
- When you are lining up the jumbo craft sticks, Arrange the seven jumbo craft sticks so they are straight and close together before gluing the supports to the back. Sturdy craft scissors make it easier to trim jumbo craft sticks and create clean angles for the roof. Be sure to use the scissors carefully.
- Trace before cutting. When fitting the craft sticks into the gable, trace the roof angle with a pencil before trimming to help get a better fit. Cut inside the traced lines. This removes visible pencil marks from the edges of the foam pieces for a cleaner finished look.
- Let the paint dry between coats. Two thin coats of acrylic paint will usually give you a smoother finish than one heavy coat. I like to have a fan going to help my paint dry a bit faster.
- Lastly, use hot glue carefully. An adult should handle the hot glue gun or closely supervise children while it is being used. A low-temperature glue gun is a good option for kid-friendly craft projects.
FAQ
- Can I use regular craft sticks instead of jumbo craft sticks?
Jumbo craft sticks work best for building the house because their larger size creates a sturdier structure and requires fewer sticks. Regular craft sticks can be used, but you will need more of them and may need to adjust the pattern pieces to fit. - Can I use craft glue instead of a hot glue gun?
Yes. Liquid craft glue can be used, especially when making this project with younger children. Keep in mind that craft glue takes longer to dry, so the project may take longer than 30 minutes to complete.
- What kind of paint works best on craft sticks?
Acrylic craft paint works well because it provides good coverage, dries relatively quickly, and is available in plenty of Halloween colors. Apply a second coat after the first coat dries if you want a more vibrant finish.
- How long does this craft take to make?
The haunted house can be assembled in about 30 minutes, although drying time can vary. Using liquid craft glue or applying additional coats of paint will increase the total time. - How can I display the finished Craft Stick Haunted House?
The finished house can be displayed on a mantel, shelf, windowsill, entryway table, or as part of a Halloween centerpiece. Because it is lightweight, it also works well as part of a classroom or party display.
Variations.
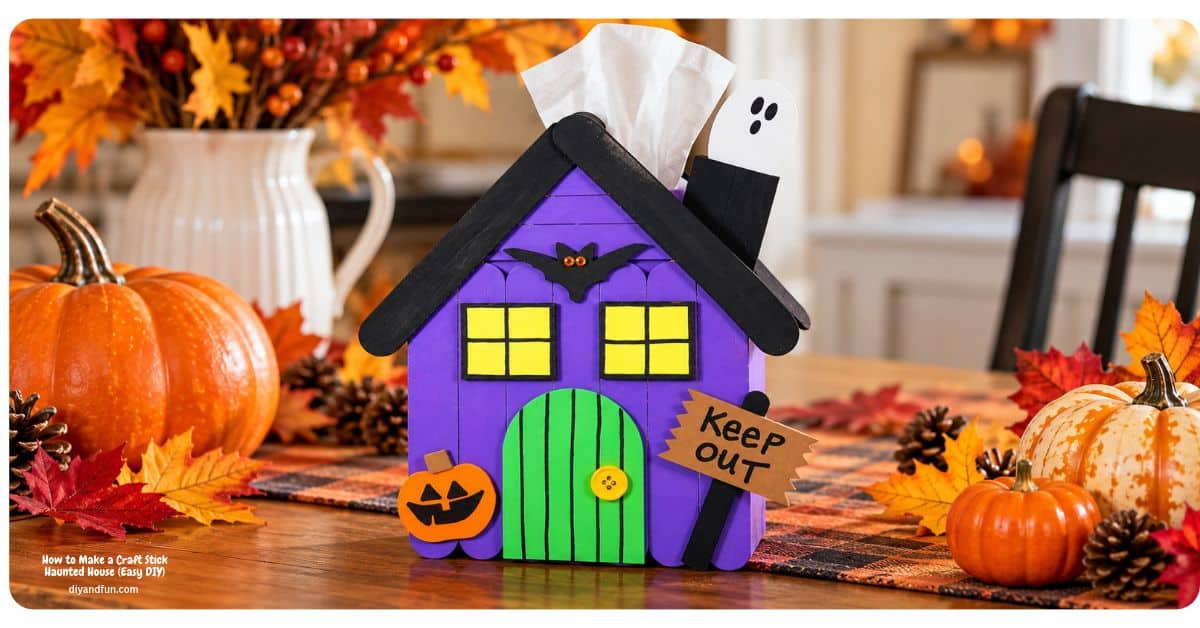
- Make this into a tissue box holder. You'll need to make four equal sides to the house using the amount of craft sticks needed to make a side that is slightly larger than your tissue box (paint and decorated as needed). You can then hot glue the sides in place.
- Turn this into a wall hanging. Glue a string on the back or use a 'picture hangers' on the back.
- Make it kid-friendly and cute. Use smiling ghosts, friendly pumpkins, colorful buttons, and googly eyes for a less spooky version.
You may also be interested in these fall-inspired DIY and Craft Projects.
- DIY Clay Pot Scarecrow: Easy Step-by-Step Fall Craft
- Clay Pot Acorn Craft DIY
- Foam Square Turkey Craft DIY
- Flower Pot Frankenstein DIY Craft
- Candy Corn Clay Pot DIY
- DIY Fall Book Stack Project
Print the Directions for DIY Haunted House Craft.
How to Make a Craft Stick Haunted House
Equipment
- Pencil
- Glue Gun And Sticks
Materials
- Craft Sticks Jumbo and Regular Sized
- Craft Foam White, Green Yellow, Orange, Brown, and Black
- Rhinestones For the bat's eyes
- Button To make the doorknob
- Acrylic Craft Paint Purple and Black. Optional for added detail; yellow, orange, and green.
Download the pattern from the instruction page.
Instructions
- Step One – Build the Base of the House Gather your supplies and protect your work surface with newspaper or a sheet of scrap paper. Line up seven jumbo craft sticks vertically, side by side, to form the front of the haunted house. Trim additional jumbo craft sticks to fit across the width of the house. Hot glue the trimmed sticks horizontally across the back to secure the seven vertical sticks together. To begin the roof, glue two jumbo craft sticks at an angle at the top of the house, allowing them to meet at the peak to create a triangle-shaped roofline.
- Step Two – Finish the Roof and Make the Chimney Flip the house over so the back is facing up. Arrange four jumbo craft sticks horizontally across the triangular gable area. Use a pencil to trace the angled edges of the roof onto the sticks. Trim the sticks along the pencil lines with scissors, then hot glue them in place to fill in the triangular gable. To make the chimney, cut two 2-inch sections from a jumbo craft stick. Place the pieces side by side and secure them together using a small piece of leftover craft stick glued across the back. Hot glue the finished chimney to one side of the roof. NOTE: Liquid craft glue can be used instead of hot glue; however, you will need to allow additional drying time between steps.
- Step Three – Paint the House Paint the front and sides of the house with purple acrylic craft paint. Set it aside to dry completely. Apply a second coat if needed for even coverage.
- Step Four – Paint the Roof and Sign Post, Paint the roof, chimney, and one regular-size craft stick with black acrylic craft paint. Allow the paint to dry completely, then apply a second coat if necessary.
- Step Five – Cut Out the Haunted House Decorations (if using mine). Download, print, and cut out the Craft Stick Haunted House Patterns from the materials list above.. Using a pencil, trace each pattern onto the appropriate color of craft foam: - Ghost – white - Door – green - Two windows – yellow - Pumpkin – orange - Sign and pumpkin stem – brown - Bat – black Cut out each shape with scissors, cutting just inside the pencil lines for clean edges. NOTE: Colored cardstock can be substituted for the craft foam. Craft felt is not recommended because it will not provide the same crisp shape and structure.
- Step Six – Add the Details Use a permanent black marker to add the decorative details to the foam pieces. Draw a face on the ghost and jack-o'-lantern, write KEEP OUT on the sign, add vertical lines to the door, and draw the frames and panes on both windows. Avoid using washable markers, as they can smear on craft foam.
- Step Seven – Assemble the Haunted House Hot glue the KEEP OUT sign to the black-painted regular craft stick. Trim the craft stick to the desired length to create the sign post. Using the finished project photo as a placement guide, hot glue the door, windows, ghost, pumpkin, sign, and bat onto the haunted house.
- Step Eight – Add the Finishing Touches Attach two orange self-adhesive rhinestones to the bat to create its eyes. Finish the haunted house by hot gluing an orange button onto the green door for the doorknob. Allow all of the glue and paint to dry completely before displaying your Craft Stick Haunted House.
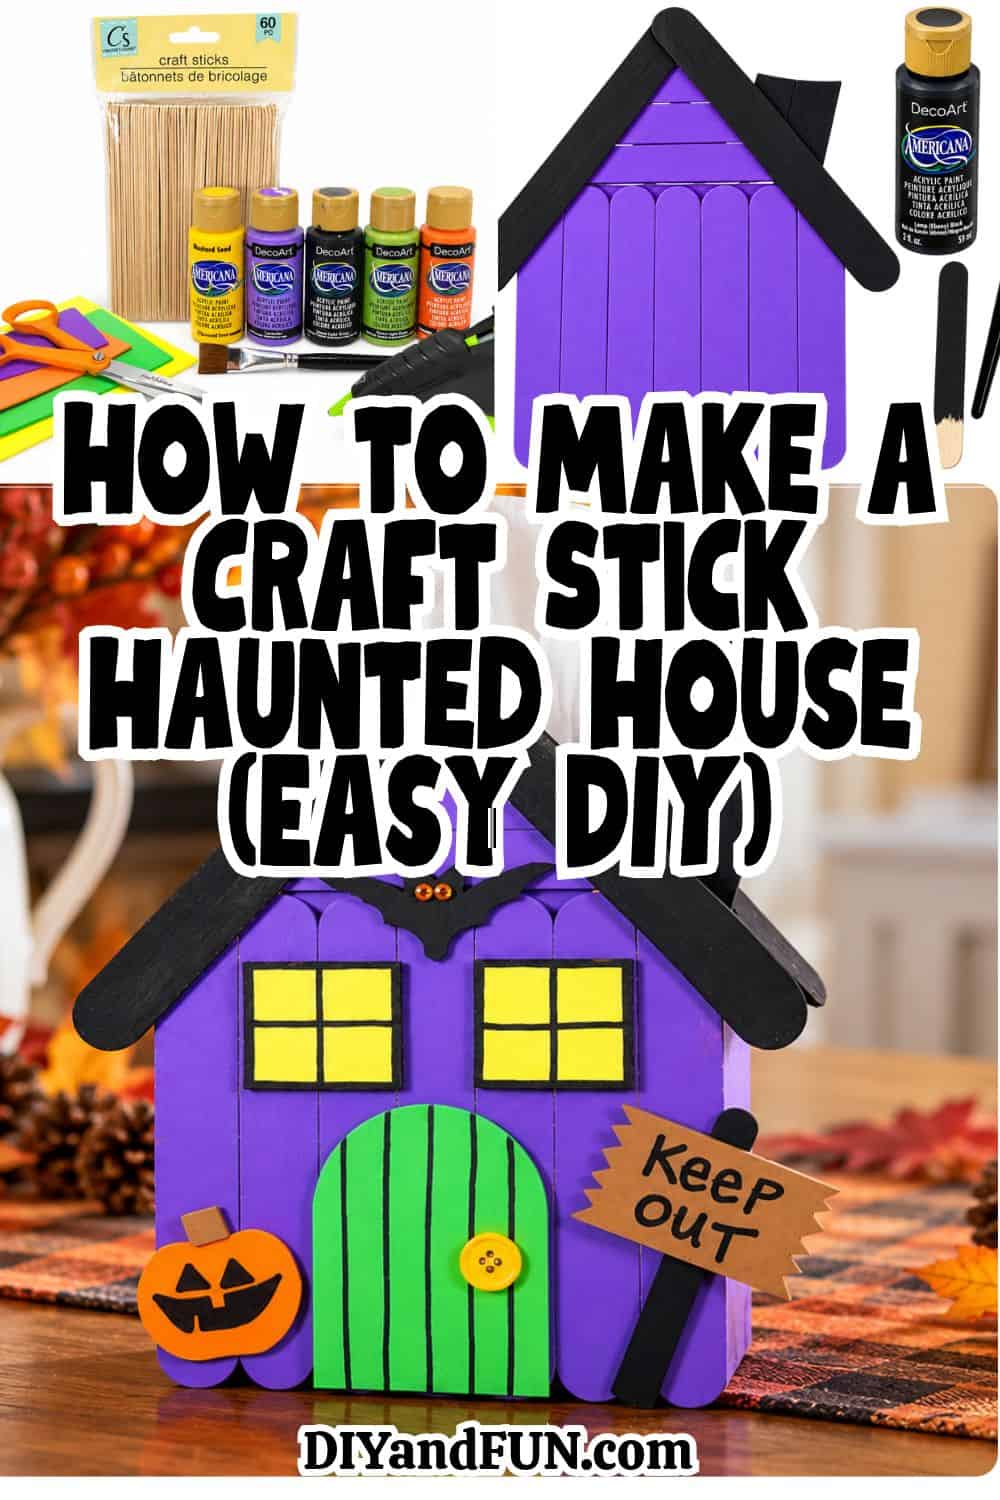
Make an easy Craft Stick Haunted House with simple Dollar Store supplies! This fun Halloween craft for kids comes together in just 30 minutes.
Make this cute Craft Stick Haunted House for Halloween using simple Dollar Store supplies! This quick and easy 30-minute Halloween craft is a fun project to make with the kids. Decorate your haunted house with colorful paint, a spooky ghost, bat, pumpkin, and more for an adorable DIY Halloween decoration. Perfect for fall crafting, classroom projects, or a festive afternoon at home.
Please see recipe post for further details on this recipe.
Ella
This is such a cute idea
Mary_Hartman
It's super easy to do too!