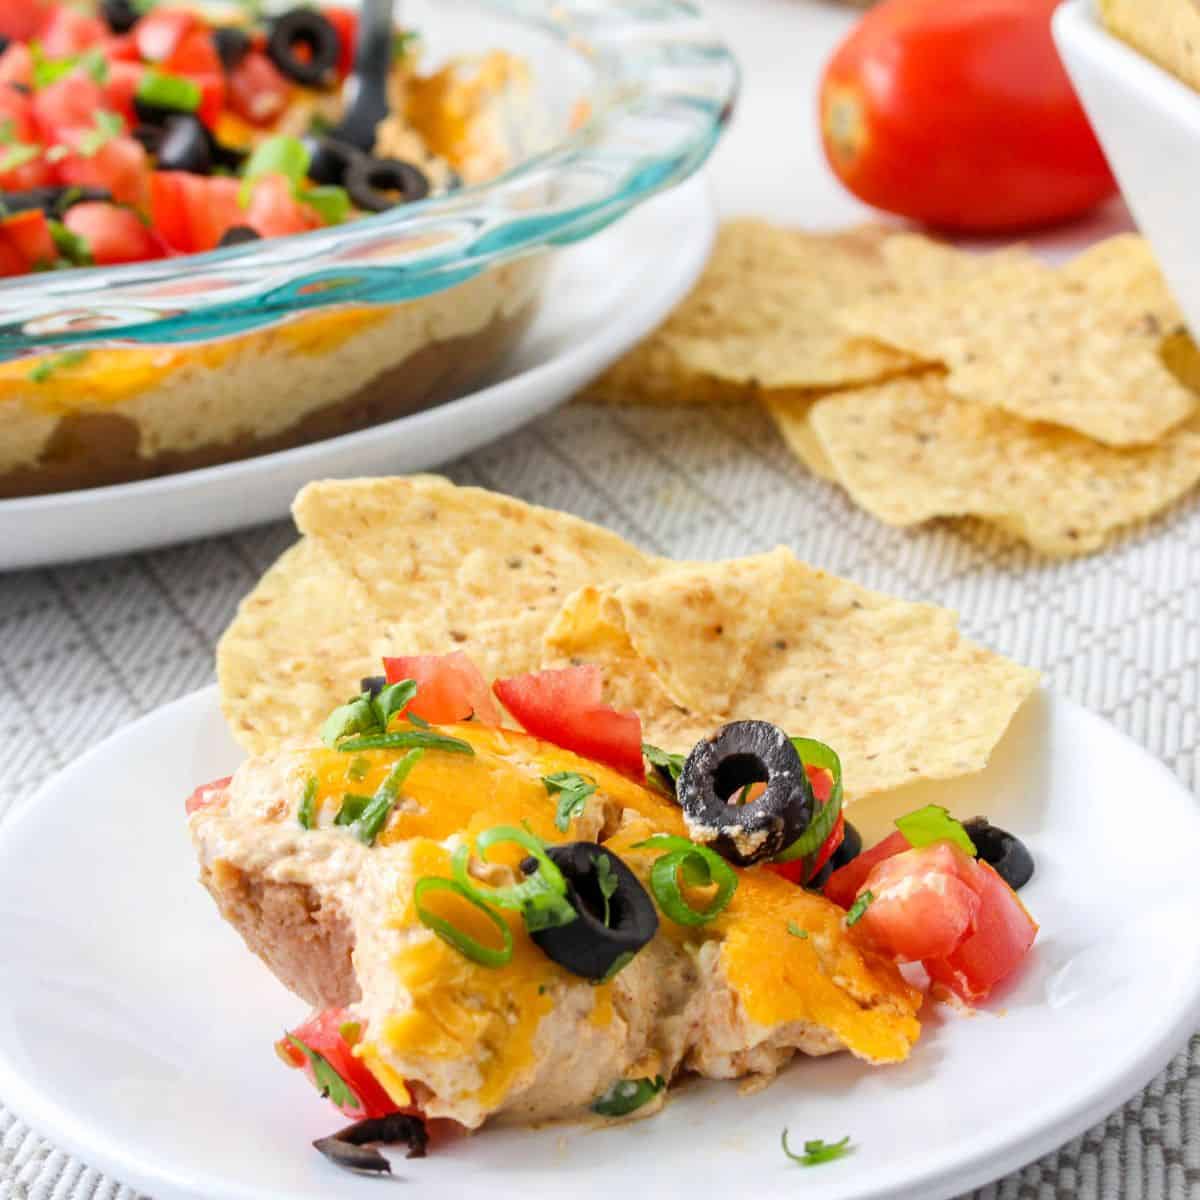
Easy Layered Taco Dip is the perfect dip to serve along with tortilla chips and fresh vegetables for about any gathering or tailgate event.
This flavorful dip recipe features the bold flavor that we love about tacos balanced by a creamy texture thanks to cream cheese and sour cream.

What makes taco dip so good?
For starters, not only is this a simple recipe to make, it is also a dip that about everyone can agree on.
This easy taco dip can be served warm or cold depending on how you want it.
Did you try my recipe for Layered BLT Dip (bacon, lettuce, & tomato)?
That keto friendly dip is made with everything you would expect from a BLT except for the bread.
Both this recipe for taco dip and that recipe for BLT dip are nice appetizer ideas to serve at your next gathering or as a simple snack.
Make this appetizer idea even better by serving it with a variety of different taco chips. You can find a variety of taco chips here.

Tips for making a great dip.
This layered dip has five layers to it. You can however make this recipe into a seven layered dip by adding a layer of salsa and a layer of shredded lettuce (after baking).
More tips for you
- The key to a smooth texture is blending the cream cheese and the sour cream well. For best results, make sure that your cream cheese is softened before creaming these ingredients together.
- To make this a perfect layered dip, you should layer the ingredients evenly. Even layering will help to ensure that each bite has a good mix of flavors and textures.
- Once the bottom layers have been made, this dip is baked and then topped with the remaining layers. While this allows the bottom layers to blend together, you can omit the baking step and serve this dip cold.
How to make taco dip even better.
Certainly this dip is easy and delicious just the way it is.
You can however make yours even better.
Try one of these ideas.
- Add a few drops of hot sauce to the cream cheese for added flavor.
- Make this dip on a layer of cooked taco meat.
- Instead of or with the taco seasoning , use another seasoning such as everything bagel or a smokey seasoning.
👇You may also be interested in these ideas!👇
✔ Be sure to follow us on Facebook, Pinterest, and Instagram.
Subscribe to our Weekly Newsletter.
What makes taco appetizer dip so easy?
This recipe features simple ingredients that need little prep.
You simply layer the ingredients, bake, and then serve this recipe.
How do you serve taco dip?
- Serve this dip as is with three different kinds of chips (taco, pita, and vegetable chips?) and a cold drink on the side.
- Top a homemade salad with this for a perfect taco salad.
- Scoop some inside of a wrap to enjoy it for lunch or as a snack.
Ingredients needed to make a taco dip with cream cheese.
- Refried Beans. A simple can of refried beans.
- Cream Cheese. Use a full fat cream cheese that is softened to room temperature.
- Sour Cream. This helps the cream cheese get smooth and creamy.
- Taco Seasoning. Use the taco seasoning of your choice.
- Garlic. Your garlic should be minced or chopped small.
- Cheddar Cheese. I like sharp extra sharp for this recipe. The cheddar cheese should be shredded or grated.
- Olives. Black olive that are sliced.
- Tomato. A firm and flavorful tomato such as Roma. The tomato should be diced.
- Green Onions. Sliced thin for color and flavor.
- Optional, cilantro and/or chopped bell or other pepper.
Expert Tip👉 Don't be afraid to alter the ingredients or amount of ingredients to your liking as needed.
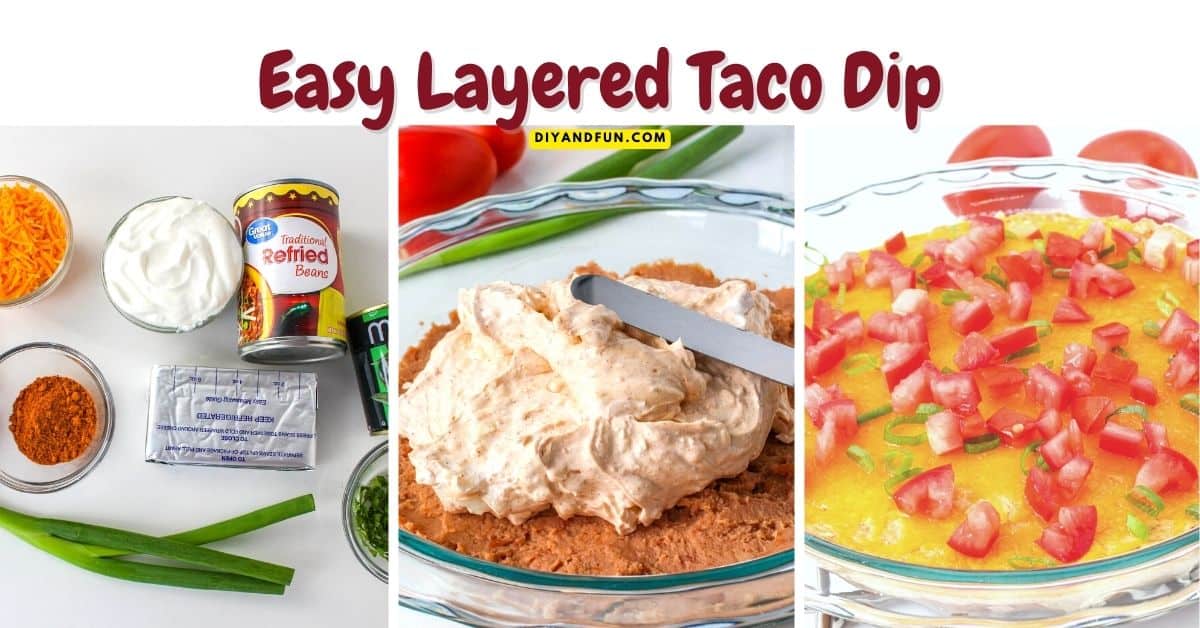
How to make this Easy Layered Taco Dip Recipe
Prep: 10 minutes
Yield: 8 servings
Step One: prepare.
Preheat your oven to 350 and prep a baking dish for nonstick.
Also, prep your ingredients as needed.
Step Two: layer the ingredients needed for baking.
- Start by creaming together the softened cream cheese with the sour cream until well blended. Then stir in the seasoning and garlic.
- Next, spread a layer of refried beans on the bottom of the baking dish, using the entire can and spreading it evenly on the bottom of the dish.
- On top of the refried beans, add the creamed ingredients from the first step (cream cheese etc.).
- Top the ingredients with the cheddar cheese.
- Bake this dip for 15-18 minutes or until the cheddar cheese is melted and the dip layers are fully warm.
Step Three: finish making the dip.
- Carefully remove the dip from the oven.
- Top the dip with your remaining ingredients.
- Serve and Enjoy!
Expert Tip👉 Once the dip has fully cooled it can be covered or stored in an airtight contain container and refrigerated for up to a few days.
👇Popular Ideas👇
- Easy Mexican Breakfast Casserole Recipe1 Hours 5 Minutes
- 4 Ingredient Whipped Raspberry Dessert5 Minutes
- Oreo Cheesecake Cupcake Recipe55 Minutes
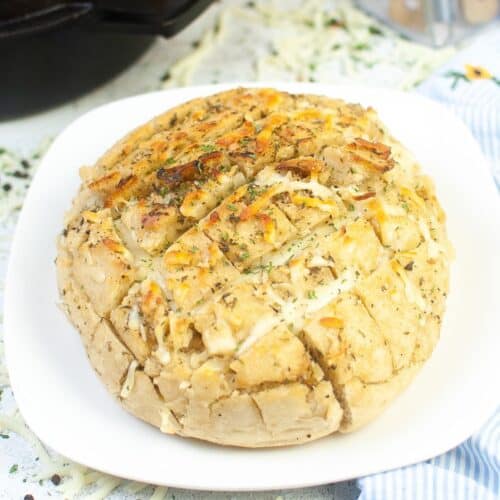
- Cheesy Garlic Pull-Apart Bread Recipe30 Minutes
In case you missed something.
Easy Layered Taco Dip Recipe, a quick, simple and flavorful warm appetizer recipe that is perfect with tortilla chips or fresh vegetables.

Easy Layered Taco Dip Recipe
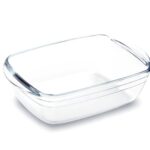
Equipment
Ingredients
- 16 oz Refried Beans
- 8 oz Cream Cheese
- 1 cup Sour Cream
- 2 ½ tbsp Taco Seasoning
- 2 tsp Garlic - minced
- ½ cup Cheddar Cheese - grated or shredded
- 2 tbsp Olives - sliced
- 1 Tomato -diced
- 2 tbsp Green Onions
Instructions
- Preheat your oven to 350 and prep a baking dish for nonstick.
- Start by creaming together the softened cream cheese with the sour cream until well blended. Then stir in the seasoning and garlic.
- Next, spread a layer of refried beans on the bottom of the baking dish, using the entire can and spreading it evenly on the bottom of the dish.
- On top of the refried beans, add the creamed ingredients from the first step (cream cheese etc.). Top the ingredients with the cheddar cheese.
- Bake this dip for 15-18 minutes or until the cheddar cheese is melted and the dip layers are fully warm.
- Carefully remove the dip from the oven. Top the dip with your remaining ingredients. Serve and Enjoy!
Recipe Notes
Also, please see the actual recipe post for further details on this recipe. Nutritional Information is only an estimate and can vary especially with ingredients that are used. See DiyandFun.com for details on this recipe.
originally posted:
September 9, 2023*As an Amazon Associate I earn from qualifying purchases. This means that the links on this website, and specifically on this post, that lead to other sites may be affiliate links.
Nutrition
Please note: Nutritional data has been calculated using a tool that comes with this recipe card and not by me. This means that Nutritional Information is only an estimate and can vary especially with ingredients that you use. The accuracy of this tool may differ from other tools as expected. Also note that there is no instructional value to the video that may be attached to this recipe. It is only there for visual pleasure. For more information about the images in this recipe, please refer the the recipe instructions. Thank you!
Follow Me
Thanks so much for visiting!
If you decide to try any of the ideas listed in this article please tag on social media @diyandfun. We like to hear your ideas and suggestions.
DIY and Fun is a website dedicated to providing you with the best DIY projects, crafts, recipes, hiking, and fun ideas that inspire. Whether you're looking for a new way to decorate your home, learn a new skill, or simply have some fun, DIY and Fun has something for everyone.
Here are some additional ways to keep coming back to DIY and Fun:
- Sign up for our email newsletter. We'll send you weekly updates with new projects, inspiration, and more.
- Follow us on social media. We're on Facebook, Twitter, and Pinterest.
- Our community forum is coming soon. Share your projects, ask questions, and get inspired by other DIYers.


