
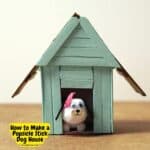
How to Make a Popsicle Stick Dog House is a craft idea that can be done by most ages.
This easy project is a versatile project that can serve as a decoration, use for creative play, or given to someone a gift.
 sticks. Includes Video.")
Popsicle stick dog house
This is a simple craft idea that can be made using dollar store materials.
Craft stick dog houses are an easy and adorable project that can be used as a decoration or as a gift idea.
Did you see my Adorable Yogurt Cup Cow Craft DIY ?
Like with this project, that cow craft is a great way to upcycle something (a yogurt cup). Both projects are adorable diy ideas that kids of most ages can enjoy participating in.
To make this project you will need craft sticks. You can find a variety of craft sticks here.
 sticks. Includes Video.")
Tips for making this easy craft stick project.
While this project is suitable for many ages, some folks by need a bit of assistance. This includes cutting the sticks to size, glueing, and painting.
More tips for you
- My dog house was put together using a basic glue stick. Another option that you can use is a glue gun with glue stick as both methods are quick drying ones.
- My house was painted with green acrylic paint while the roof was painted with brown acrylic craft paint. You can use the color(s) of acrylic craft paint of your choice.
- Using a sealer can be a good idea if you want your project to stand up to elements such as water. You can find craft sealers to choose from here.
- Most of the materials used in this project can be found at a dollar or similar store. You can also find the materials online.
How to make a craft DIY house even better.
This craft project is simple and cute just the way it is.
You can however make yours even better.
Try one of these ideas.
- Use a larger sized carton or a box to make a yard for your house to sit in.
- Allow younger kids to use crayons or markers to decorate the painted house once it is dry.
- Seal the house and attach a birdhouse hanger to hang it in your garden or yard.


How to Make a Dog House Out of Popsicle Sticks
This is a simple craft idea that is suitable for most ages.
It consists of making a house out of craft sticks.
What can you do with a craft stick dog house?
- Use the dog house as actual play for suitable ages.
- Display the dog house as decor in your home.
- Give the dog house as a gift for a friend, teacher, or family member.
Subscribe to DIYandFun
 sticks. Includes Video.")
Wooden popsicle sticks, scissors, paintbrush, green, brown acrylic paint, pencil, milk paper box, glue stick, different sizes of white , black pompoms, moving eyes, white paper, silk ribbon, sequin, black felt material
Materials needed to Craft A Miniature House From Popsicle Sticks.
- Milk or Juice Carton. The carton used to make my house is from a quart of juice. You can use the size of your choice as long as the sticks will fit (with or without trimming them).
- Craft (popsicle) Sticks. The amount of sticks that you will need will depend on the size of your carton and thus, house.
- Acrylic Craft Paint. Green paint was used for my house and brown was used for the roof.
- Glue. My house was glued together with a glue stick. A glue gun would also work as it dried fast.
- You will also need scissors, craft knife, glue, paint brush,and a marker to make this project.
If you are making the doggie, you can find the materials listed in step four.
Expert Tip👉 While this craft project is a fun do it yourself idea, it is not intended for use with a pet. There are materials used to make this project that may not be safe for pets including the craft sticks that are used to make the house with.
 sticks. Includes Video.")
How to make a Popsicle Stick Dog House
Step One: make the house
- Use a craft knife or similar item to carefully cut the carton to size. My carton was cut to about three and a half inches tall. This will be the base for your doghouse.
- Use a marker or pen to trace a hole for the doggie door. Then cut the door out.
- Next, line a popsicle stick to your dog house and make a mark where the stick reaches the top of the house.
- Carefully slice off the excess stick that is above the mark. Then repeat this process until you have enough cut sticks to go around the house.
- Glue the sticks on to the house with the flat end of the stick facing down.
- When you get to the hole with that you made for the doggie door, you will need to cut sticks so that they will fit horizontally above the door. Glue those sticks in place above the doggie door.
- To make the roof, line up eight sticks so that they are evenly placed. Then glue them together by glueing the sticks (mine have been cut to fit) across the lined up sticks. The glue should be on each of the lined up sticks to hold them in place with the two cut sticks.
- Line the roof over the house in an "A" shape to make sure that the roof will fit on your house. Make adjustments as needed.
- The front and back "A"of the house (the roof portion above the doggie door and on the backside) are made by first cutting sticks to size. You will need horizontal sticks that are cut small to large (small going on the tip of the "A") and you will need two sticks that will hold them together with glue. See the image or video for details if needed.
Step Two: paint the house.
- Paint the base of the house (everything but the roof) one color. Mine was painted green.
- My "A" pieces were painted the same color as the house. You can paint yours the same or use the color of your choice.
- Lastly, paint your roof pieces. Mine are painted brown.
- If needed, you can give the painted pieces a second coat of paint.
Step Three: assemble the house.
- Once the paint has dried you can glue the roof in place. Start by glueing the "A" pieces on- one above the doggie door hole and the other on the opposite side of the house.
- Lastly, glue the roof pieces in place.
Step Four: how to make the doggie.
This is an optional step however, I am providing the instructions just in case.
The doggie is made using medium pompoms (head and body) that are glued together. Googly eyes are glued on to the head along with a nose and mouth that were drawn on paper. The tail is a small black pompon and the ears were cut from black felt.
- Spring Craft Ideas
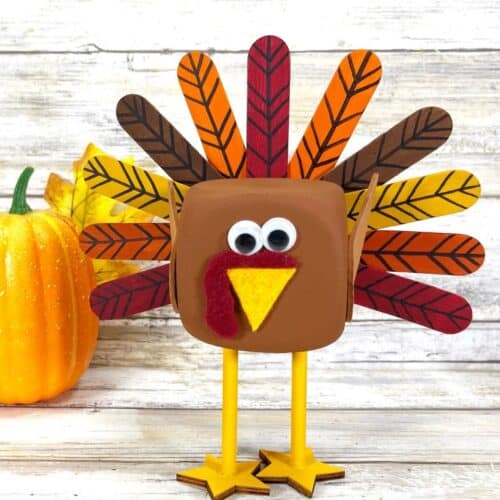
- Foam Square Turkey Craft DIY25 Minutes
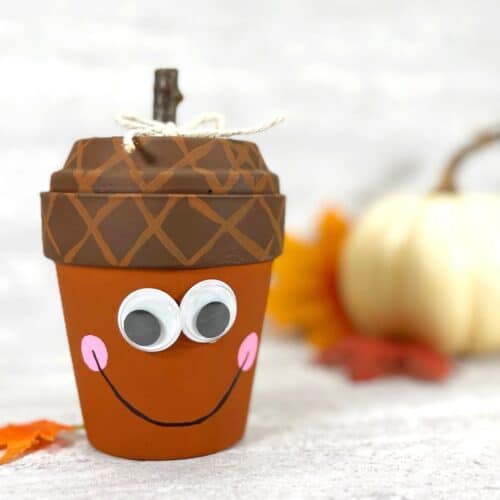
- Clay Pot Acorn Craft DIY25 Minutes
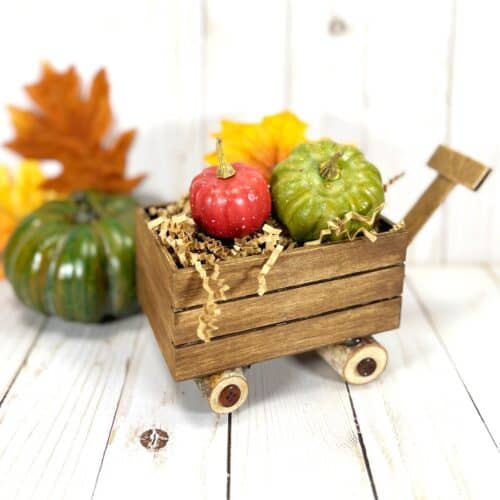
- Fall Wagon Craft DIY25 Minutes

In case you missed something.
How to Make a Popsicle Stick Dog House, a simply DIY craft project made from an upcycled carton and craft (popsicle) sticks.
 sticks. Includes Video.")
How to Make a Popsicle Stick Dog House
Equipment
Materials
- Empty Carton
- Craft Sticks
- Acrylic Craft Paint
Instructions
- Use a craft knife or similar item to carefully cut the carton to size. This will be the base for your doghouse.
- Use a marker or pen to trace a hole for the doggie door. Then cut the door out.
- Next, place a popsicle stick next to your dog house and make a mark where the stick reaches the top of the house. Carefully slice off the excess stick that is above the mark. Then repeat this process until you have enough cut sticks to go around the house.
- Glue the sticks on to the house with the flat end of the stick facing down. When you get to the hole with that you made for the doggie door, you will need to cut sticks so that they will fit horizontally above the door. Glue those sticks in place above the doggie door.
- To make the roof, line up eight sticks so that they are evenly placed. Then glue them together by glueing sticks (mine have been cut to fit) across the lined up sticks.
- Line the roof over the house in an "A" shape to make sure that the roof will fit on your house. Make adjustments as needed.
- The front and back "A"of the house (the roof portion above the doggie door and on the backside) are made by first cutting sticks to size. You will need horizontal sticks that are cut small to large (small going on the tip of the "A") and you will need two sticks that will hold them together with glue. See the image or video for details if needed.
- Paint the base of the house (everything but the roof) one color.Lastly, paint your roof pieces. If needed, you can give the painted pieces a second coat of paint.
- Once the paint has dried you can glue the room in place. Start by glueing the "A" pives on- one above the doggie door howl and the other on the opposite side of the house. Lastly, glue the roof pieces in place.