The Best Easy No Bake Oreo Bars are crunchy on the outside and sweet and fudgy on the inside.
These tasty dessert bars are quick and easy to make despite them appearing so impressive.

Easy Oreo Bar Recipe.
This is just another great recipe proving that there are so many ways to make a package of favorite sandwich cooking into something spectacular.
I like how there are so many ways to personalize this easy recipe to make it even better.
Did you see my recipe for White Chocolate Oreo Truffles?
Those white chocolate coated truffles taste like lush and creamy chocolate cookies with a tasty sweet coating.
Both this recipe for no bake bars and that recipe for no bake truffles are simple and easy recipes that can be made with a box of sandwich cookies.
To make this recipe you will need a family sized package of Oreo cookies. You can find a selection of Oreo cookies here.
What to know about Oreo Cookies.

Tips for making easy Oreo bars.
My bars were made using the standard, yet yummy, black and white Oreo sandwich cookie. You can however use another cookie such as Golden Oreo Cookies.
More tips for you
- The easiest way to crush the cookies for this recipe is to use a food processor. However, if you do not have a food processor (or good blender) you can also place the cookies in a sealed zip top bag and roll a rolling pin over the bag to crush the cookies.
- Line your square baking pan with parchment paper that overhangs the sides of your pan. This will make it easier to lift the bars out of the pan for slicing.
- My bars are topped with an optional white chocolate drizzle. If you decide to do this, make sure that your bars are fully set first
Personalize these simple sandwich cookie bars.
These no bake sandwich bars are easy to make and taste great just the way they are.
You can however, make yours even better.
Try one of these ideas.
- Use a holiday Oreo for holidays such a Halloween or Christmas for special bars.
- Top your bars with sprinkles to make them even prettier.
- Use cookie icing to decorate the bars (makes for a good kid project?).
👇You may also be interested in these ideas!👇
✔ Be sure to follow us on Facebook, Pinterest, and Instagram.
Subscribe to our Weekly Newsletter.
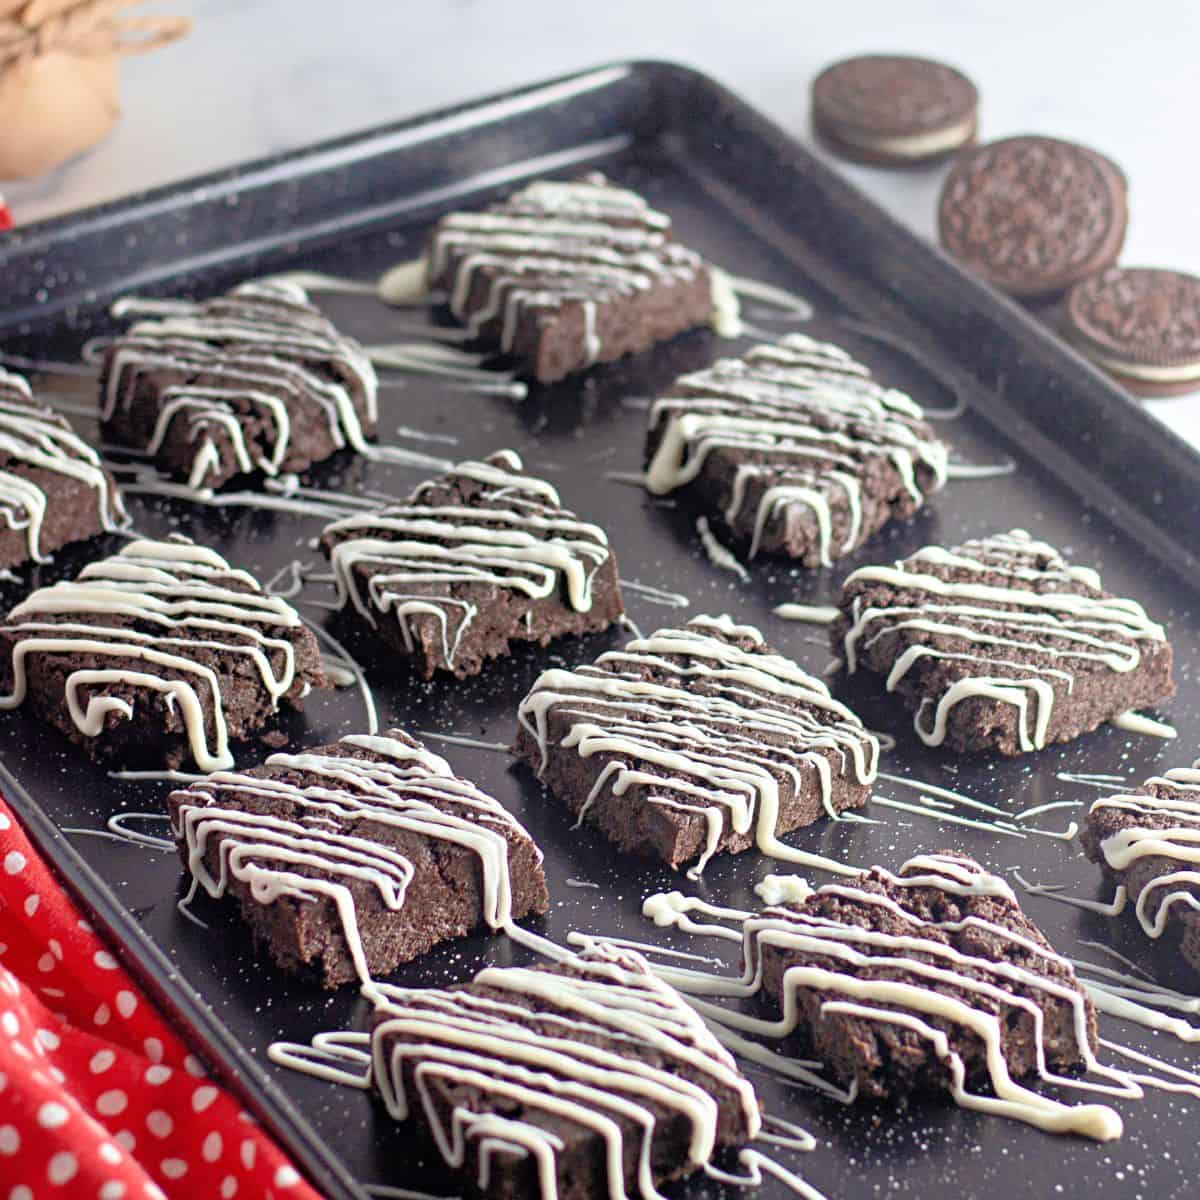
About this recipe for Oreo cookie bars.
This is a simple recipe where cookies are first processed into crumbs and are then combined with melted marshmallows. Once the mixture has set, it is cut into individual bars.
How to serve Oreo bars.
- Serve these bars as is with a glass of milk on the side.
- Top these bars with a scoop of No Churn Rocky Road Ice Cream.
- Cut your bars smaller and turn them into cake pops by adding a stick to them.
Ingredients needed to make no bake bars with cookies.
- Oreo Cookies. Use family sized Oreos that are NOT double stuffed.
- Butter. Salted butter is optional.
- Mini Marshmallows. Mini marshmallows are easier to melt and the melt more consistently for this recipe.
- White melting chocolate. This is for the optional drizzle. White chocolate chips will not work the same.
Expert Tip 👉 A family sized package of Oreo cookies has 48 cookies and weighs 19.1 ounces. A standard sized package on the other hand, has 36 cookies and weighs 14.3 ounces. Note that double stuffed, party, and specialty varieties may also vary in size and weight.
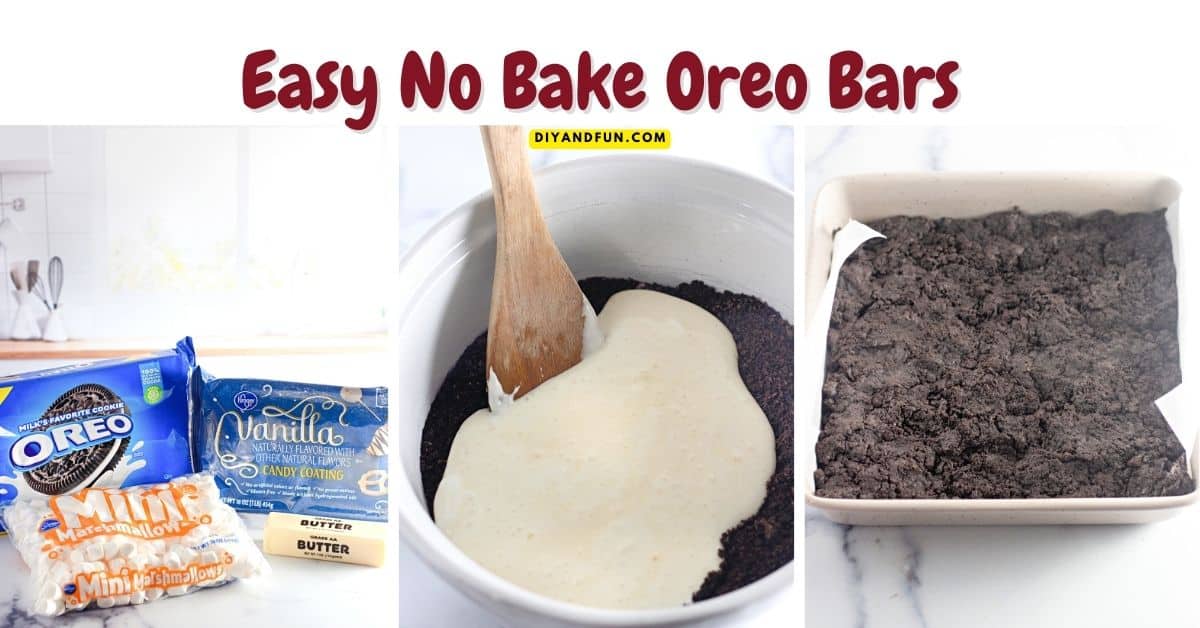
How to make The Best Easy No Bake Oreo Bars
Makes 9 servings
Step One: prepare .
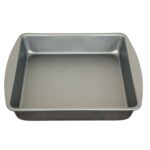
Prepare a square baking pan with parchment paper that overhangs the sides of the pan. My bars were made in an 8X8" pan. Also, gather your ingredients.
Step Two: process the ingredients.
- Place your cookies into a food processor and process them into crumbs. Note that depending on the size of your processor, you may need to do this in batches. Then place the cookie crumbs in a large mixing bowl.
- Next, we will melt the marshmallows and the butter. In a large saucepan on medium heat, melt the butter. Once the butter has melted, add the marshmallows and stir continuously until the mixture is melted and combined.
- Remove the pot from the stove and pour the melted ingredients over the Oreo crumbs in the the mixing bowl.
- Mix the ingredients until combined.
Expert Tip 👉 Spray the mixing bowl with nonstick before adding the ingredients to it to prevent sticking.
Step Three: finish making the bars.
- Transfer the combined ingredients to the prepared baking pan and press the ingredients into the dish so that they are evenly spread. Then allow the mixture to set in the pan (about ten minute sat room temperature).
- When the bars have fully set you can use the overhanging parchment paper to lift them out of the pan. Then cut them into individual bars (mine were cut into nine evenly sized squares).
- To make the white chocolate drizzle, melt your melting wafers according to the directions on the packaging. Then use a spoon, for, piping bag, or the cut corner on a plastic sandwich bag to drizzle the melted wafers. Once the drizzle has set you can enjoy the bars.
Expert Tip 👉 Store these cookie bars in an airtight container. If you are storing them stacked, it is best to separate the layers using parchment paper. If properly stored, these bars should keep for about five days at room temperature, a week when refrigerated, or a couple of months when frozen (you will need to thaw them before enjoying).
👇👇Related Ideas.👇👇
- 4 Ingredient Whipped Raspberry Dessert5 Minutes
- Oreo Cheesecake Cupcake Recipe55 Minutes
- Favorite Texas Trash Pie Recipe50 Minutes
- Cranberry and White Chocolate Chip Cookies25 Minutes
In case you missed something.
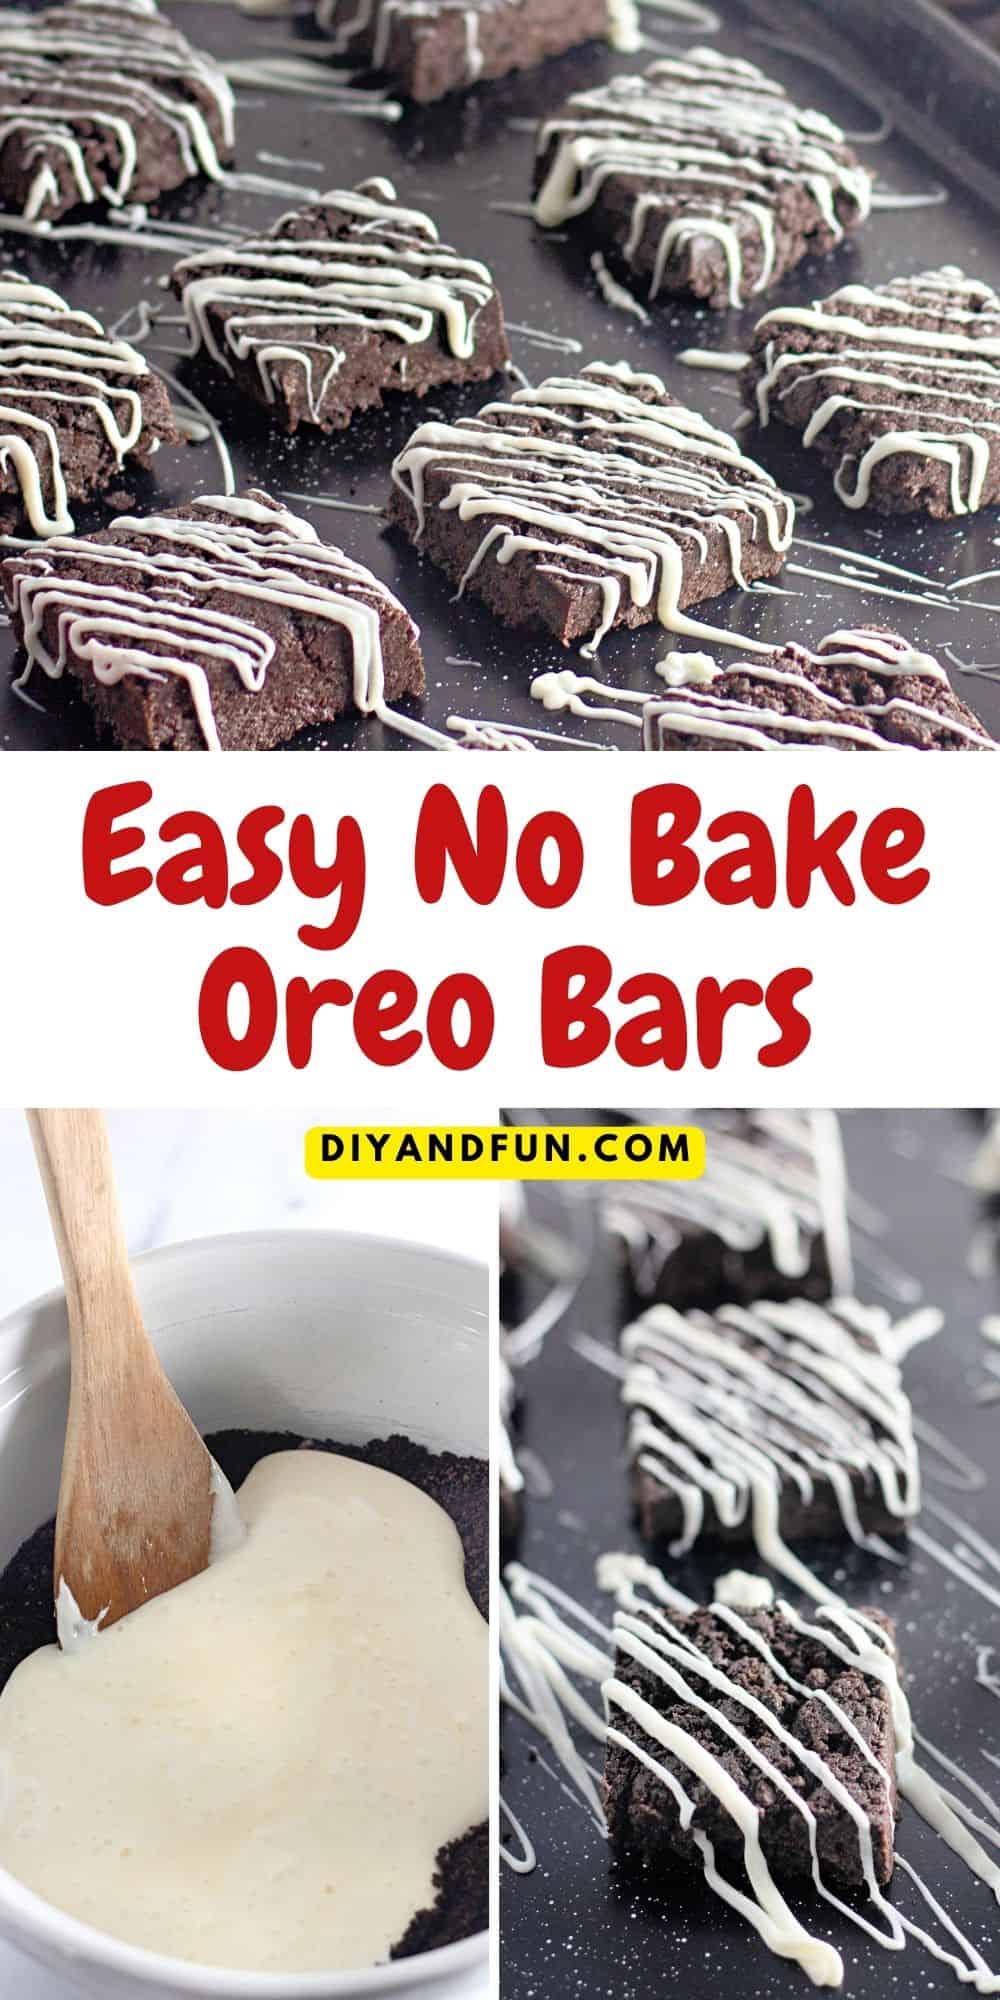
The Best Easy No Bake Oreo Bars, it takes about 10 minutes and four ingredients to turn sandwich cookies into a chocolatey dessert treat.
Easy No Bake Oreo Bars
Equipment
Ingredients
- 1.3 lbs Oreo Cookies
- 4 tbsp Butter
- 10 oz Marshmallows
- 4 oz White Melting Chocolate
Instructions
- Place your cookies into a food processor and process into crumbs. Then place the cookie crumbs in a large mixing bowl.
- In a large pot on medium heat, melt the butter. Once the butter has melted, add the marshmallows and stir continuously until the mixture is melted and combined.
- Remove the pot from the stove and pour the melted ingredients over the Oreo crumbs in the the mixing bowl. Mix the ingredients until combined
- Transfer the combined ingredients to the prepared baking pan and press the ingredients into the dish so that they are evenly spread. Then allow the mixture to set in the pan (about ten minute sat room temperature).
- When the bars have fully set you can lift them out of the pan. and cut them into individual bars (mine were cut into nine evenly sized squares).
- Melt your melting wafers according to the directions on the packaging. Then use a spoon, for, piping bag, or the cut corner on a plastic sandwich bag to drizzle the melted wafers. Once the drizzle has set you can enjoy the bars.
Recipe Notes
Also, please see the actual recipe post for further details on this recipe. Nutritional Information is only an estimate and can vary especially with ingredients that are used. See DiyandFun.com for details on this recipe.
originally posted:
September 1, 2023*As an Amazon Associate I earn from qualifying purchases. This means that the links on this website, and specifically on this post, that lead to other sites may be affiliate links.
Nutrition
Please note: Nutritional data has been calculated using a tool that comes with this recipe card and not by me. This means that Nutritional Information is only an estimate and can vary especially with ingredients that you use. The accuracy of this tool may differ from other tools as expected. Also note that there is no instructional value to the video that may be attached to this recipe. It is only there for visual pleasure. For more information about the images in this recipe, please refer the the recipe instructions. Thank you!
Follow Me
Thanks so much for visiting!
If you decide to try any of the ideas listed in this article please tag on social media @diyandfun. We like to hear your ideas and suggestions.
DIY and Fun is a website dedicated to providing you with the best DIY projects, crafts, recipes, hiking, and fun ideas that inspire. Whether you're looking for a new way to decorate your home, learn a new skill, or simply have some fun, DIY and Fun has something for everyone.
Here are some additional ways to keep coming back to DIY and Fun:
- Sign up for our email newsletter. We'll send you weekly updates with new projects, inspiration, and more.
- Follow us on social media. We're on Facebook, Twitter, and Pinterest.
- Our community forum is coming soon. Share your projects, ask questions, and get inspired by other DIYers.


