
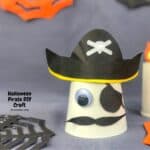
This Halloween Pirate Craft DIY is really a fun and simple idea for turning a basic paper cup into a cut little pirate..
I really like that this project is suitable for most ages (some may need assistance however).

Simple Halloween Pirate Craft DIY.
This 30 minute craft idea makes for a fun homemade pirate.
The pirate cup can then be proudly displayed on a table, in a window, or on top of your refrigerator.
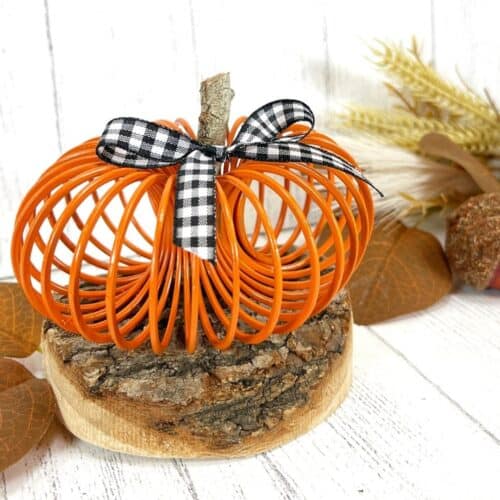
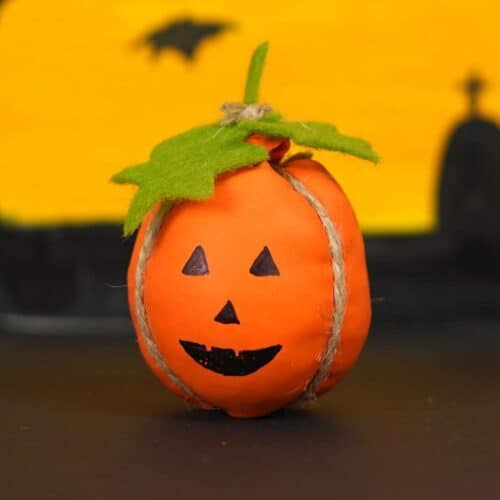
Did you see my Easy Slinky Pumpkin Craft DIY?
That easy slinky craft project is another fun craft idea for Halloween. Both this pirate craft and that pumpkin craft are fun do it yourself ideas.
To make this craft you will need a sturdy paper cup. You can find sturdy paper cups here.
Technically, pirates may not have the best reputation.
This is because the original pirates were basically thieves on the seas.
These days pirates are mostly nonfiction characters. That is, thanks to books, movies, and amusement parks, pirates are more of a character rather than being a bad 'actor'.
The pirate cups made in this project are intended to be for display.
You can display your pirate cup alongside other Halloween decorations.
Here is what else you can do with these pirate cups.
✅Make this project as a group project (scouts, art class, etc.)
✅Use these cups for a pirate party decoration.
✅Make pirates upside down so that the cup can hold things.

Tips for making pirate decorations out of paper cups.
This project is suitable for most ages. However, there are some folks who may need help with cutting and glueing in this project.
More tips for you
- My pirate cup was made using a hot glue gun to glue on the elements. An (safer for kids) alternative to a hot glue gun is to use regular glue or tacky glue and then waiting for the glue to dry.
- Recommended sizes for cups in this project range from 8 ounces to 12 ounces. A 16 ounce paper cup could be used however, you may need to adjust the size of your pirate elements as needed.
- My pirate was made using a white paper cup. Really, most any color cup could make a cute pirate in my opinion.
Personalize this pirate DIY craft idea.
Yes, this pirate paper cup is a cute idea.
However, you can also make yours even better.
Try one of these ideas.
- Instead of using black construction paper to make your pirate hat, use another color like red.
- Cut out hands or feet and glue them on to the cup.
- Make the pirate upside down so that you can fill the cups with candy or other goodies.
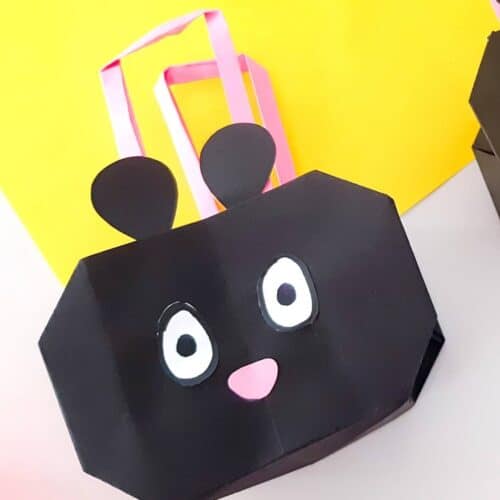
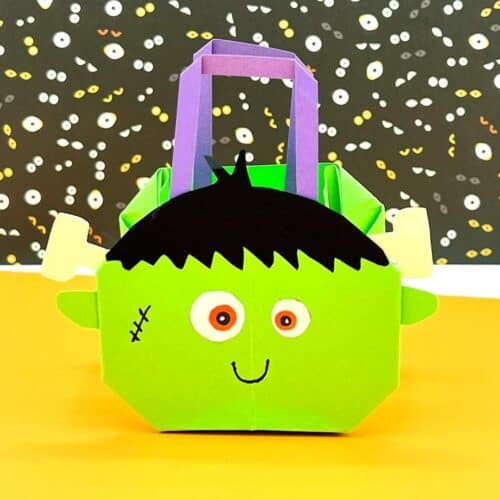
You may also be interested in these ideas.👇👇👇👇
Subscribe to DIYandFun


About This project for a pirate cup.
This is a simple craft project for taking a sturdy paper cup and turning it into a pirate. To make the pirate elements to glue onto the cup you will first need to download the template provided below.
It may be a good idea to print the template out on a cardstock or heavier paper.
Then you can easily cut the template pieces out and trace around them. You may want to print out more than one template as well if you intend to make more than one pirate cup.

Materials needed to make this project.
- Template (provided below).
- A sturdy paper cup .
- Construction paper (my pirate uses black, white, and yellow paper).
- Googly craft eyes.
- Glue, glue gun, scissors, pencil, and markers if needed.

How to make this Halloween Pirate Craft DIY
This project can be made in less than a half hour. Additional time may be needed for allowing the glue to dry.
Step One: prepare.
- Download the template and cut out the elements.
- My pirate was made using black paper (for the hat, eye patch, and moustache). Yellow paper was used for the hat trim and white paper was used for the skull and crossbones.
- Prepare your paper cup by making sure that is is free of debris and marks as well as in good shape.
Download the template--> Halloween Pirate Craft DIY
Step Two: make the pirate hat.
To make the pirate hat, first glue the yellow hat trim onto the bottom of the pirate hat. Then you can glue on the crossbones.
Step Three: glue the elements on to the pirate cup.
- Turn the cup upside down so that the opening of the cup is lying flat on your work surface.
- Glue the constructed hat onto the top (the actual cup bottom) of the cup. You may need to coax the hat into place by bending it into place as you glue it on.
- Glue on the remaining pieces (eye, patch, and mustache).
- Enjoy!

👇👇Similar ideas you may also be interested in.👇👇
Halloween Pirate Craft DIY
Materials
- Template (provided in post)
- .A sturdy paper cup .
- Construction paper (my pirate uses black, white, and yellow paper).
- Googly craft eyes.
- Glue, glue gun, scissors, pencil, and markers if needed.
Instructions
- Download the template and cut out the elements.
- To make the pirate hat, first glue the yellow hat trim onto the bottom of the pirate hat. Then you can glue on the crossbones.
- Turn the cup upside down so that the opening of the cup is lying flat on your work surface. Glue the constructed hat onto the top (the actual cup bottom) of the cup.
- Lastly, glue on the remaining pieces (eye, patch, and mustache).