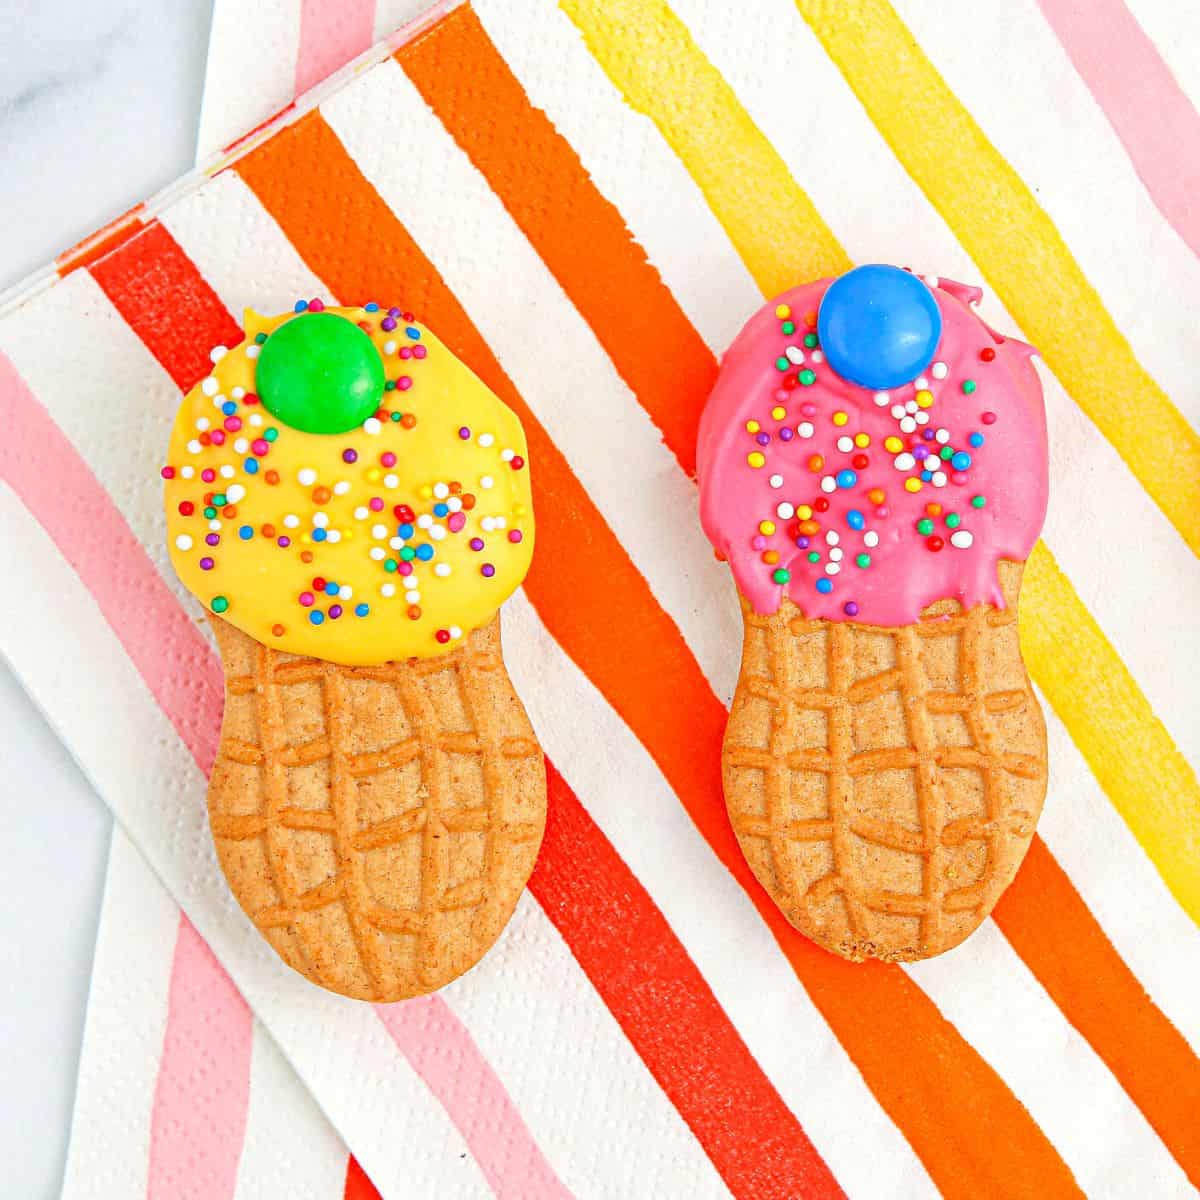
Nutter Butter Ice Cream Sundae Cones is a simple and delicious way to for decorating a peanut shaped cookie to look like an ice cream sundae.
Not only is this a fun idea especially during the summer months, this a way to make that cookie taste even better!
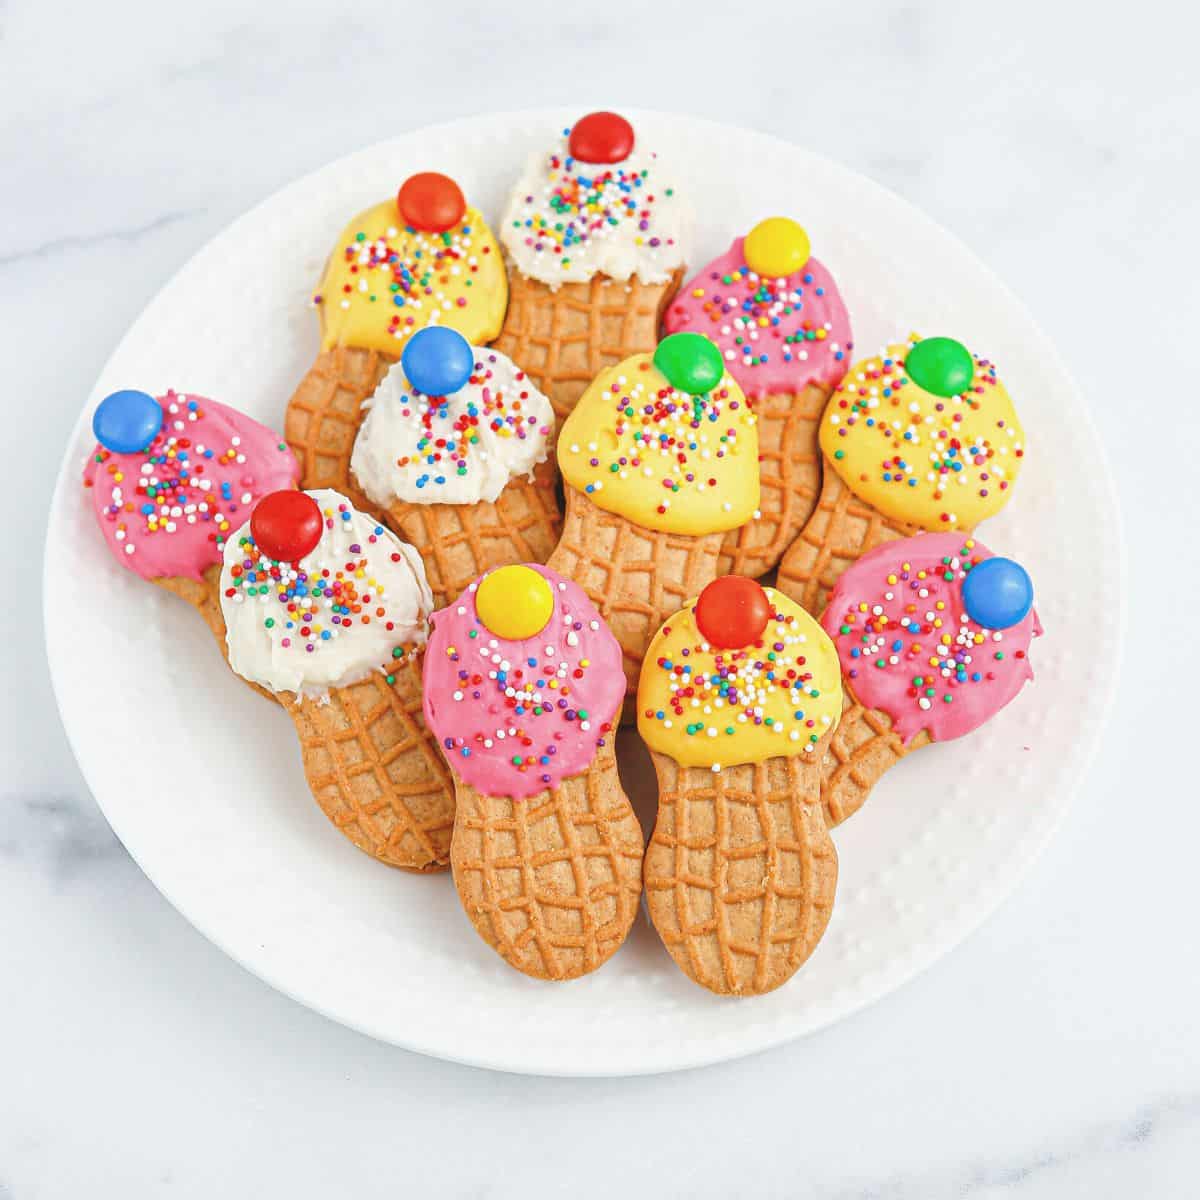
Nutter Butter Ice Cream Cone Cookies.
A simple no bake dessert idea that is both fun and tasty.
I like that this decorated cookie is perfect for sharing at parties, barbecues, picnics and similar gatherings.
Did you see my recipe for making Easy Sunflower Cupcakes ?
That cupcake recipe is another fun and easy recipe idea especially for summer. This decorated cookie can easily be served with that decorated cupcake too!
To make these decorated cookies you will need peanut shaped Nutter Butter Cookies. You can find a selection of Nutter Butter Cookies here.

Frequently asked questions about decorated cookies.
Nutter Butter Cookies are a popular sandwich cookie.
These cookies feature shortbread style wafers surrounding a creamy peanut butter center.
Nutter Butter Cookies have been around for over 50 years.
The name was inspired by peanuts and peanut butter.
Nutter Butter cookies are one of most popular cookies to use for decorating.
This is because of both their peanut butter flavoring and their peanut-like shaped.
It is the shape of the cookie that lends to many possibilities for decorating.While these cookies are decorated to look like sandals, they can also be used to look like Nutter Butter Angel Cookies or Easy Nutter Butter Chocolate Mummies for example.
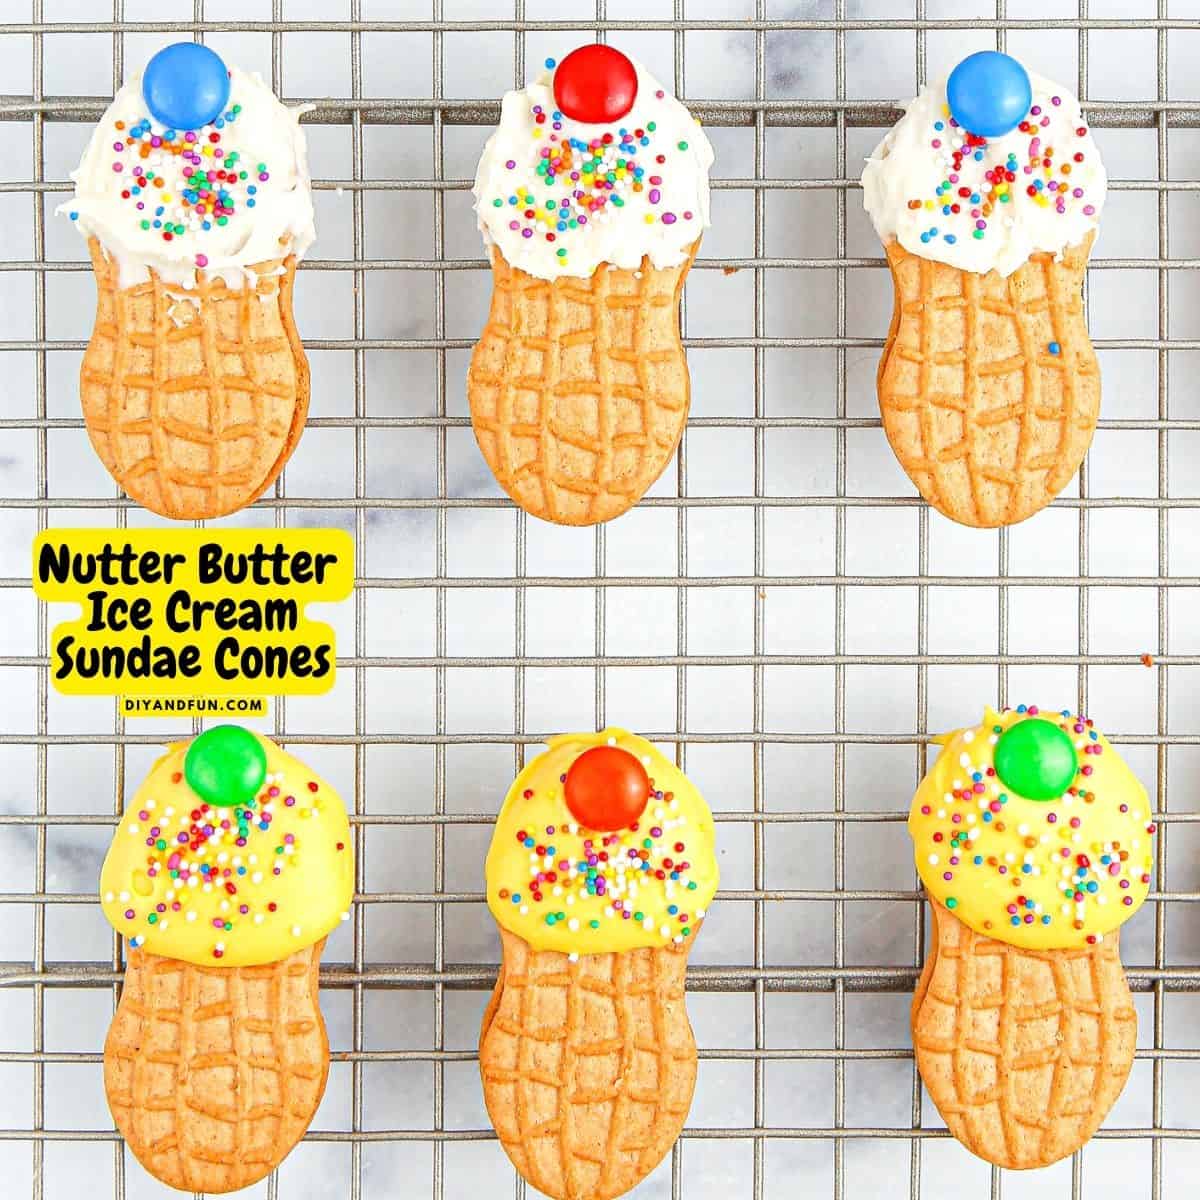
Tips for making decorated Cookies.
Use cookies that are fresh as this will make it easier to decorate them. Also, make sure that your cookies are intact and are in good shape before decorating them as well.
More tips for you
- While my cookies have been decorated with melting chips, you can alternatively use melting wafers.
Just be sure to follow the directions on the packaging before melting the wafers as they most likely will melt differently from chips. - Use a rimmed baking sheet that can fit in your refrigerator as a holding area for your cookies. This also will make it easier to transfer the cookies for cooling because you can transport them too.
- The key to keeping the decorations in place is to allow them to fully set in a refrigerator. If you are in a bind for time, you can however try setting your cookie sundaes in the freezer.
How to make decorated cookies even better.
These cookies are really cute and really tasty just the way they are.
You can however make yours even better.
Try one of these ideas.
- Instead of using candy chip melts use chocolate or peanut butter chips instead.
- Or, you could use frosting to decorate your cookies (avoid getting it on the sides of the cookies).
- Instead of adding a candy to the top of the cookies, add a cherry, raisin, or cranberry instead.
👇You may also be interested in these ideas!👇
👉Be sure to follow us on Facebook, Pinterest, and Instagram.
Subscribe to our Weekly Newsletter.
About this Ice Cream Cone Nutter Butter Cookie.
This is a simple do it yourself idea for turning a peanut shaped cooking into a sundae.
It takes about ten minutes to make decorate these cookies and then about an hour for them to fully set in the refrigerator.
Here are some ways that you can serve these decorated cookies.
- Serve them on a Charcuterie Board along with nuts, grapes, and pretzels (or food of your choice).
- Use these cookies to decorate a cake such as a birthday cake.
- Stick a decorated cookie into the topping on an actual sudae!
Ingredients needed to make Nutter Butter Ice Cream Sundae Cone
- Nutter Butter Peanut Shaped Cookies. You cookies should be fresh and in good shape.
- Candy Melting Chips or wafers. You can use one color or use white melts, pink melts, and yellow to make sundaes like mine.
- M & M Candies. This is for the "cherry" on top so really any candy that is small and round can work.
- Sprinkles. Any color(s) of your choice.
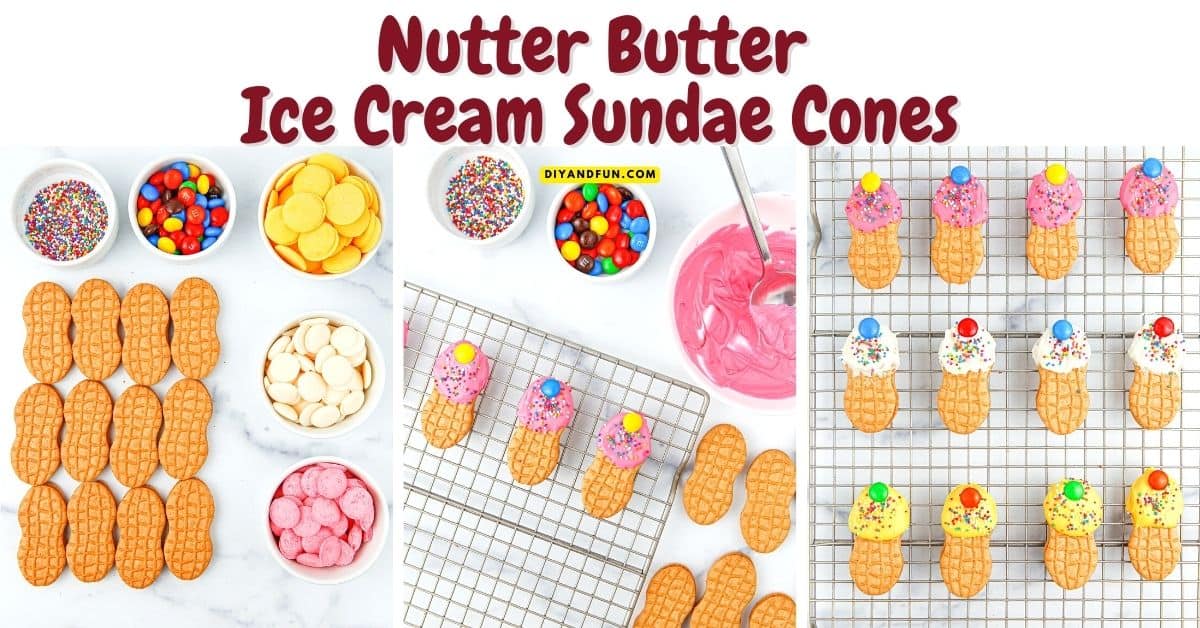
How to make Nutter Butter Ice Cream Sundae Cones
Servings: makes 14 Nutter Butter cookies.
Prep time: 10 Minutes.
Step One: Prepare.
Line a rimmed baking sheet with wax paper or parchment paper. This can be used as a workspace and will make it easier for your to transfer the decorated cookies.
Step Two: Melt the wafers and dip the cookies.
- Start by melting your wafers according to the directions on the packaging. (I melt mine in a microwave safe bowl, stopping to stir every 20 seconds, until smooth and melted.
- Next, you can use a dipper, fork, or spoon to dip or spread the melted wafers across the top half of half of the first Nutter Butter cookie.
- Place the dipped cookie on to your lined baking sheet.
- Add the sprinkle to the area that you just covered with the melted wafers and then top the cookie with the M&M candy.
- Repeat this process with the remaining cookies.
Expert Tip 👉 If your melted wafers begin to set in the bowl while you are still working, you can reheat it for ten seconds and stir as needed. Also, adding a teaspoon of coconut oil can smooth out your melted chocolate if needed.
Step Three: finish making the sundae cookies.
Transfer your decorated cookies to your refrigerator for 15 minutes or until fully set.
These cookies can be stored in an airtight container for up five days at room temperature.
👇👇Related Ideas.👇👇
Table of contents
Nutter Butter Ice Cream Sundae Cones, a simple recipe DIY idea for decorating a peanut shaped cookie to look like an ice cream sundae.
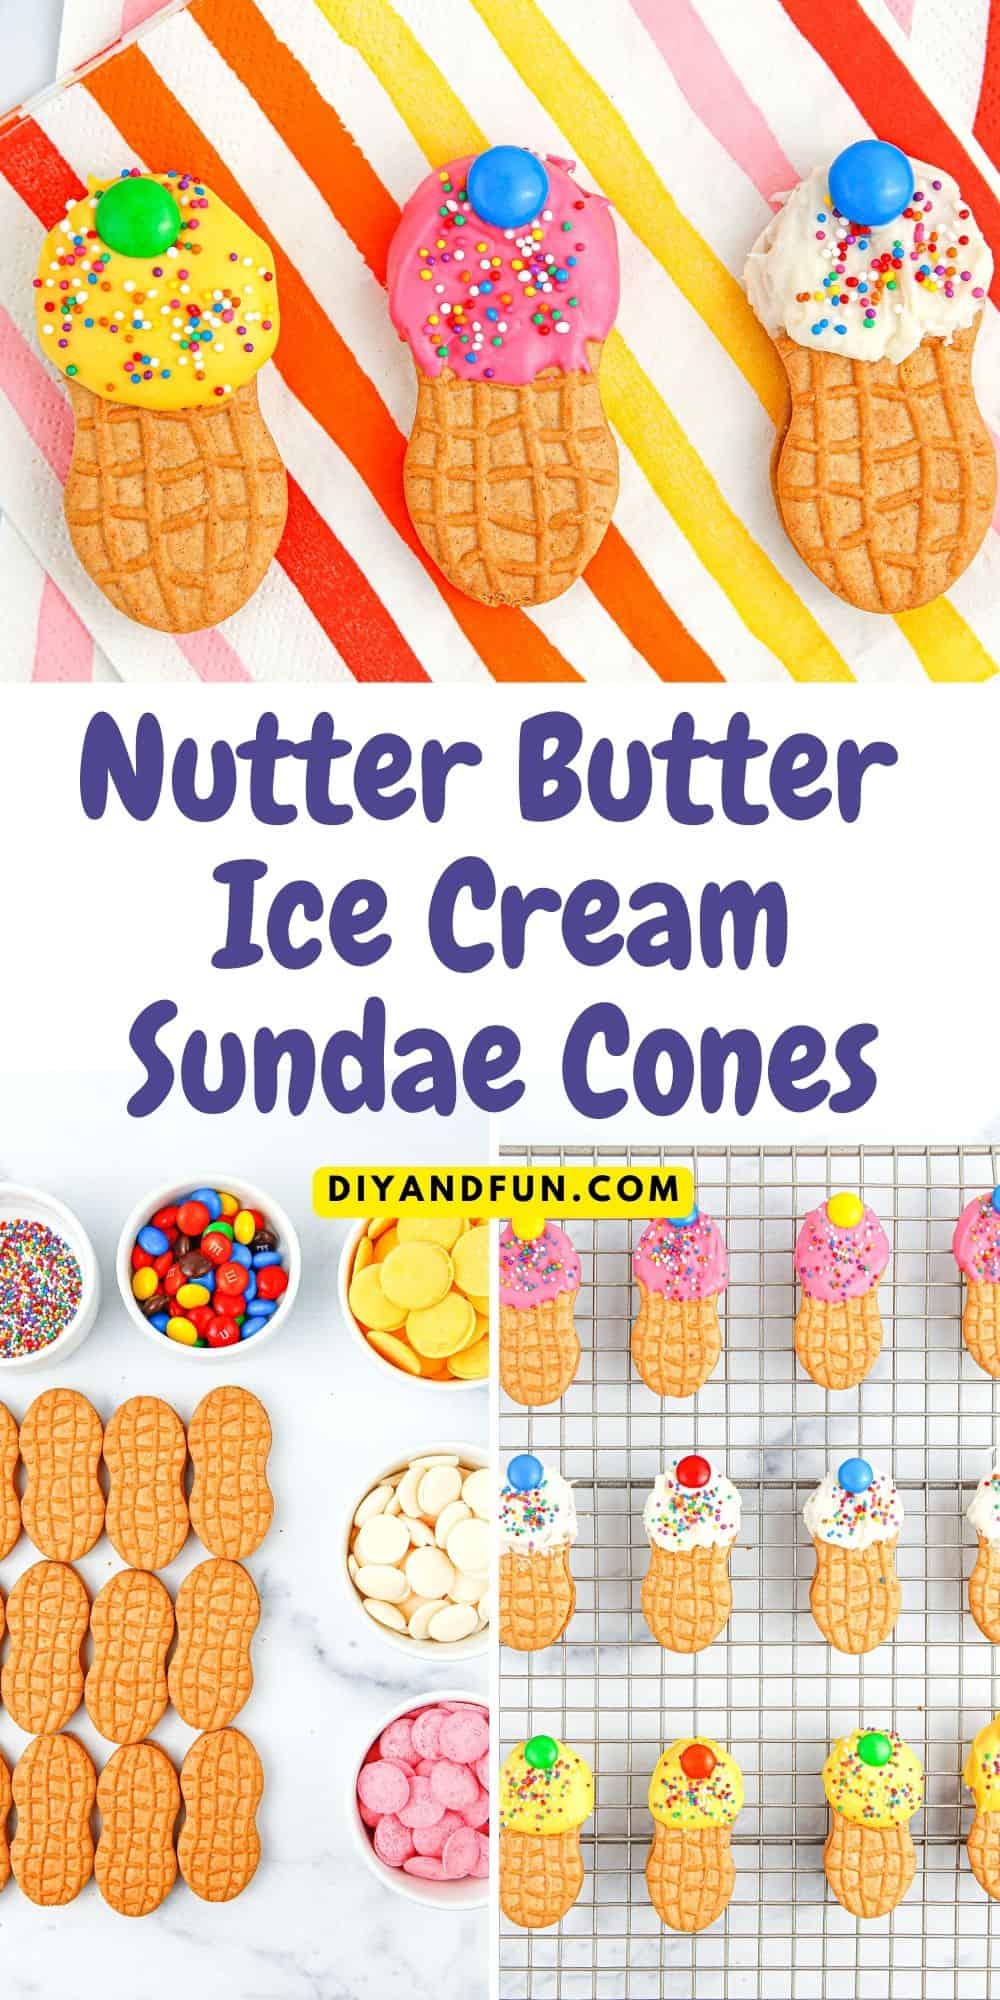
Nutter Butter Ice Cream Sundae Cones
Materials
- 15 Nutter Butter Cookies
- 6 oz Melting Wafers or Chips - Mine were made with 2 ounces of three colors.
- 15 Candies such as M & M's
- Sprinkles
Instructions
- Start by melting your wafers according to the directions on the packaging. (I melt mine in a microwave safe bowl, stopping to stir every 20 seconds, until smooth and melted.
- Next, you can use a dipper, fork, or spoon to dip or spread the melted wafers across the top half of half of the first Nutter Butter cookie. Place the dipped cookie on to a parchment paper lined baking sheet.
- Add the sprinkle to the area that you just covered with the melted wafers and then top the cookie with the M&M candy. Repeat this process with the remaining cookies.
- Transfer your decorated cookies to your refrigerator for 15 minutes or until fully set. These cookies can be stored in an airtight container for up five days at room temperature.
Notes
Thanks so much for visiting!
If you decide to try any of the ideas listed in this article please tag on social media @diyandfun. We like to hear your ideas and suggestions.
DIY and Fun is a website dedicated to providing you with the best DIY projects, crafts, recipes, hiking, and fun ideas that inspire. Whether you're looking for a new way to decorate your home, learn a new skill, or simply have some fun, DIY and Fun has something for everyone.
Here are some additional ways to keep coming back to DIY and Fun:
- Sign up for our email newsletter. We'll send you weekly updates with new projects, inspiration, and more.
- Follow us on social media. We're on Facebook, Twitter, and Pinterest.
- Our community forum is coming soon. Share your projects, ask questions, and get inspired by other DIYers.


